

Tutorial: Create Custom Content on Your Site
This tutorial walks you through building a structured content type in Arc XP from scratch. You’ll design an events schema, add a record in Data Manager, wire the records into a PageBuilder block, and view the result on a live page.
By the end, you’ll have a working events listing, and you’ll understand the design decisions that matter before you put real data in.
What you’ll build
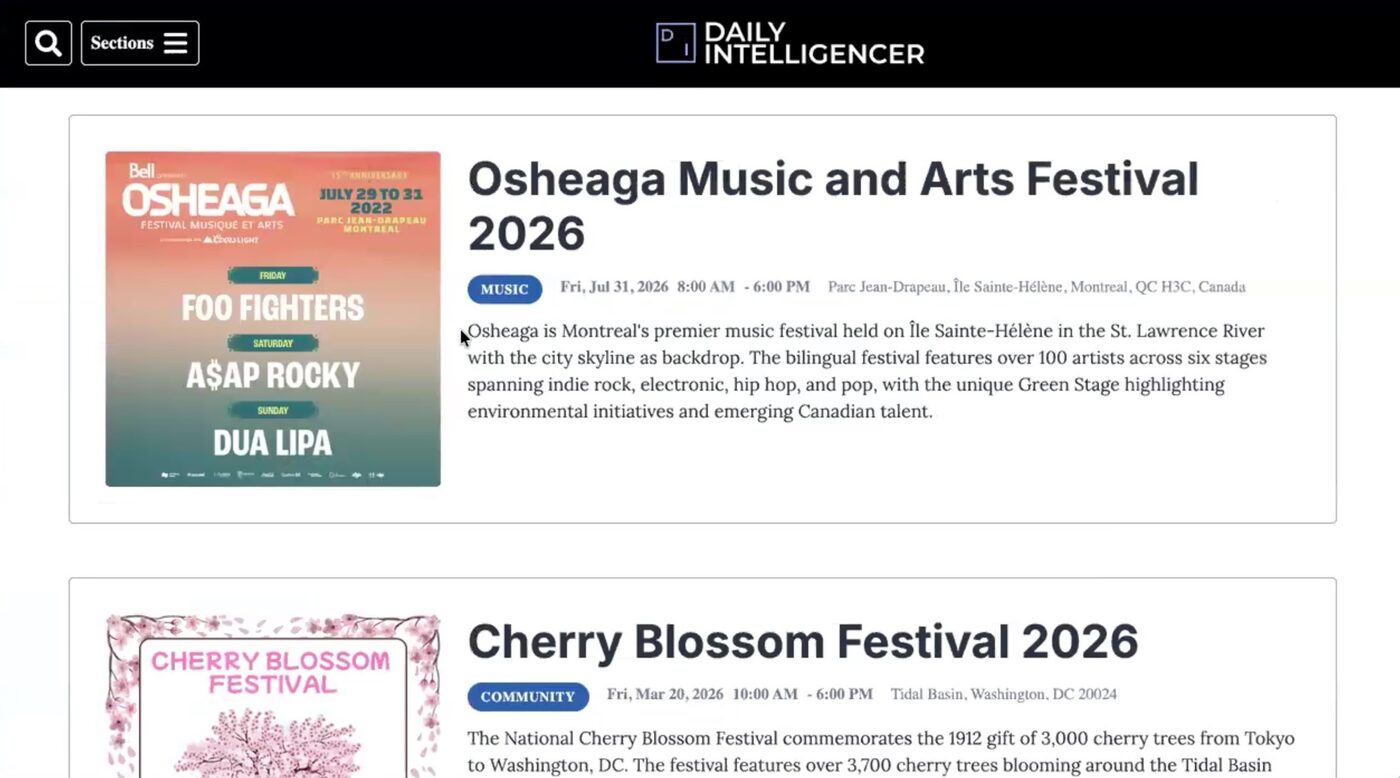
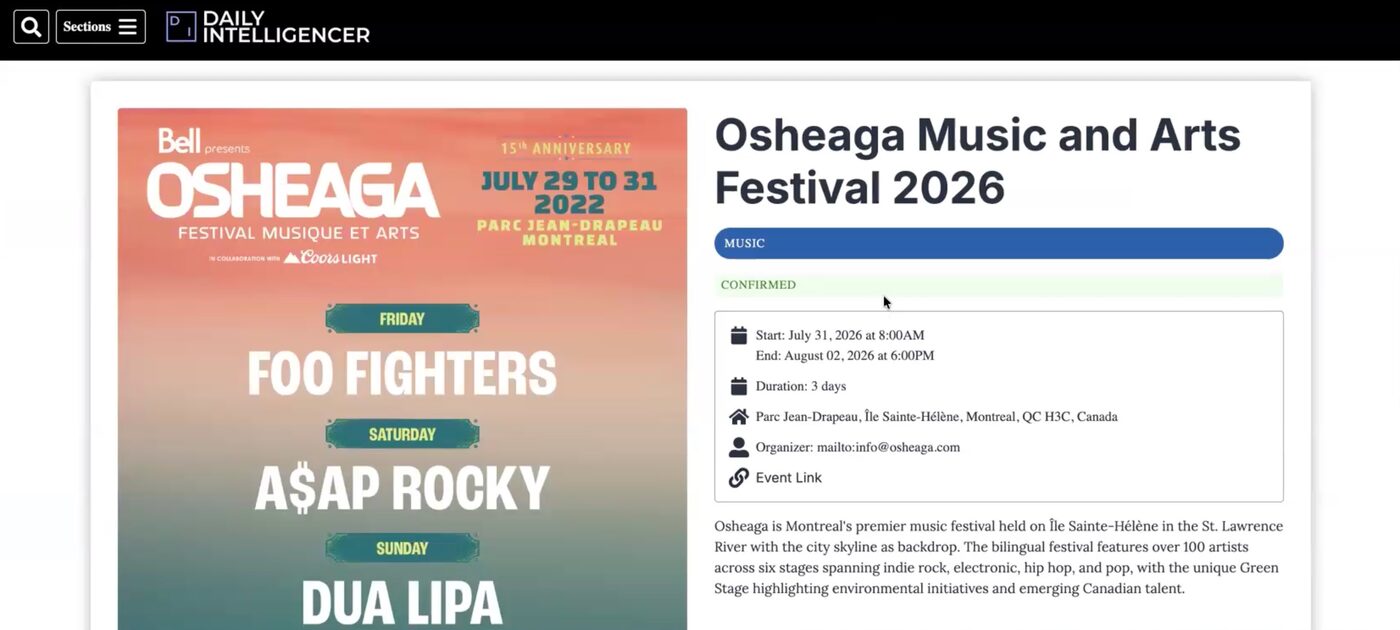
An event listing page powered by structured records. The schema defines the shape of an event. Data Manager is where editors create and manage individual events. PageBuilder is how those records get to the page.
You’ll work through all three layers in order.
Before you start
You’ll need:
- A valid Arc XP API token with write access to the Draft API. You’ll use this to create the schema in Step 2.
- Access to Arc XP Data Manager: editors use this for record creation and field management after the schema is created.
- A PageBuilder bundle running locally with the Arc Themes starter. Follow the how to run PageBuilder locally guide first if you haven’t done this.
- A
.envfile in your bundle with:
CONTENT_BASE=https://api.sandbox.{org}.arcpublishing.comARC_ACCESS_TOKEN=<your-access-token>Step 1: Plan your schema before you build it
This step matters more than all the others. It’s the “design” of your custom content that will impact implementation.
Two things about a schema are difficult or impossible to change once you’ve created real records:
Field types are permanent. A field defined as short-text cannot be changed to date-time after records exist. You also cannot remove a field. The only way around this is to delete every record in the schema first — not practical once you have live data.
Search indexing decisions are permanent once set. Each field has two independent search settings:
- API search: controls whether the field is queryable through the Content API (
fulltextfor keyword search,vectorfor semantic search). Set this for fields developers need to filter or search programmatically. - Editorial search: a separate setting that makes the field searchable inside Data Manager. Used by editors, not the API.

You configure these independently. A field can have API search enabled, editorial search enabled, both, or neither.
Before moving to Step 2, fill in a table like this for every field you plan to add:
| Field | Type | Required? | API search | Editorial search |
|---|---|---|---|---|
| title | short-text | Yes | fulltext | Yes |
| event_date | date-time | Yes | No | No |
| location | short-text | No | fulltext | Yes |
| description | long-text | No | No | No |
| organizer | short-text | No | No | No |
| ticket_url | short-text | No | No | No |
This is the schema you’ll build in Step 2. API search is enabled on title and location so developers can query events by text. Editorial search is on those same two fields so editors can find records in Data Manager by typing a title or city. event_date, description, organizer, and ticket_url are stored and displayed but not indexed. They won’t be filterable via the Content API.
If you know you’ll need to filter records by date (for example, “show only upcoming events”), add API search to event_date now. You can add indexing to a field later, but it’s cleaner to set it correctly upfront.
Here’s the schema JSON you’ll use in Step 2:
{ "name": "events", "display_name": "Events", "description": "Schema for event listings — concerts, conferences, and local happenings.", "fields": [ { "key": "title", "display_name": "Event Title", "type": "short-text", "required": true, "search_settings": { "kind": "fulltext" } }, { "key": "event_date", "display_name": "Event Date", "type": "date-time", "required": true }, { "key": "location", "display_name": "Location", "type": "short-text", "required": false, "search_settings": { "kind": "fulltext" } }, { "key": "description", "display_name": "Description", "type": "long-text", "required": false }, { "key": "organizer", "display_name": "Organizer", "type": "short-text", "required": false }, { "key": "ticket_url", "display_name": "Ticket URL", "type": "short-text", "required": false } ]}Step 2: Create the schema via the Draft API
Schemas are created via the Draft API. Send a POST request to /draft/v1/schema-type with the schema JSON from Step 1:
curl -X POST "https://api.{YOUR_ORG}.arcpublishing.com/draft/v1/schema-type" \ -H "Authorization: Bearer {YOUR_API_TOKEN}" \ -H "Content-Type: application/json" \ -d '{the schema JSON from Step 1}'Replace {YOUR_ORG} with your organization identifier and {YOUR_API_TOKEN} with a valid Draft API token.
A successful request returns 201 Created with the schema object, including a schema_version of 1 and system-assigned timestamps. A 409 Conflict means a schema with that name already exists in your org.
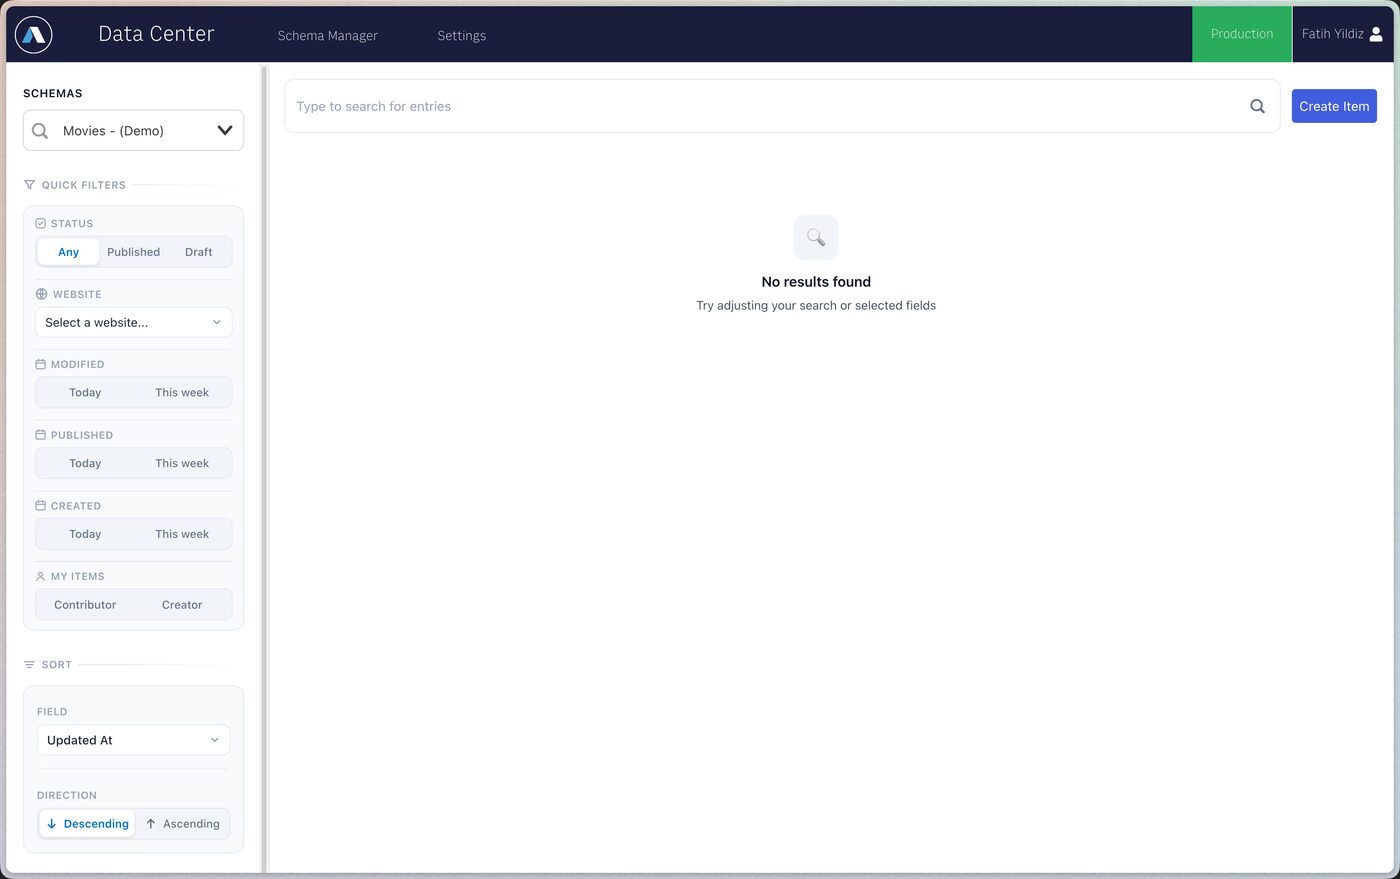
Once created, the schema appears in Data Manager under Structured Content. Editors can create records immediately.
[Optional] Step 3: Add and manage fields in Data Manager
The schema you created via API already has all six fields from Step 1. If you need to add more fields later, you can do that in Data Manager without touching the API.
Go to Data Manager → Structured Content → Events to see the schema and its fields. From here you can add new fields or edit existing ones.
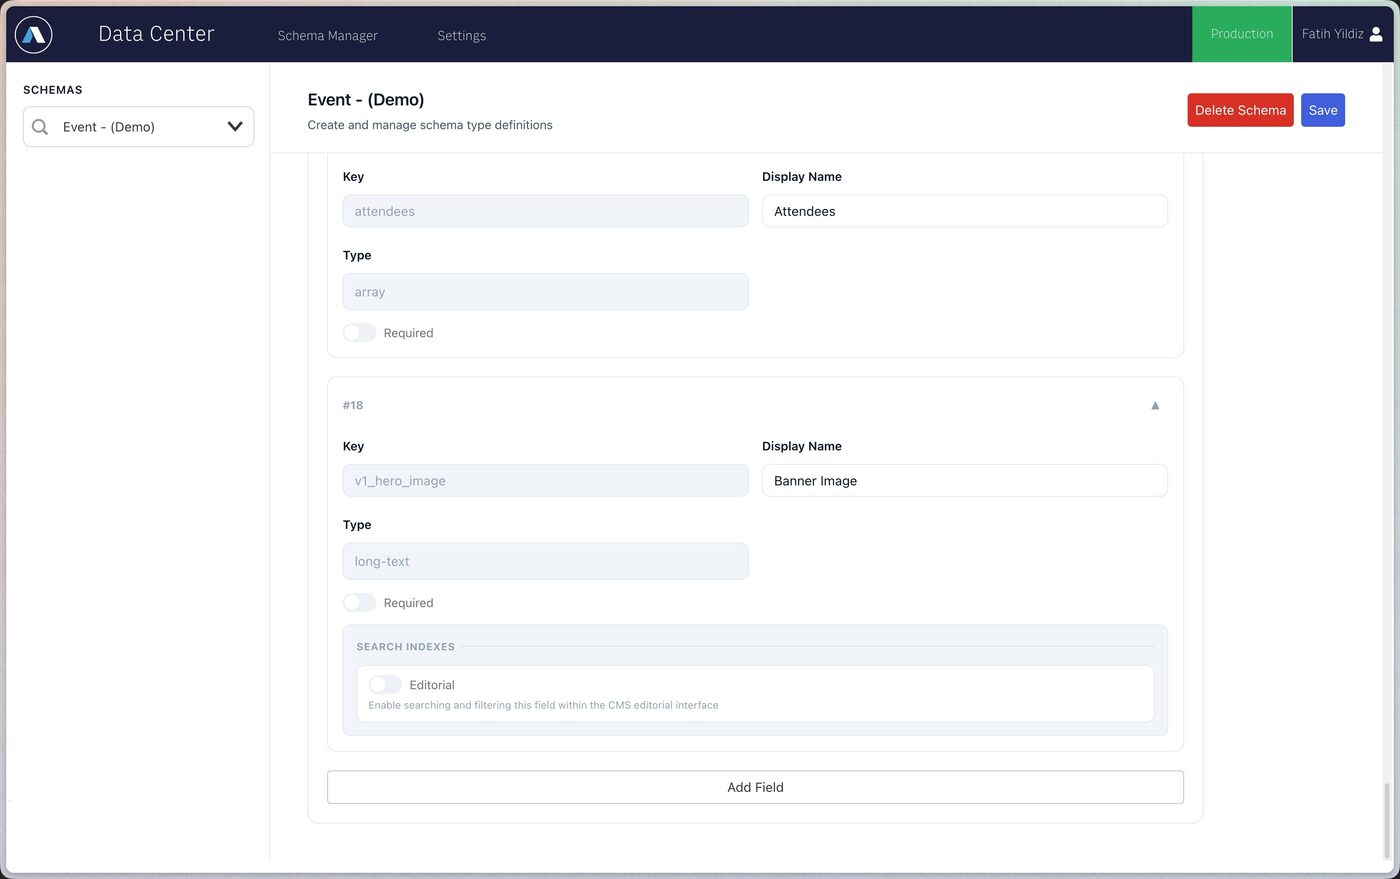
Configure editorial search per field from the field settings in Data Manager. This is separate from the search_settings you set in the API request.
Step 4: Create your first event record
With the schema published, editors can start adding records.
- In Data Manager, go to Structured Content → Events.
- Click New Record.
- Fill in the fields:
- Event Title —
Summer Block Party - Event Date —
2026-07-04T18:00:00(or use the date picker) - Location —
City Park, Springfield - Description —
Annual block party with live music, food trucks, and fireworks.
- Event Title —
- Click Save Draft.
- Click Publish.
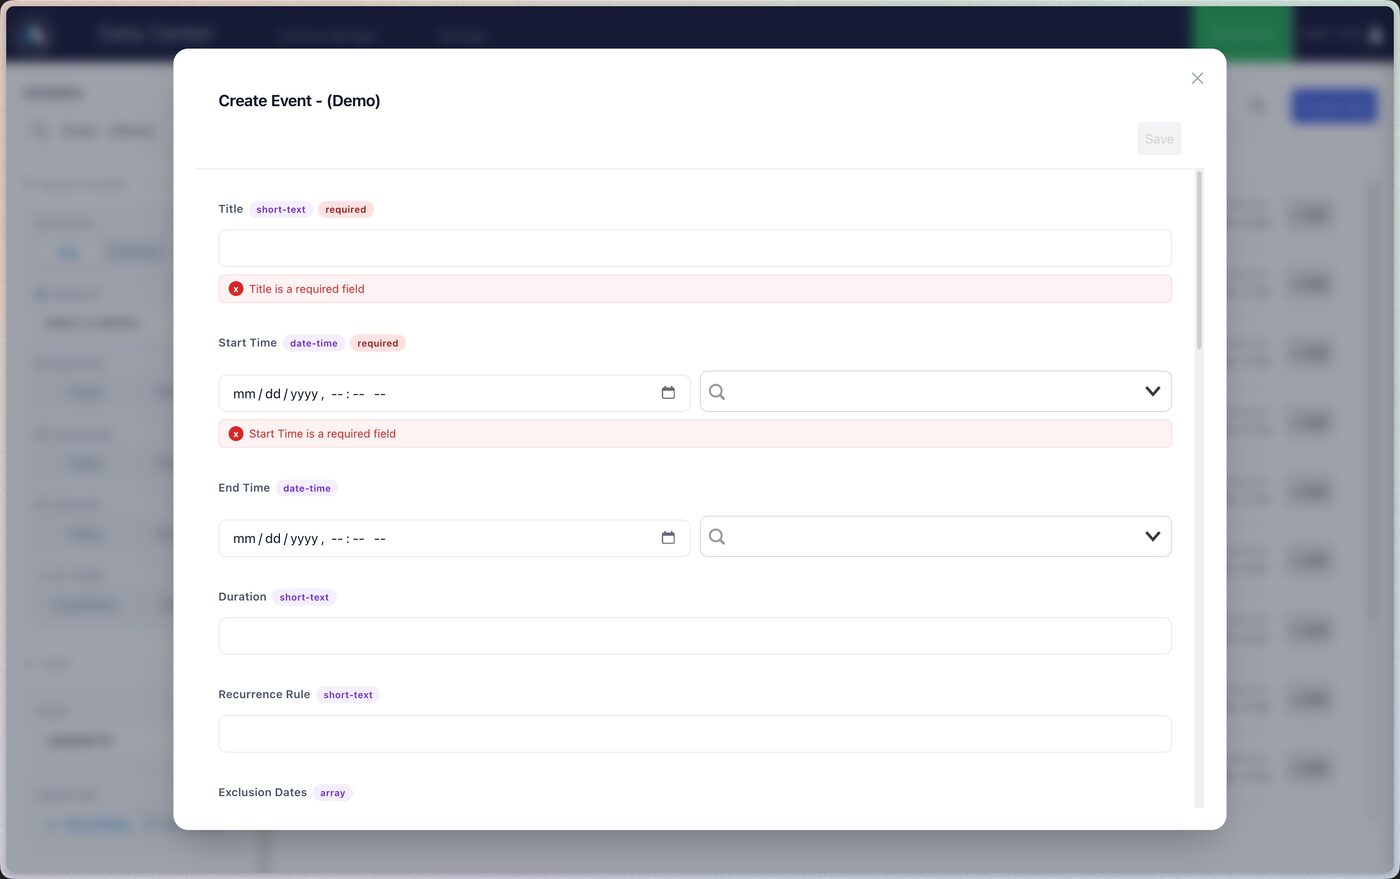
The record is stored in Arc XP and queryable via the Content API. Add more records the same way. Each one is an independent entry in the events schema. Editors can create, update, and unpublish records without touching code.
Step 5: Wire the records into a PageBuilder block
This step is for developers. Arc Themes ships a content source block for fetching a list of structured content records, so you don’t need to write your own content source. You still need to build the front-end component that renders them. Arc Themes doesn’t ship a display block for structured content.
Add the content source block
Add the block as a dependency in your bundle’s package.json and list it in blocks.json:
// package.json"dependencies": { "@wpmedia/schema-feed-content-source-block": "*"}// blocks.json"blocks": [ "@wpmedia/schema-feed-content-source-block"]Run npm install, then restart npx fusion start. The block registers a content source named schema-feed. That’s the name you’ll select in PageBuilder.
Content source parameters:
| Parameter | Required | Description |
|---|---|---|
| Schema Name | Yes | Exact schema name from Data Manager (e.g., events) |
| Sort By | No | Field to sort by. Sort order is always descending. There’s no ascending option. |
| Query | No | An ArcSL filter expression against schema_content fields (e.g., schema_content.location:"City Park"). Not a free-text keyword search. |
| Size | No | Records per page, default 25 |
| Page | No | Page number, default 1 |
The endpoint behind this block returns an array of record objects. Field values live under item.schema_content.
Want to build your own content source or feature block instead? See How to Embed Structured Content Records in PageBuilder for the how-to.
Build the feature block
Create components/features/event-list/default.jsx:
import React from "react";import PropTypes from "@arc-fusion/prop-types";import { useContent } from "fusion:content";import { useFusionContext } from "fusion:context";
const EventList = ({ customFields }) => {  const { contentConfig, displayAmount } = customFields;  const { arcSite } = useFusionContext();
  const content = useContent(    contentConfig      ? {          source: contentConfig.contentService,          query: {            ...contentConfig.contentConfigValues,            schemaName: "events",          },        }      : {},  );
  if (!contentConfig || !content?.data) return null;
  const records = content.data.slice(0, displayAmount || content.data.length);
  return (    <ul className="event-list">      {records.map((item) => {        const { title, event_date, location, description } =          item.schema_content || {};        return (          <li key={item.document_id}>            {title && <h2>{title}</h2>}            {event_date && <p>{new Date(event_date).toLocaleDateString()}</p>}            {location && <p>{location}</p>}            {description && <p>{description}</p>}          </li>        );      })}    </ul>  );};
EventList.propTypes = {  customFields: PropTypes.shape({    contentConfig: PropTypes.contentConfig().tag({      group: "Configure Content",      label: "Content Source",    }),    displayAmount: PropTypes.number.tag({      label: "Number of events to display",      defaultValue: 10,      group: "Configure Content",    }),  }),};
EventList.label = "Event List";export default EventList;
Step 6: Configure the block in PageBuilder and publish
-
For local development experience
- Start the local Fusion engine:
npx fusion start- Go to
http://localhost/pagebuilder/pages.
-
Or, in Arc XP environment, deploy your bundle then Go to PageBuilder
-
Open or create a page template.
-
Drag the Event List block from the block picker into the layout.
-
In the block’s settings panel, open Configure Content → Content Source.
-
Select
schema-feedfrom the dropdown. -
Set the content source parameters:
- Schema Name —
events(must match exactly — this value is case-sensitive) - Size —
10
- Schema Name —
-
Save the template and preview the page.
Your Summer Block Party record should appear. If it doesn’t, check that the schema name matches what you entered in Data Manager and that
ARC_ACCESS_TOKENis valid. -
When the page looks right, click Publish in PageBuilder.
-
Open the live URL for that page. The event records are live.
You can also implement event detail page with a separate content source, and setting up it as resolver configuration, same way you do for your story/video/gallery detail pages.
What’s next
You’ve gone through the full cycle: schema design, field configuration, record creation, PageBuilder wiring, and publishing. The events schema is a simple example, but the same pattern works for recipes, people directories, places, products, or any other content type with repeating structured records.
A few things to do before you go further:
- Add more records: each additional record you create in Data Manager is immediately publishable and queryable. Start building out the real event list.
- Load records via the Draft API: for bulk ingestion or automated workflows, follow same content ingestion workflows at Arc XP (via Draft API or Migration Center).
- Query records from a headless implementation: see Query Structured Records via Content API how to guide.
- Read the schema update limitations in full before you load production data; the Developer Guide covers what’s changeable and what isn’t, and why.