Micro Experiences Tutorial
In this tutorial we will demo how MX is configured, a new bundle deployed, pages curated and published then update the routing live traffic to the new MX. You can see all of the sub topics in explainers and how to guides in the main product documentation page.
Step 1: Request MX
Start with requesting new Micro Experience to be provisioned first. See Getting Access to Micro Experiences document to learn more about provisioning process and requirements.
Once it’s ready, you can verify the new MX with:
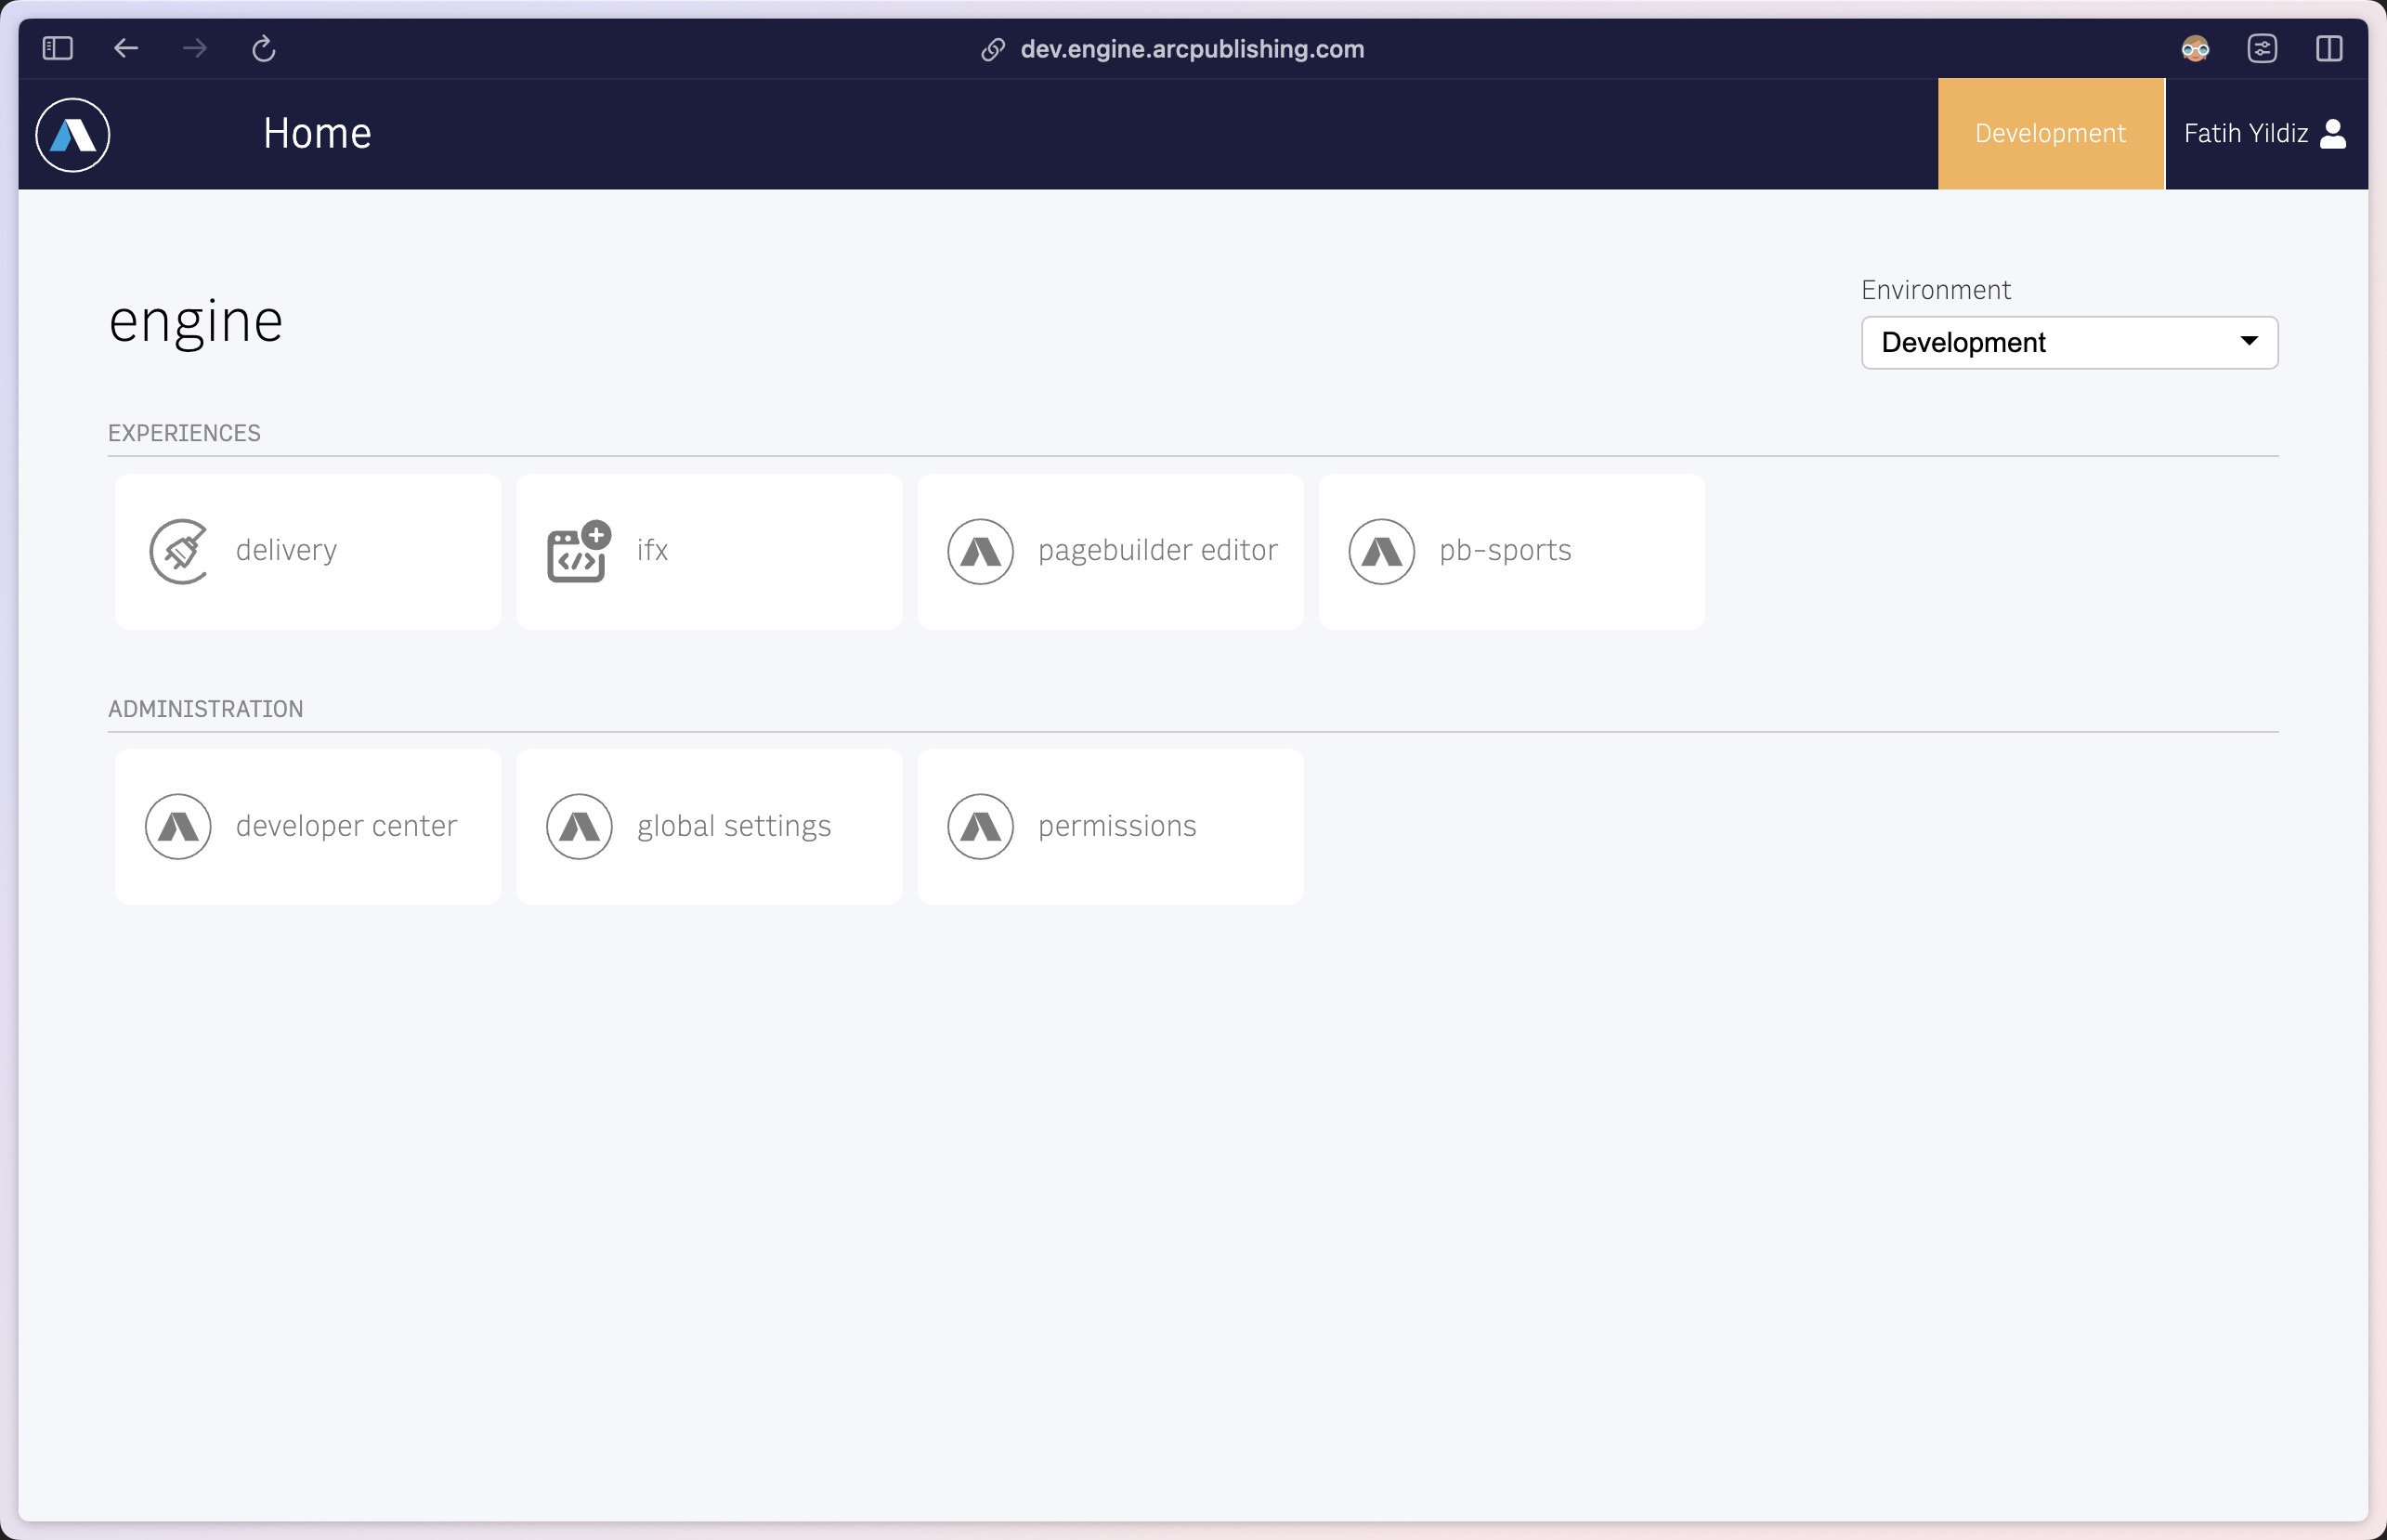
- Check your Arc Home and see the new experience’s PageBuilder with the “PB-” prefix (i.e: PB-Sports)
- You can also verify the new MX with MX Service API and make a call to get list of MX (
GET /pagebuilder/mx), which will show the new experience created with its slug, id, name and siteMappings.
curl --location 'https://api.dev.myorg.arcpublishing.com/pagebuilder/mx/' \ --header 'Authorization: ••••••'Response:
[ { "environment": "dev", "id": "00000000", "name": "Default", "organization": "myorg", "siteMappings": [], "slug": "_default" }, { "environment": "dev", "id": "7452256e", "name": "Sports", "organization": "myorg", "siteMappings": [], "slug": "sports" }]See MX Service API for more information about this API endpoint.
Step 2: Deploy a Bundle
In this tutorial, we’ll proceed with a simple bundle that contains a few hello world features and content sources for testing. The bundle contents is:
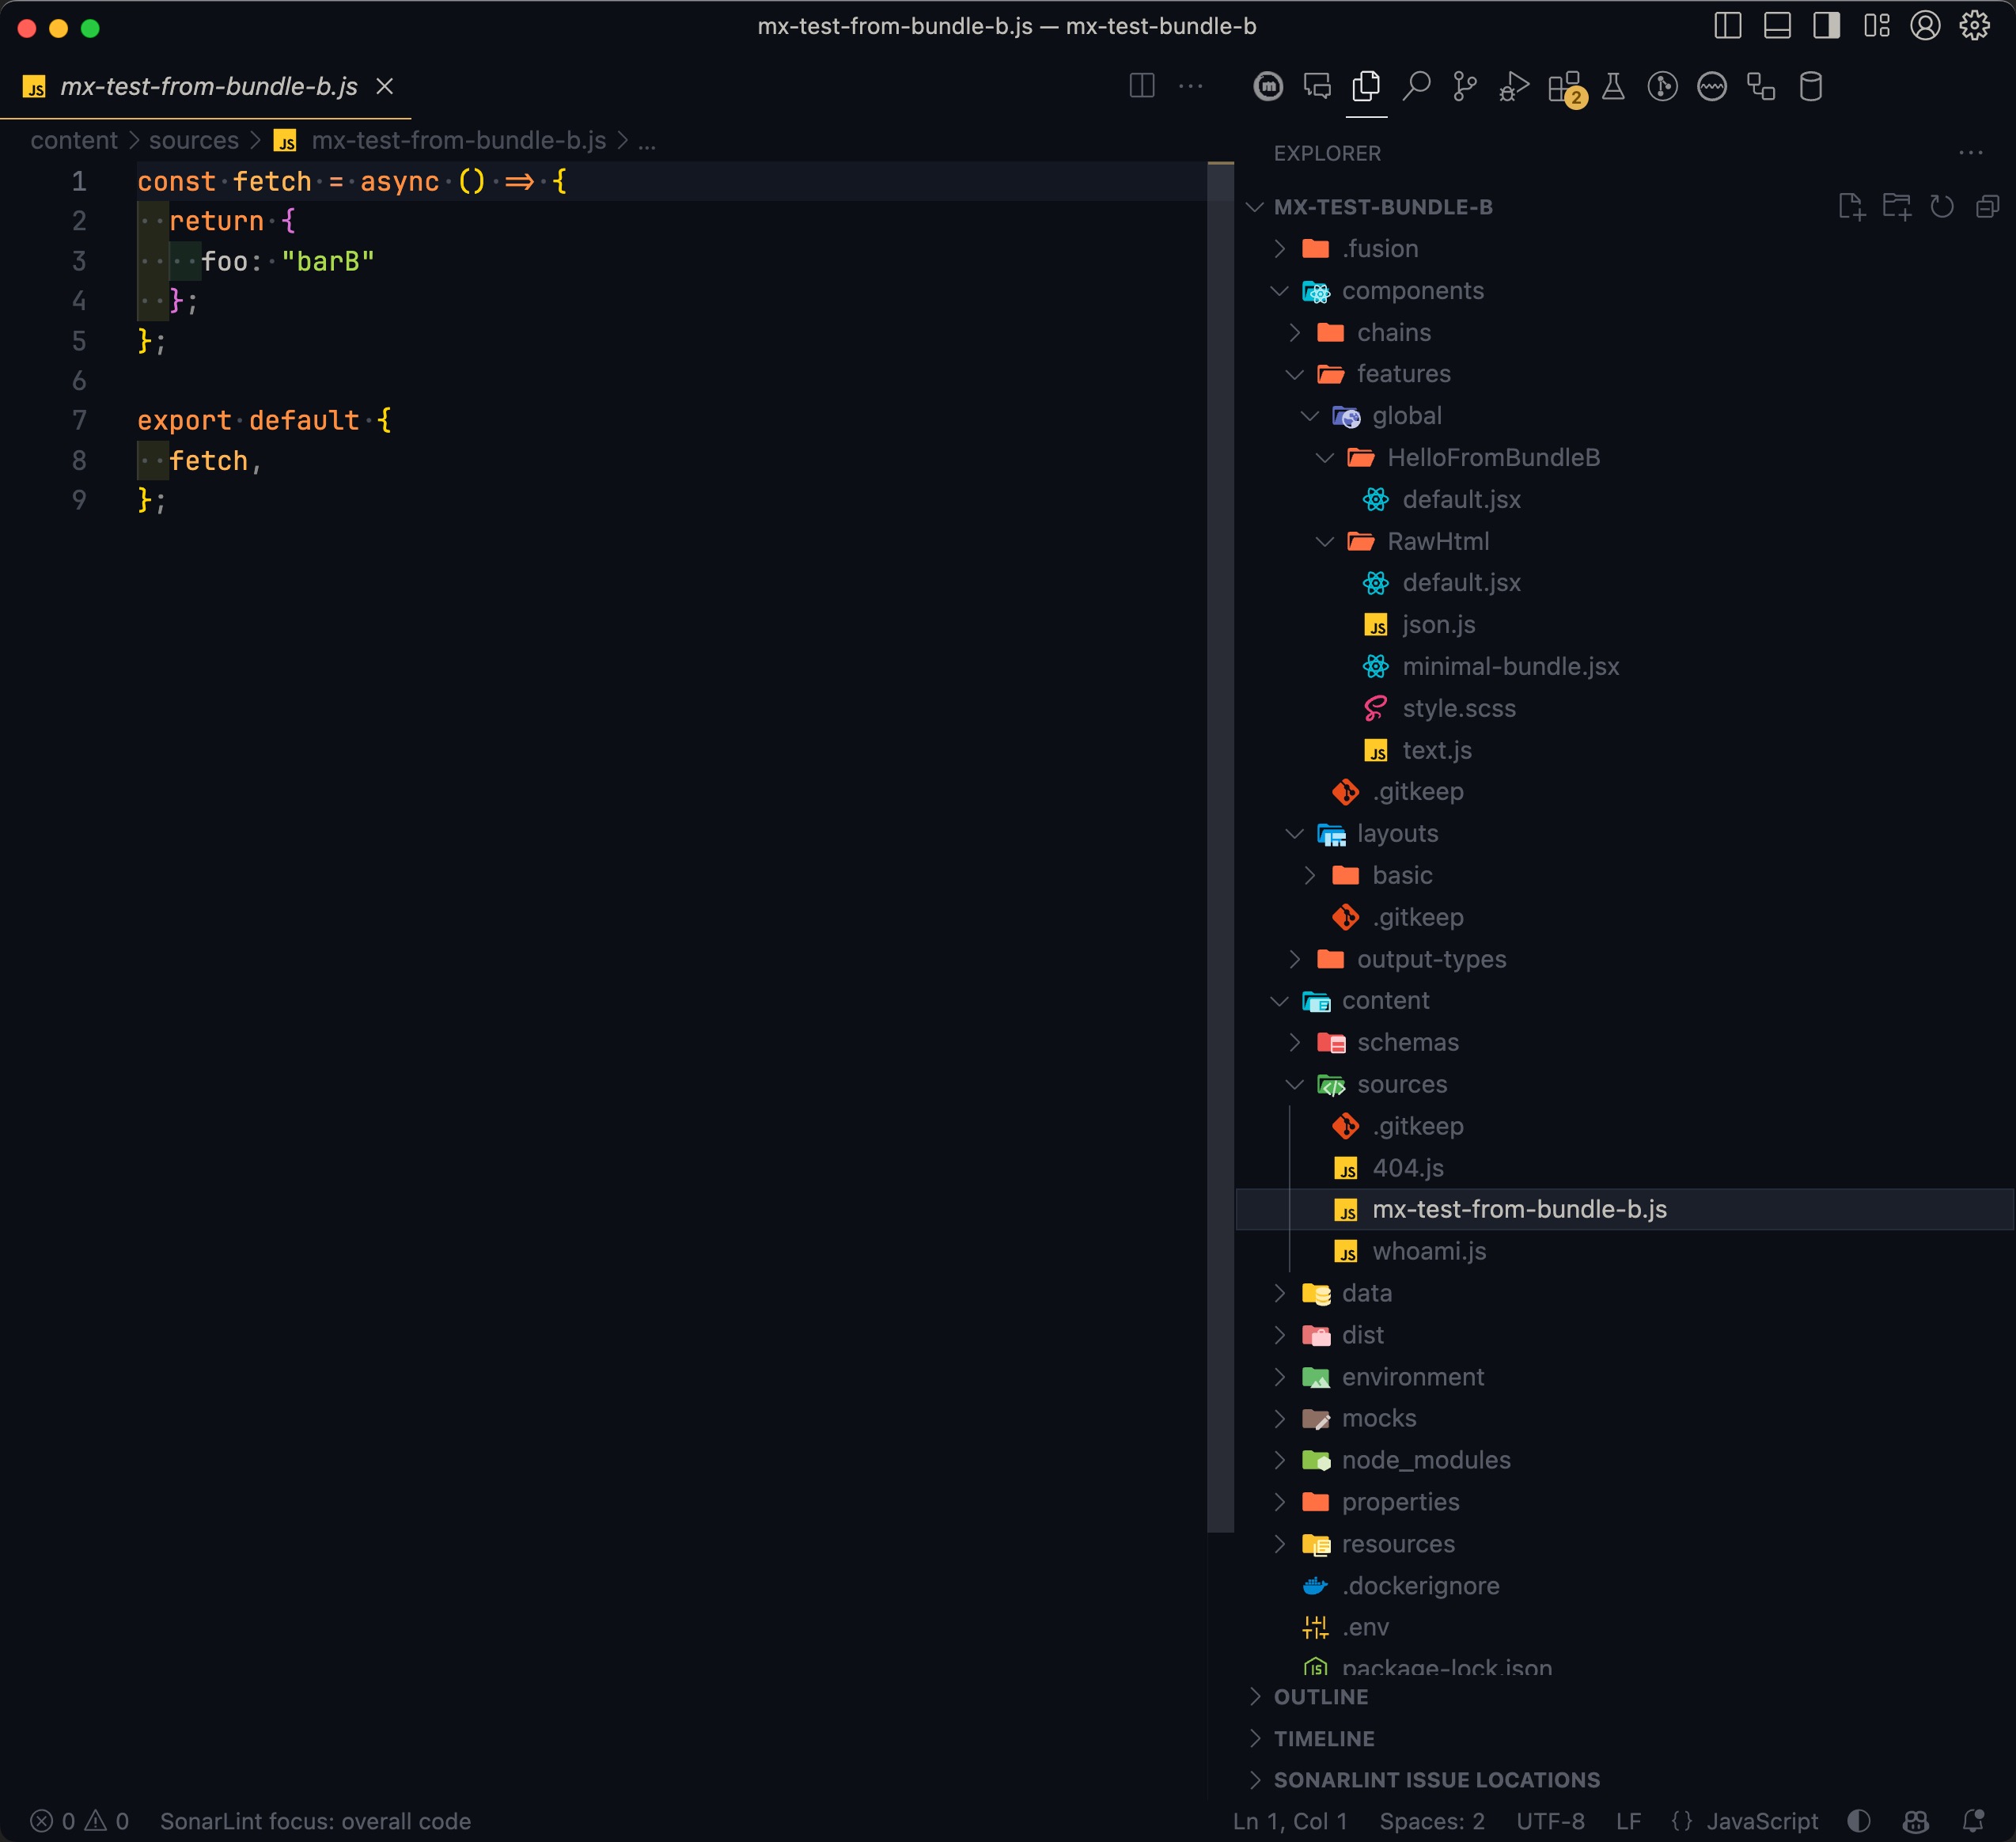
Step 2.1: Upload the bundle to deployer
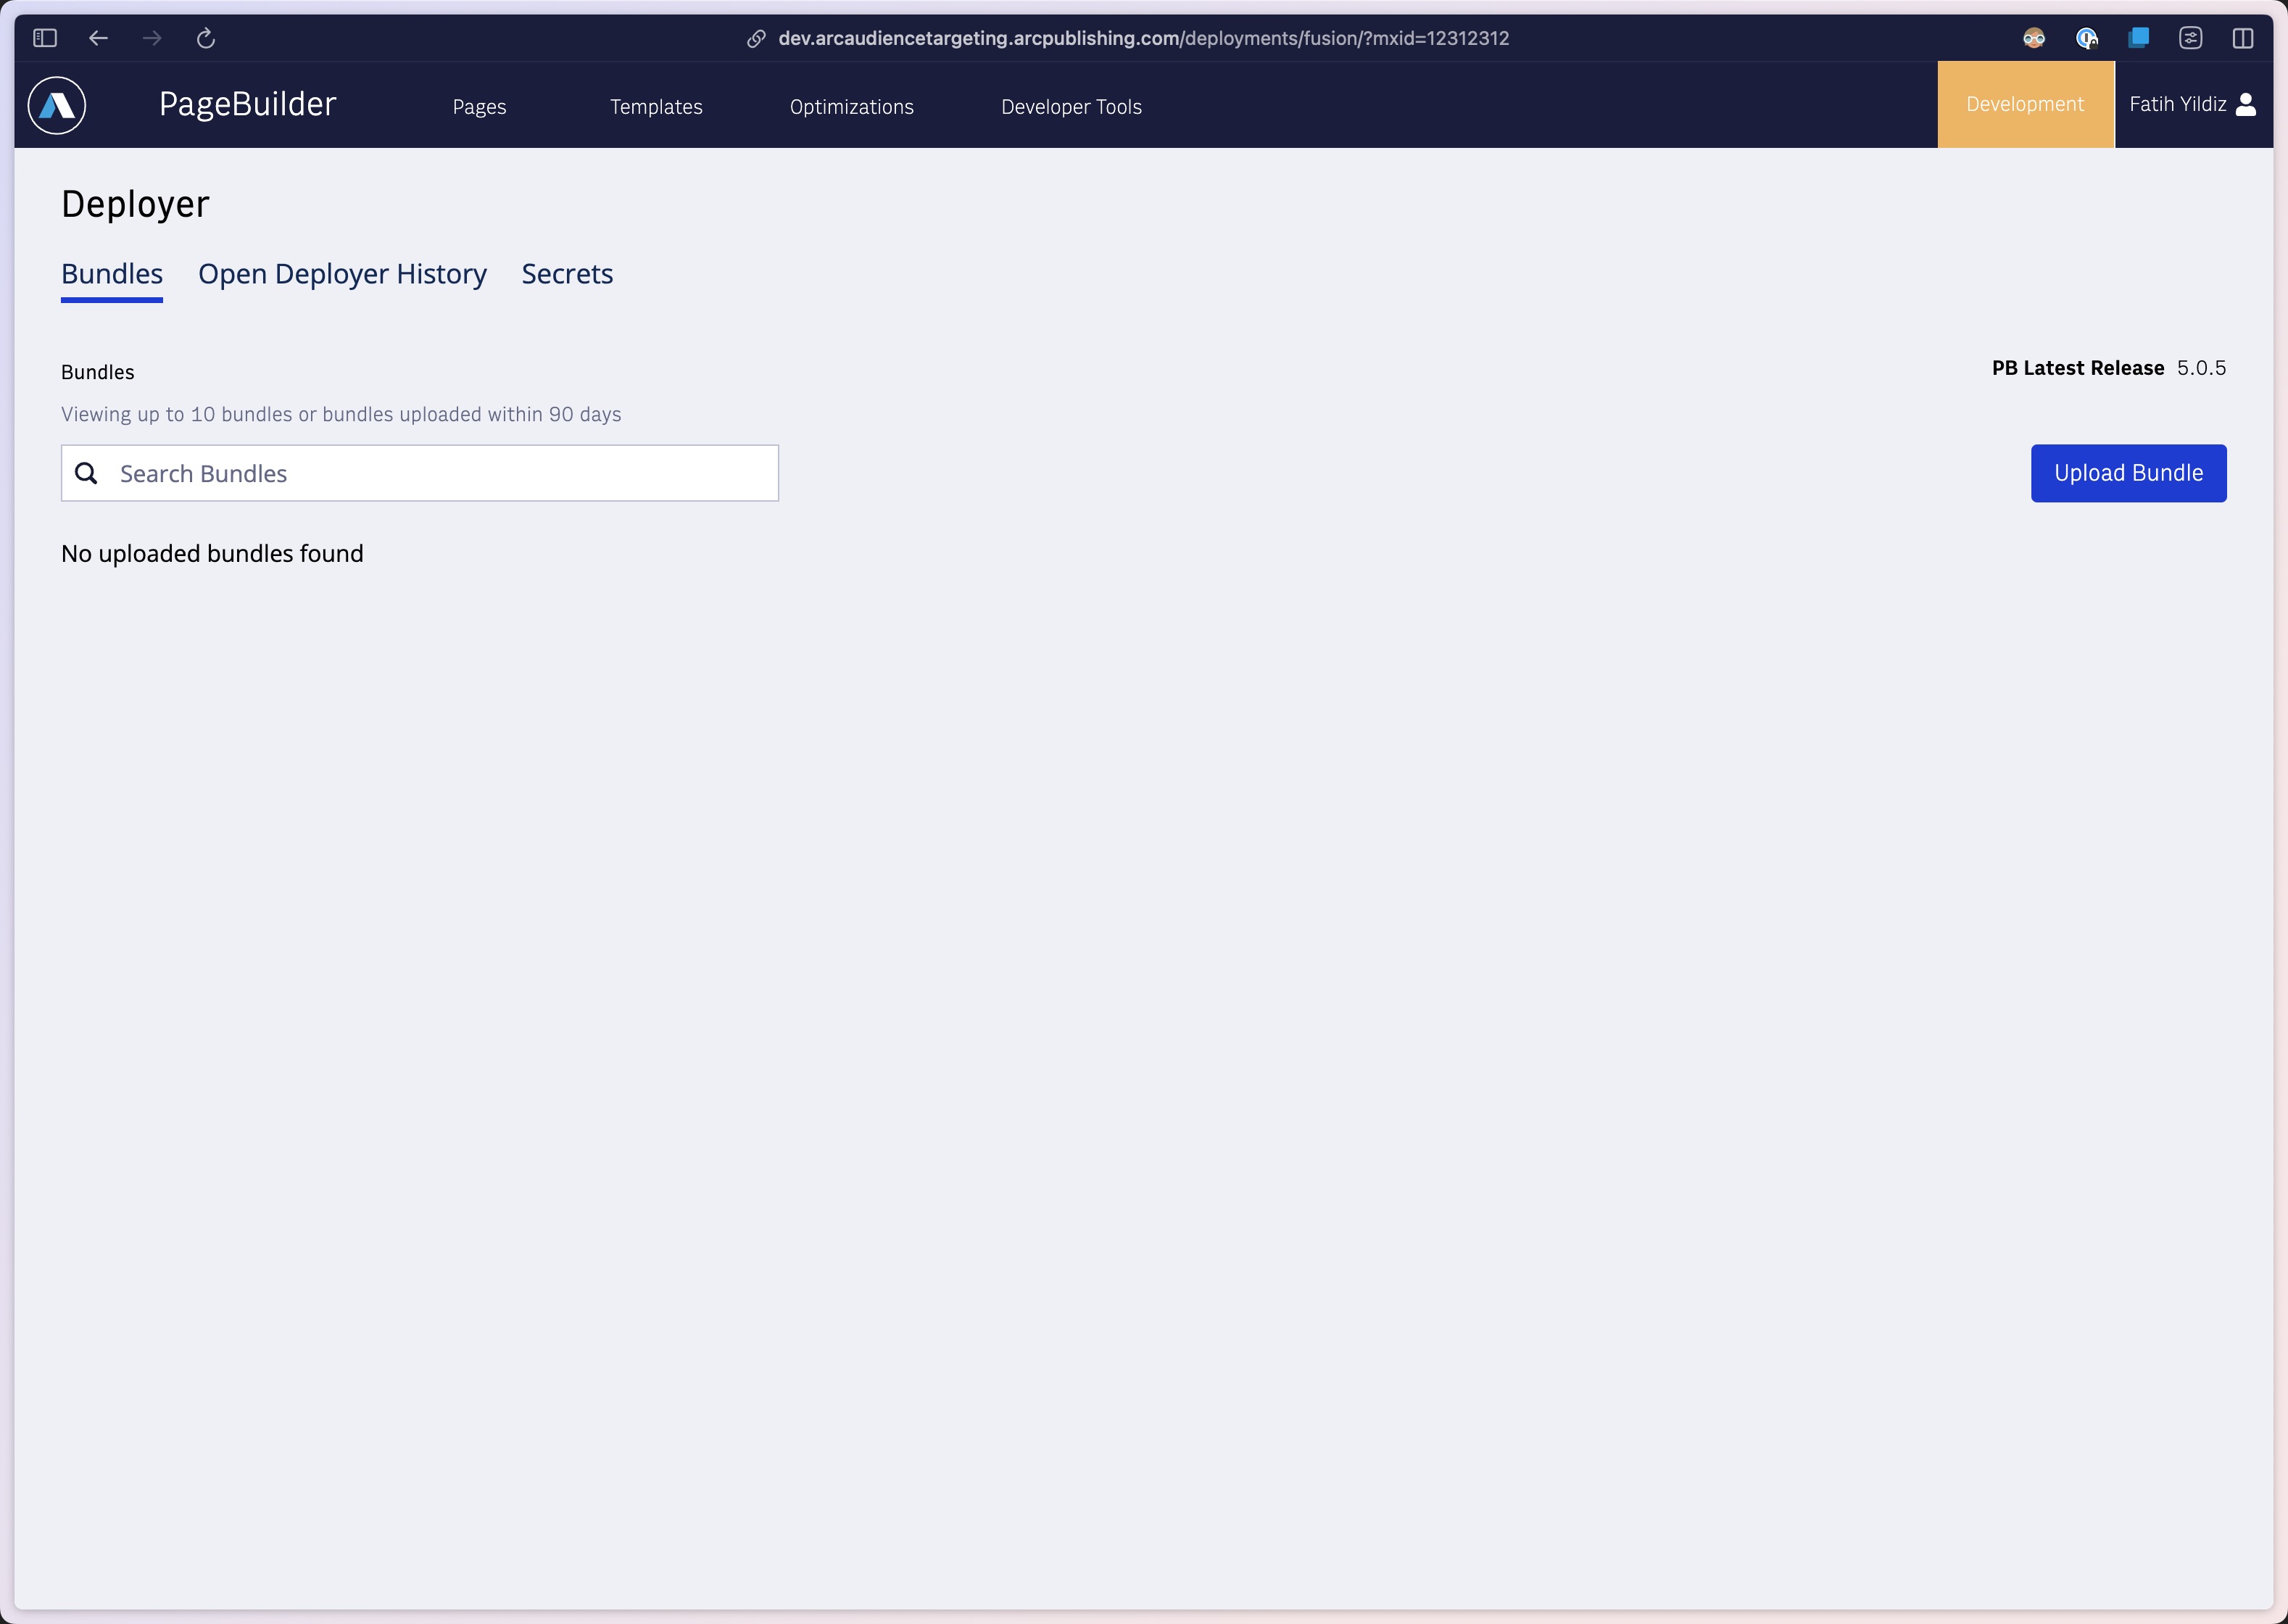
Go to the new MX, with clicking PB-Sports tile from Arc Home, then Developer Tools > Deployer to access to Sport MX’s deployer.
We’ll see a brand new, empty Deployer screen.
Now we upload our bundle:
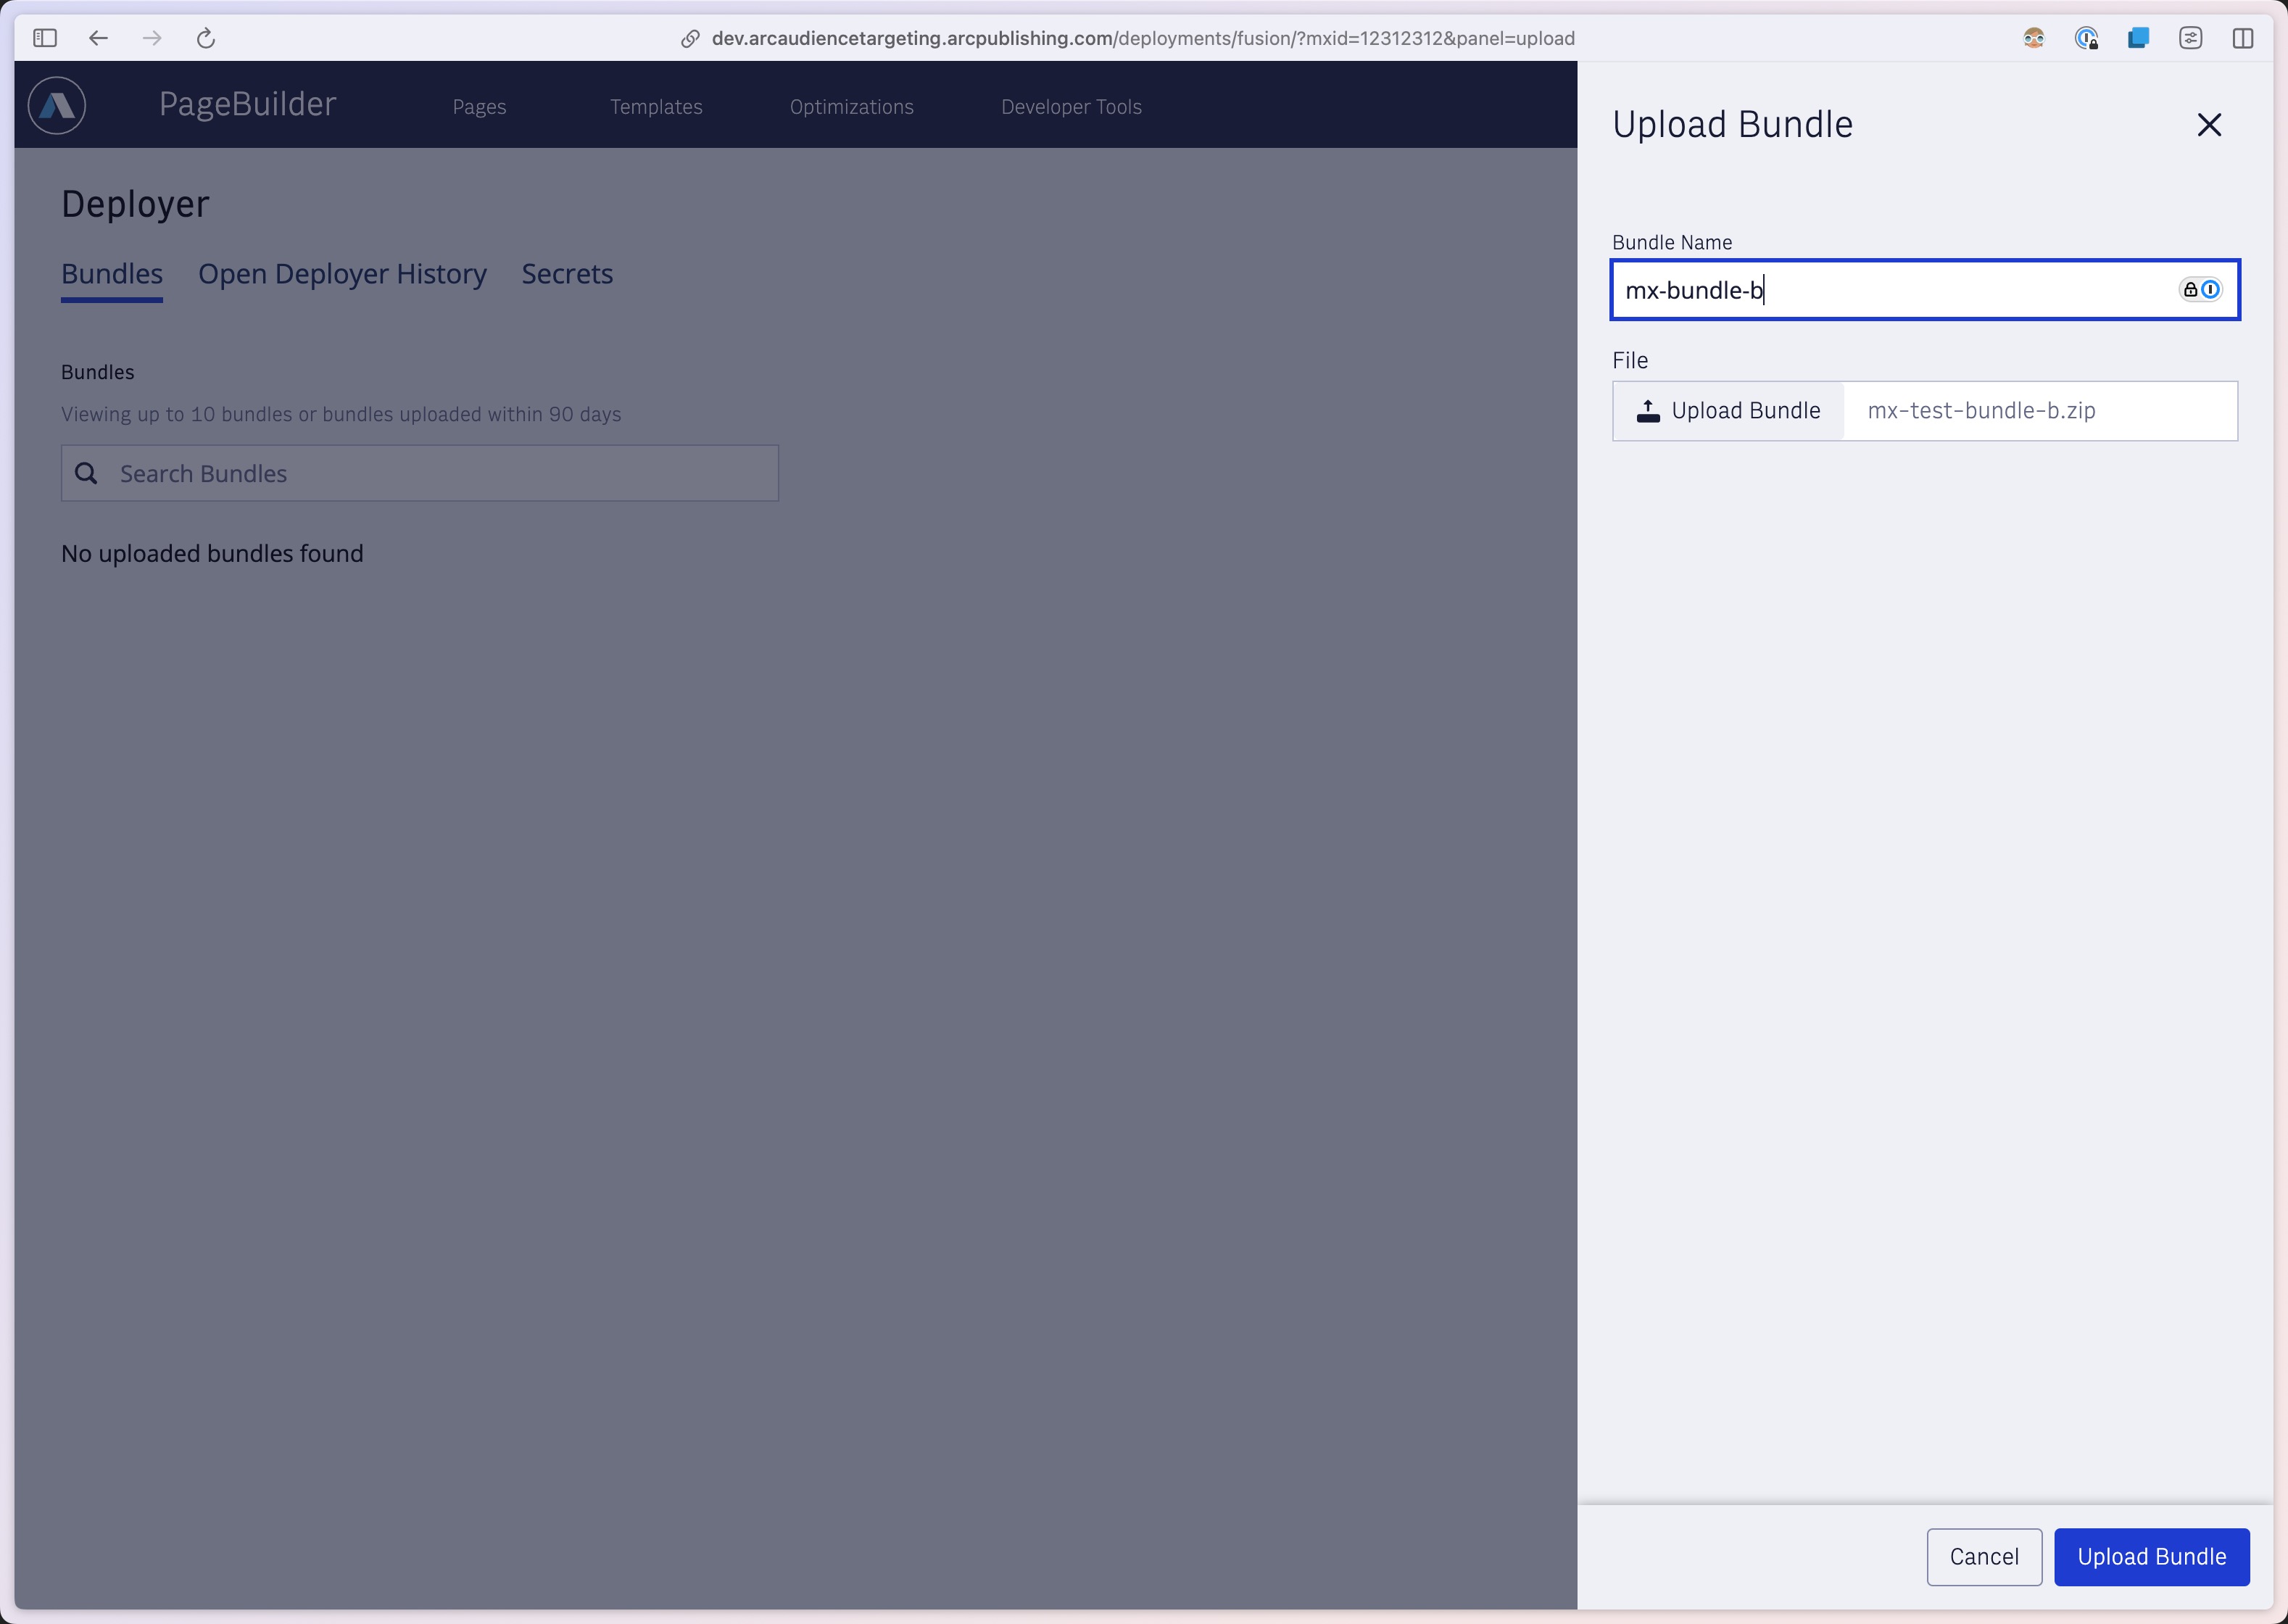
Step 2.2: Deploy the bundle with Engine 5.1 or newer version
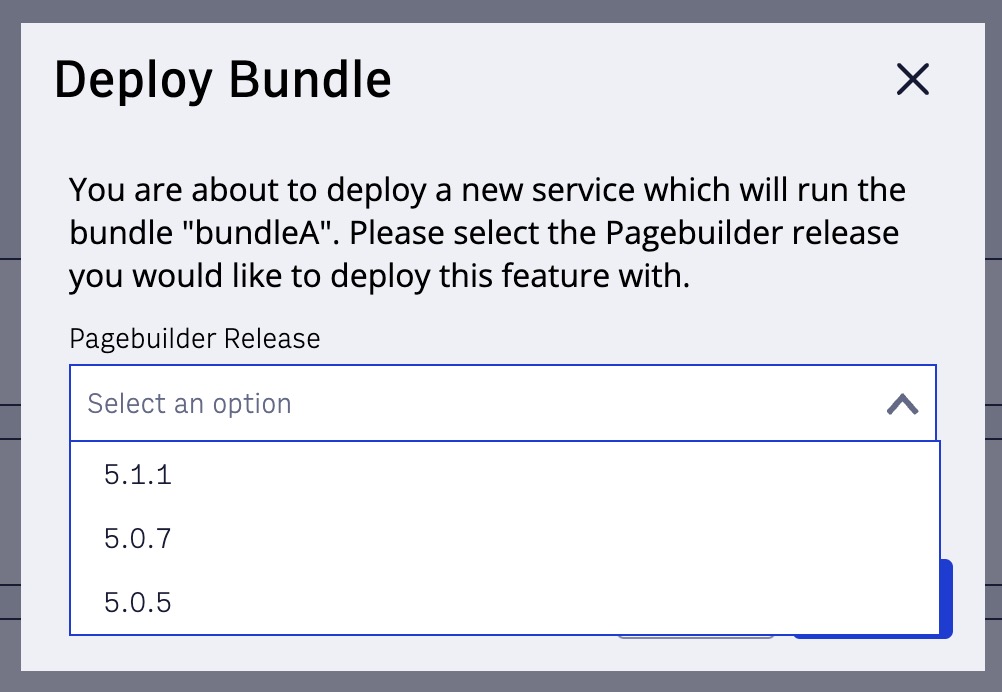
Once uploaded, we click “…” icon and click deploy option.
Then we select the engine version to deploy this bundle with (in Engine versions dropdown, select 5.1 or newer):
Step 2.3: Promote the deployment live
Then we wait it to deploy and once it’s deployed, we promote it live.
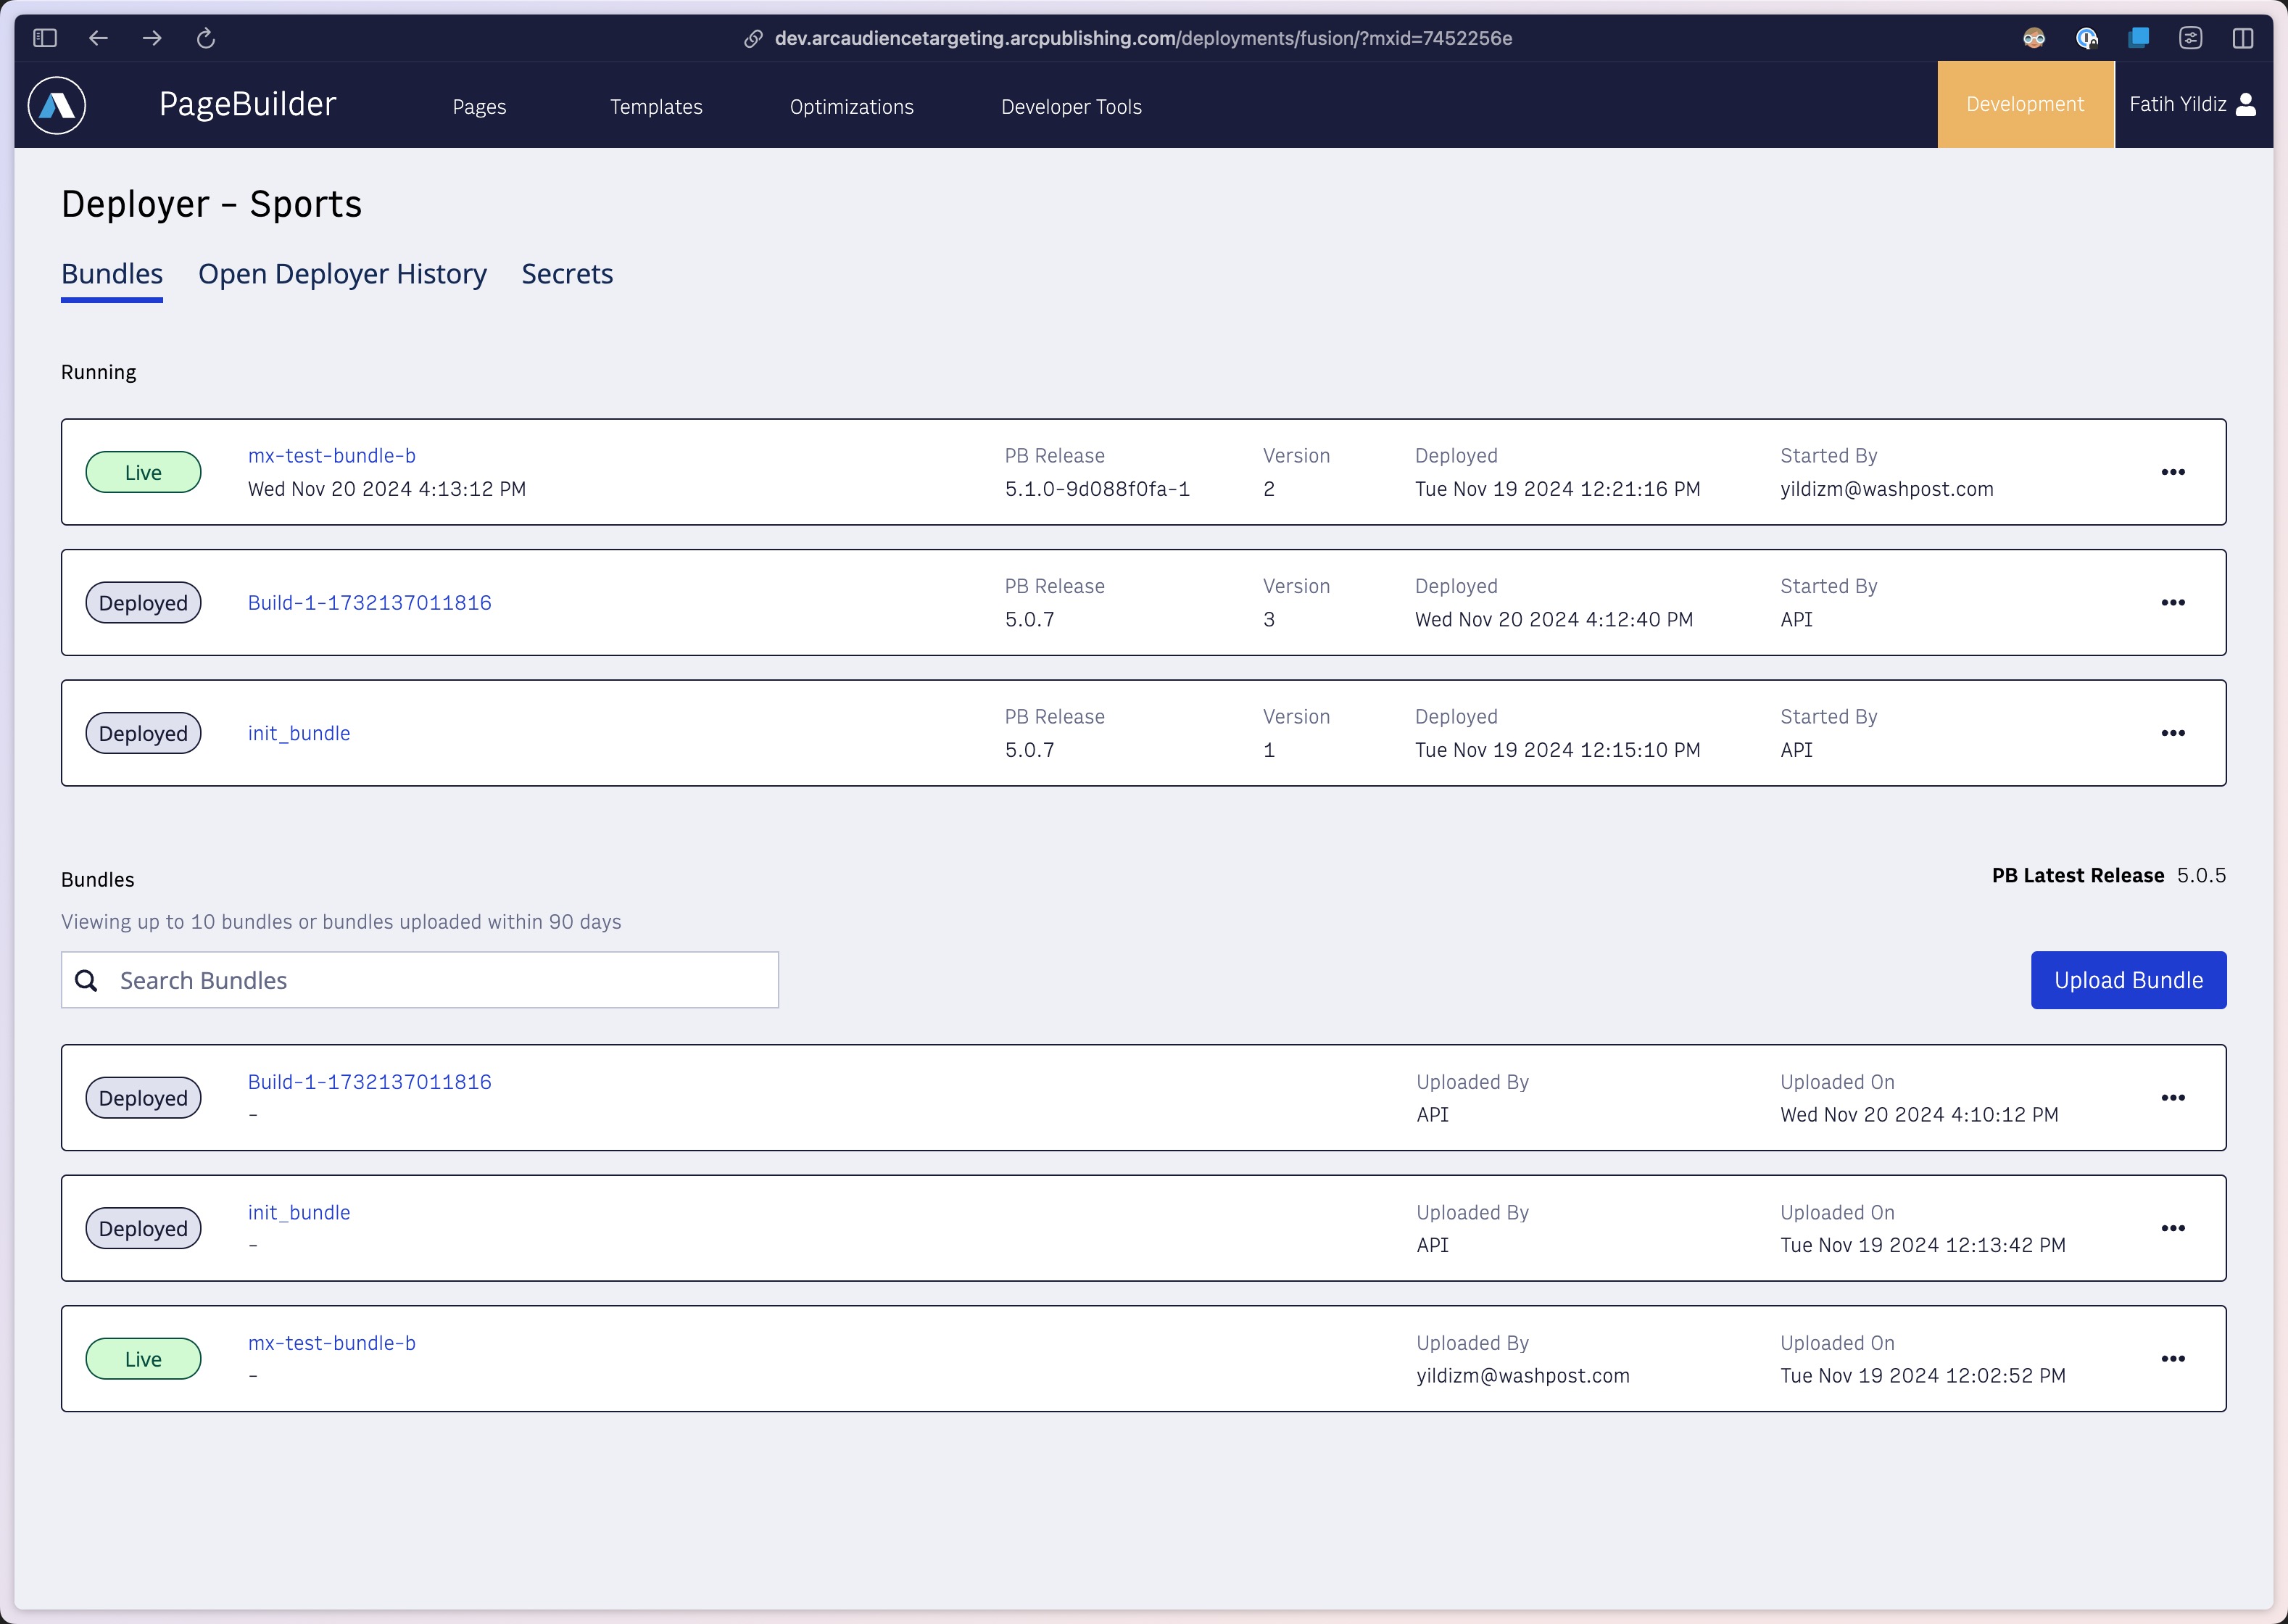
Now we’re ready to curate.
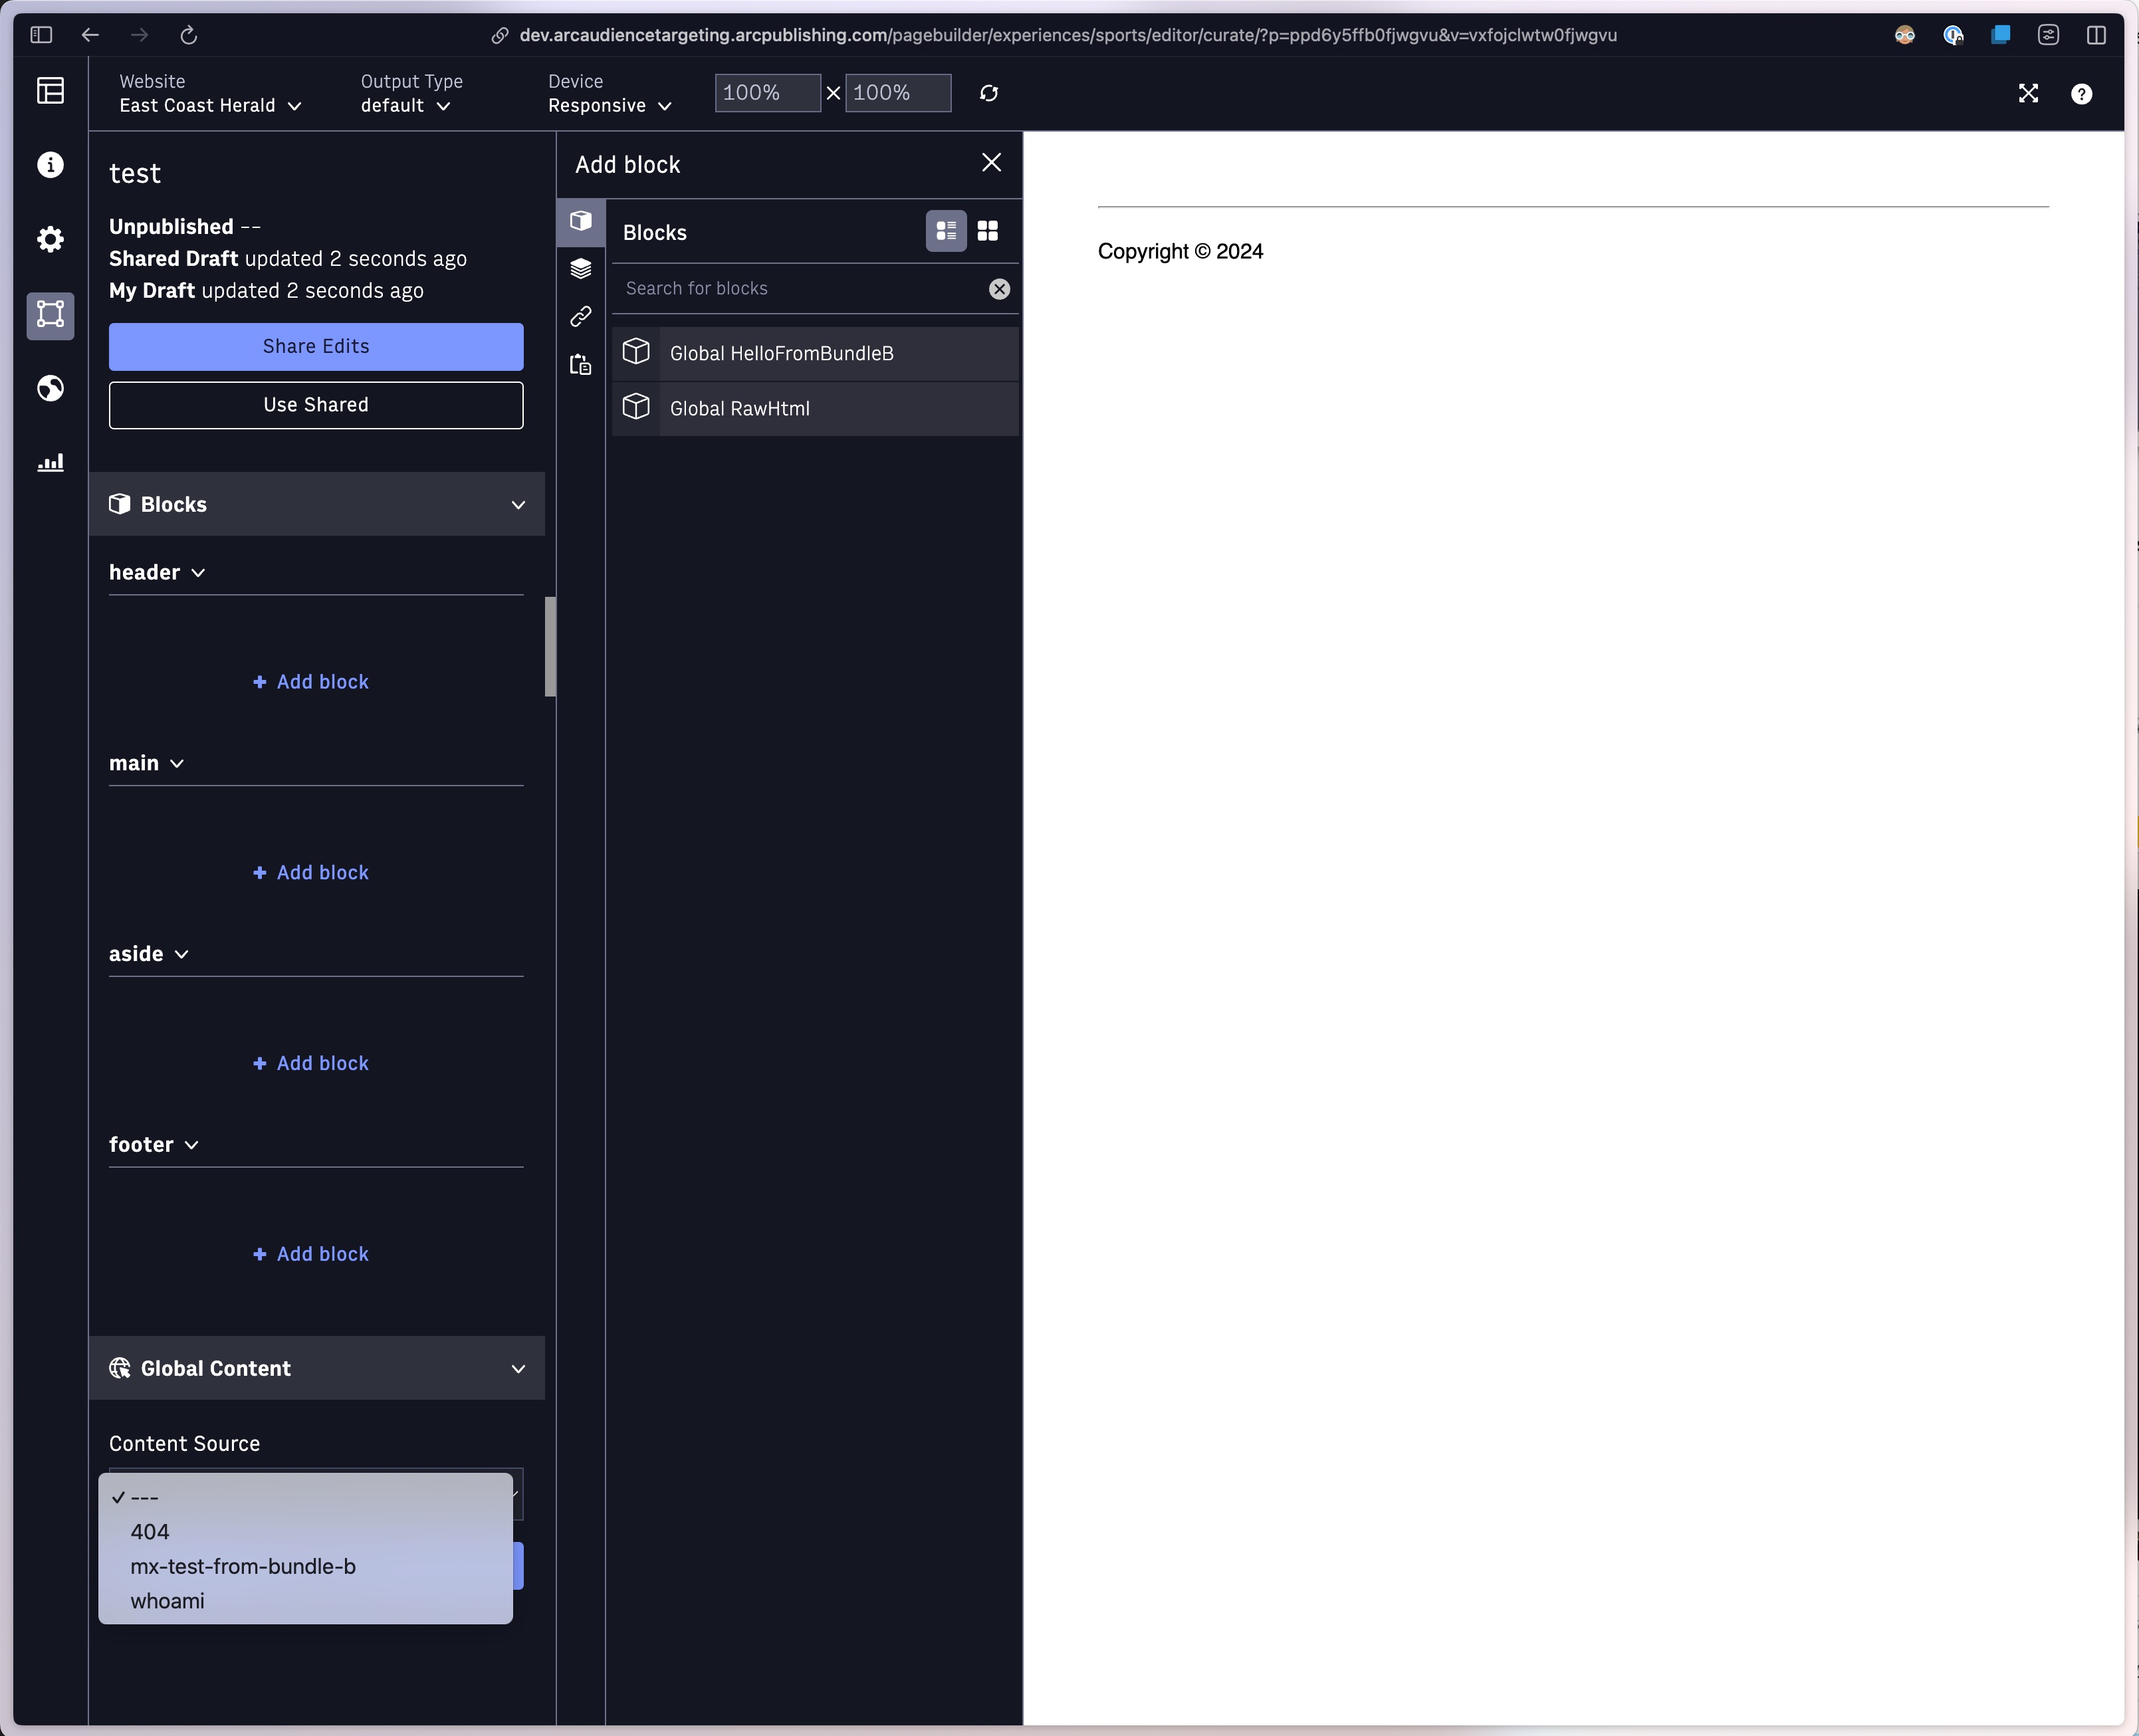
Step 3: Curate Pages & Preview
We can now go to Pages list, create a new page and see the contents of the bundle in the Curation interface (see both, list of features as well as list of content sources shows only BundleB content):
For this tutorial, we curated a page like below, for Sports section front /sports
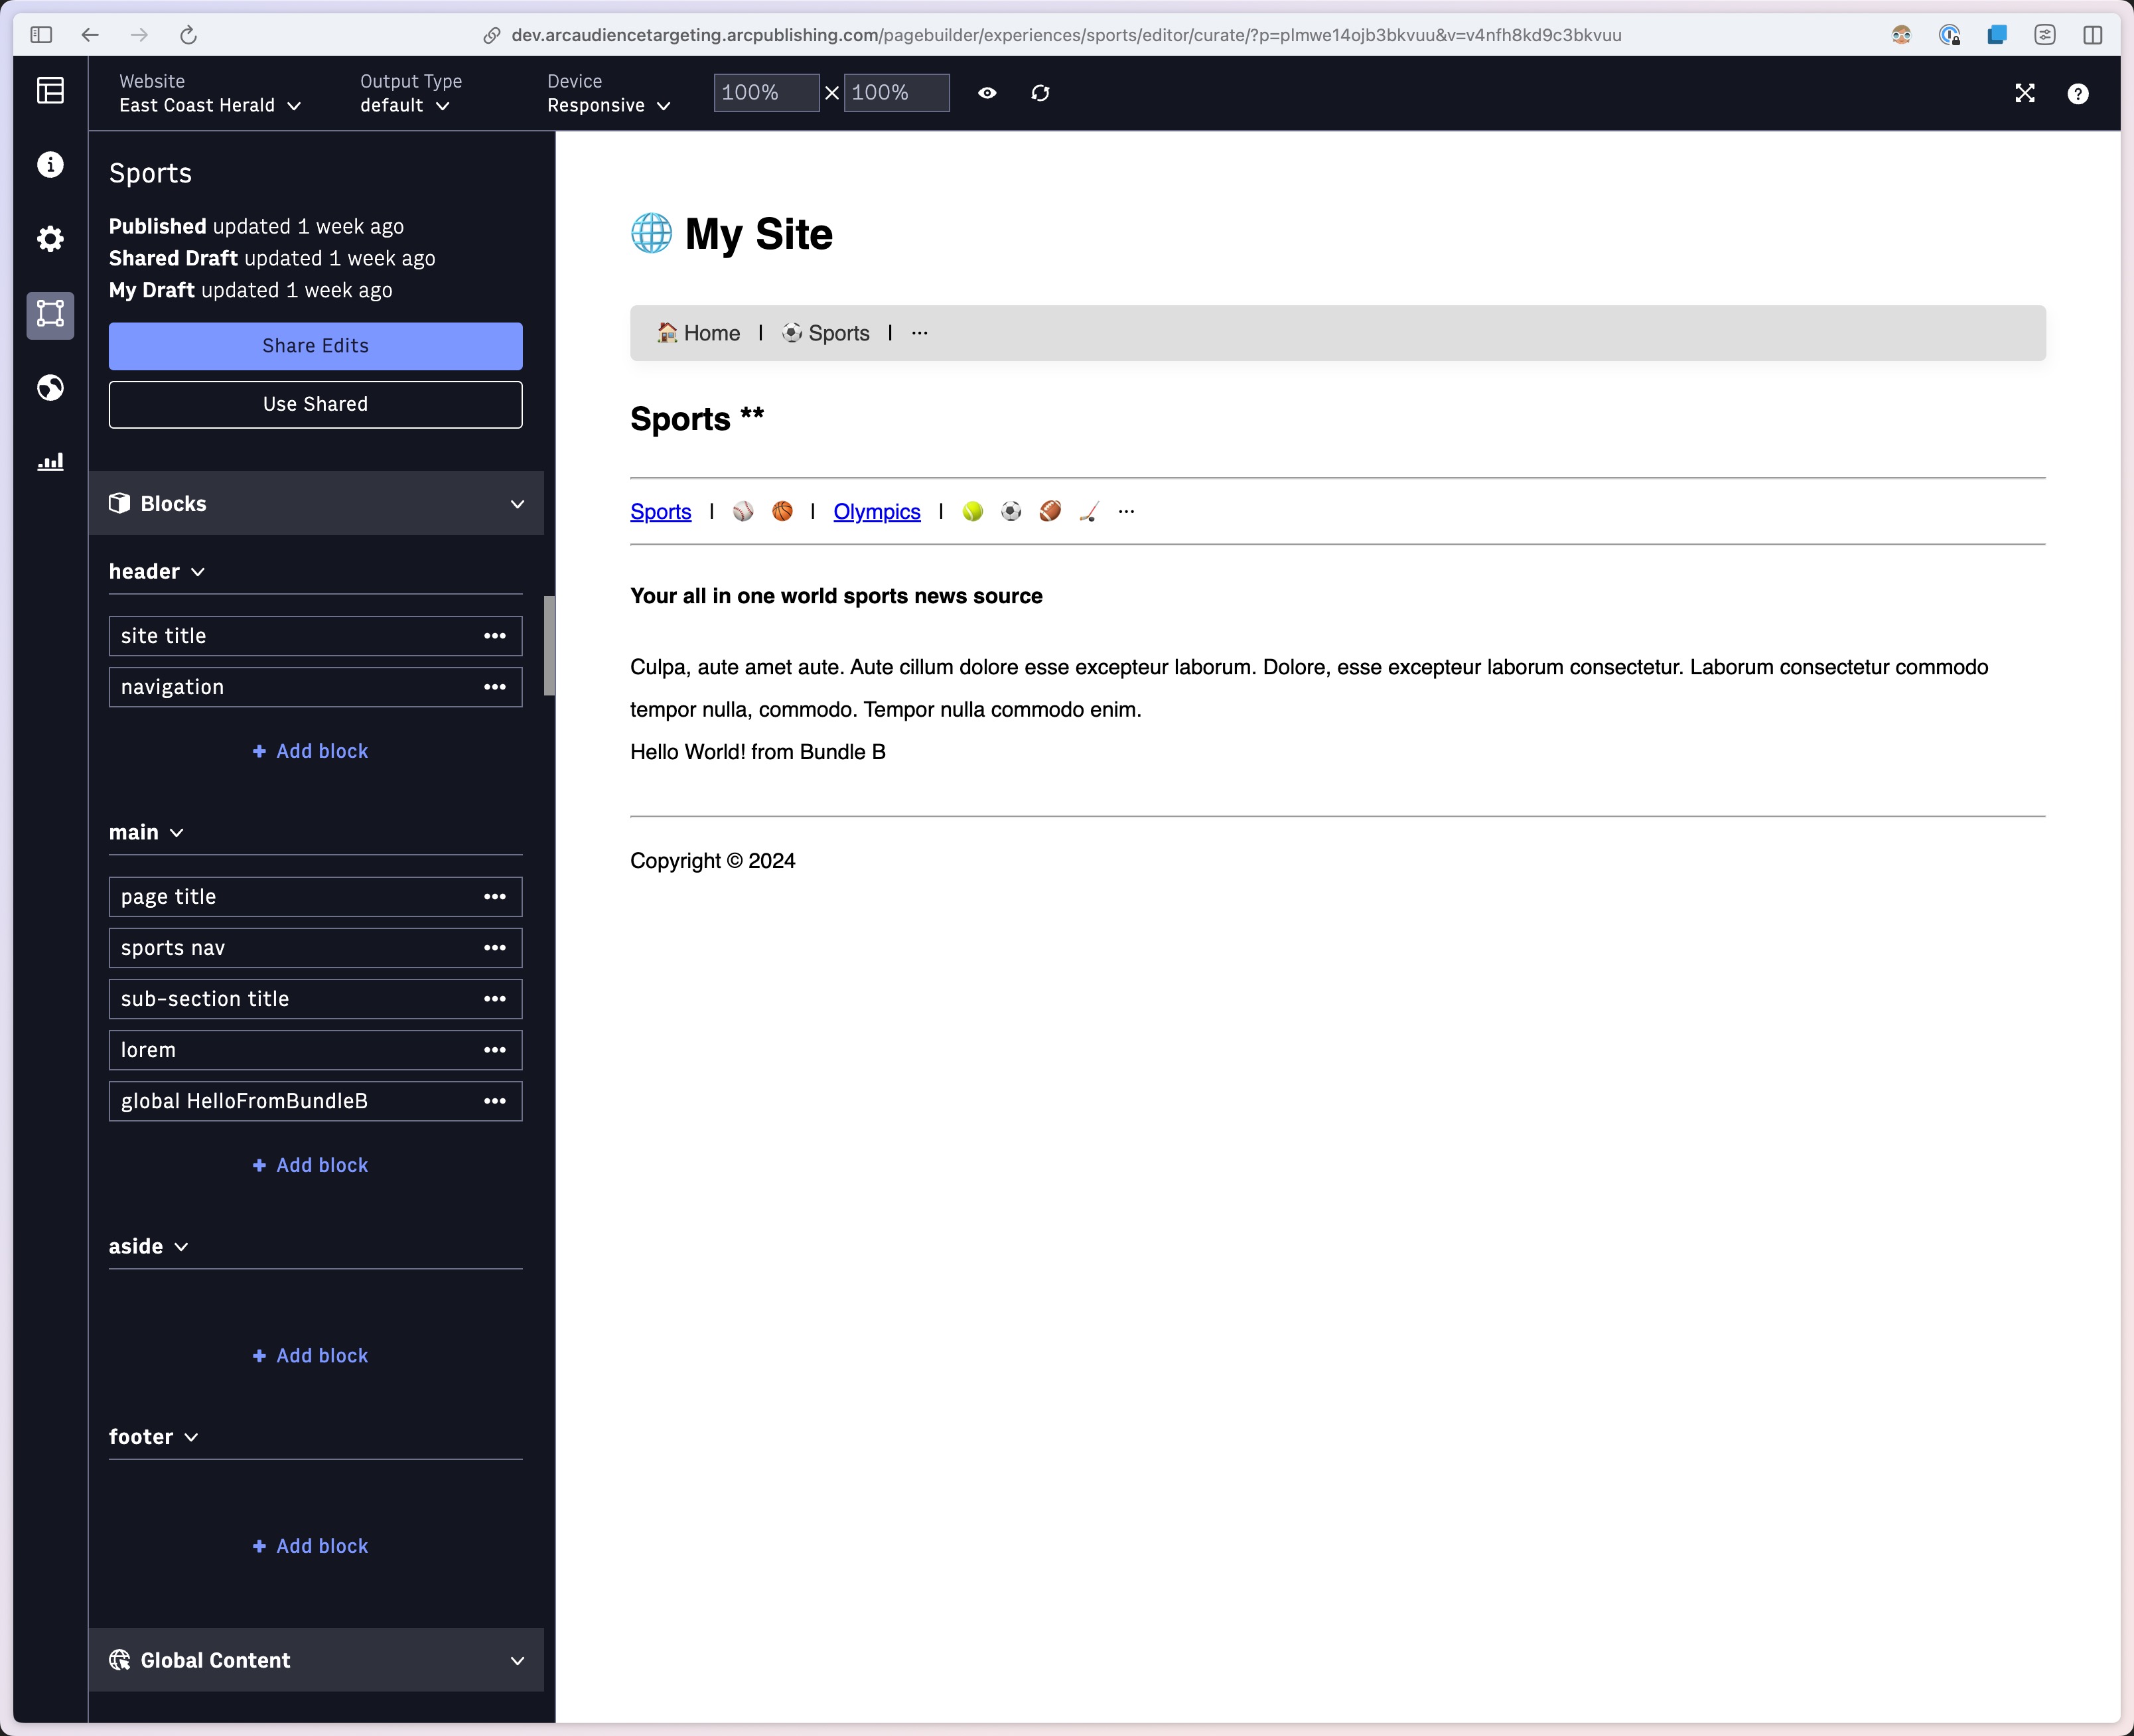
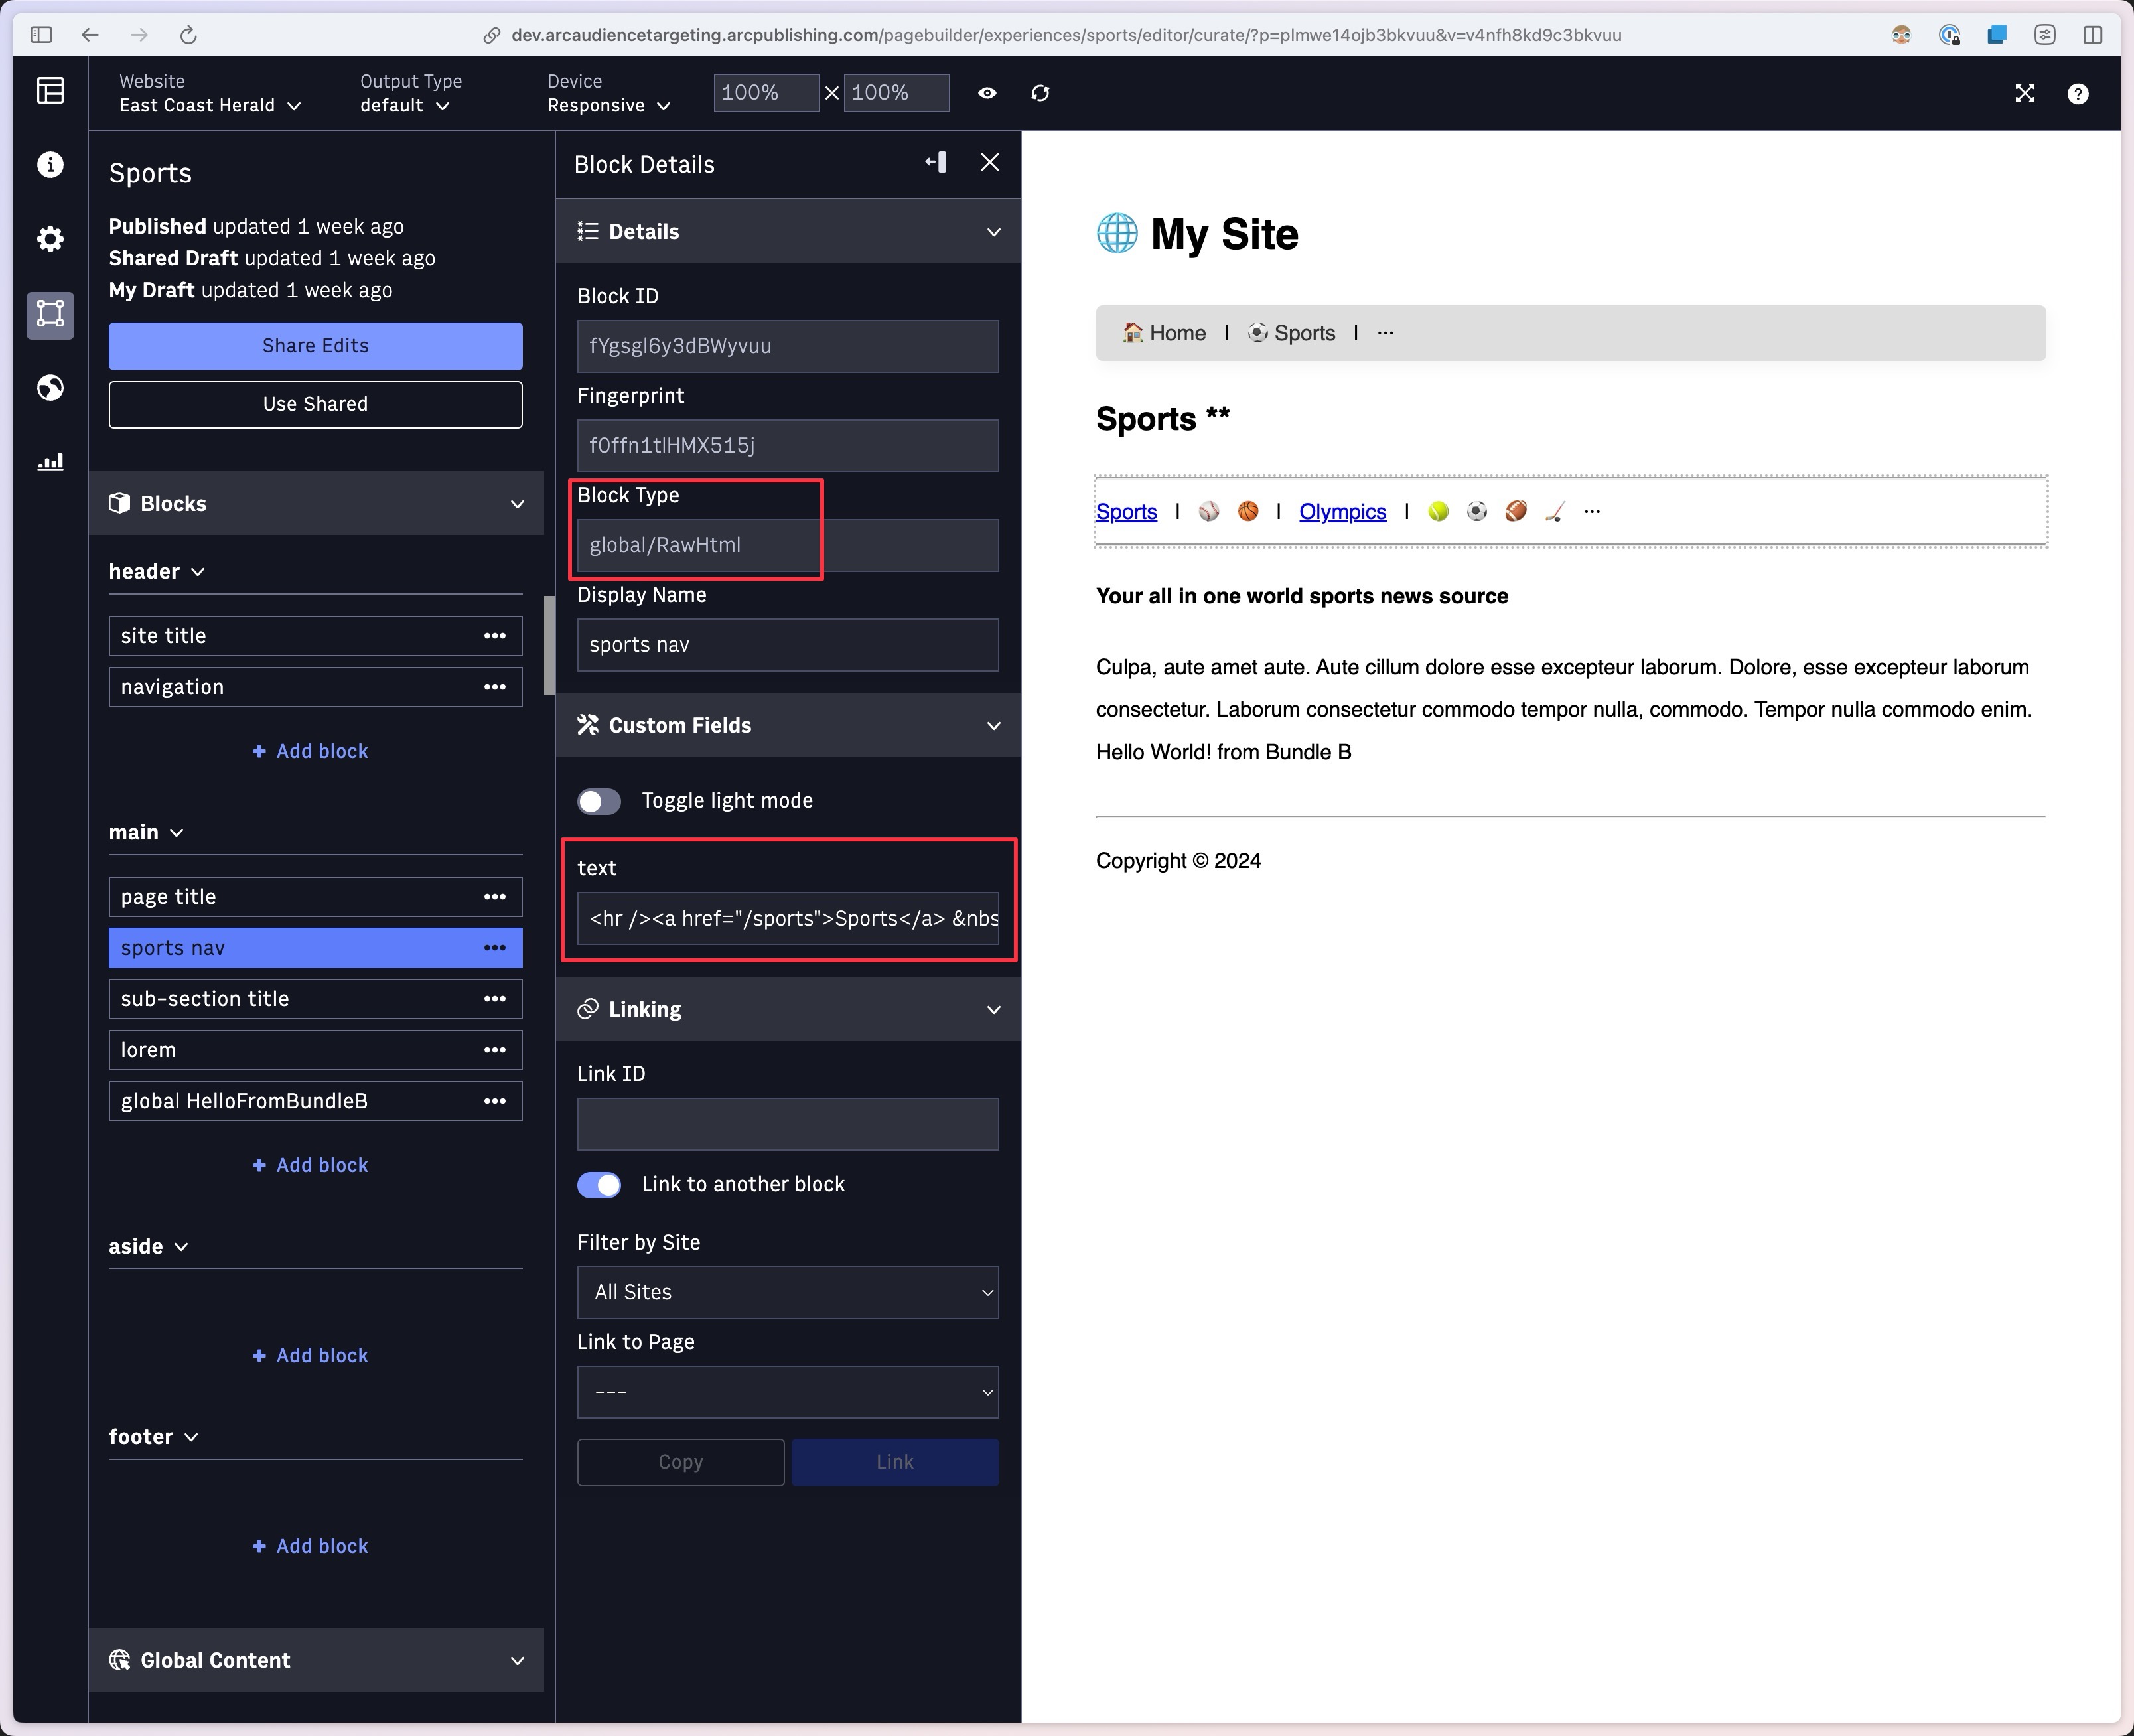
Most of the blocks are just simple RawHTML for our tests:
And we also created a sub-page: /sports/olympics
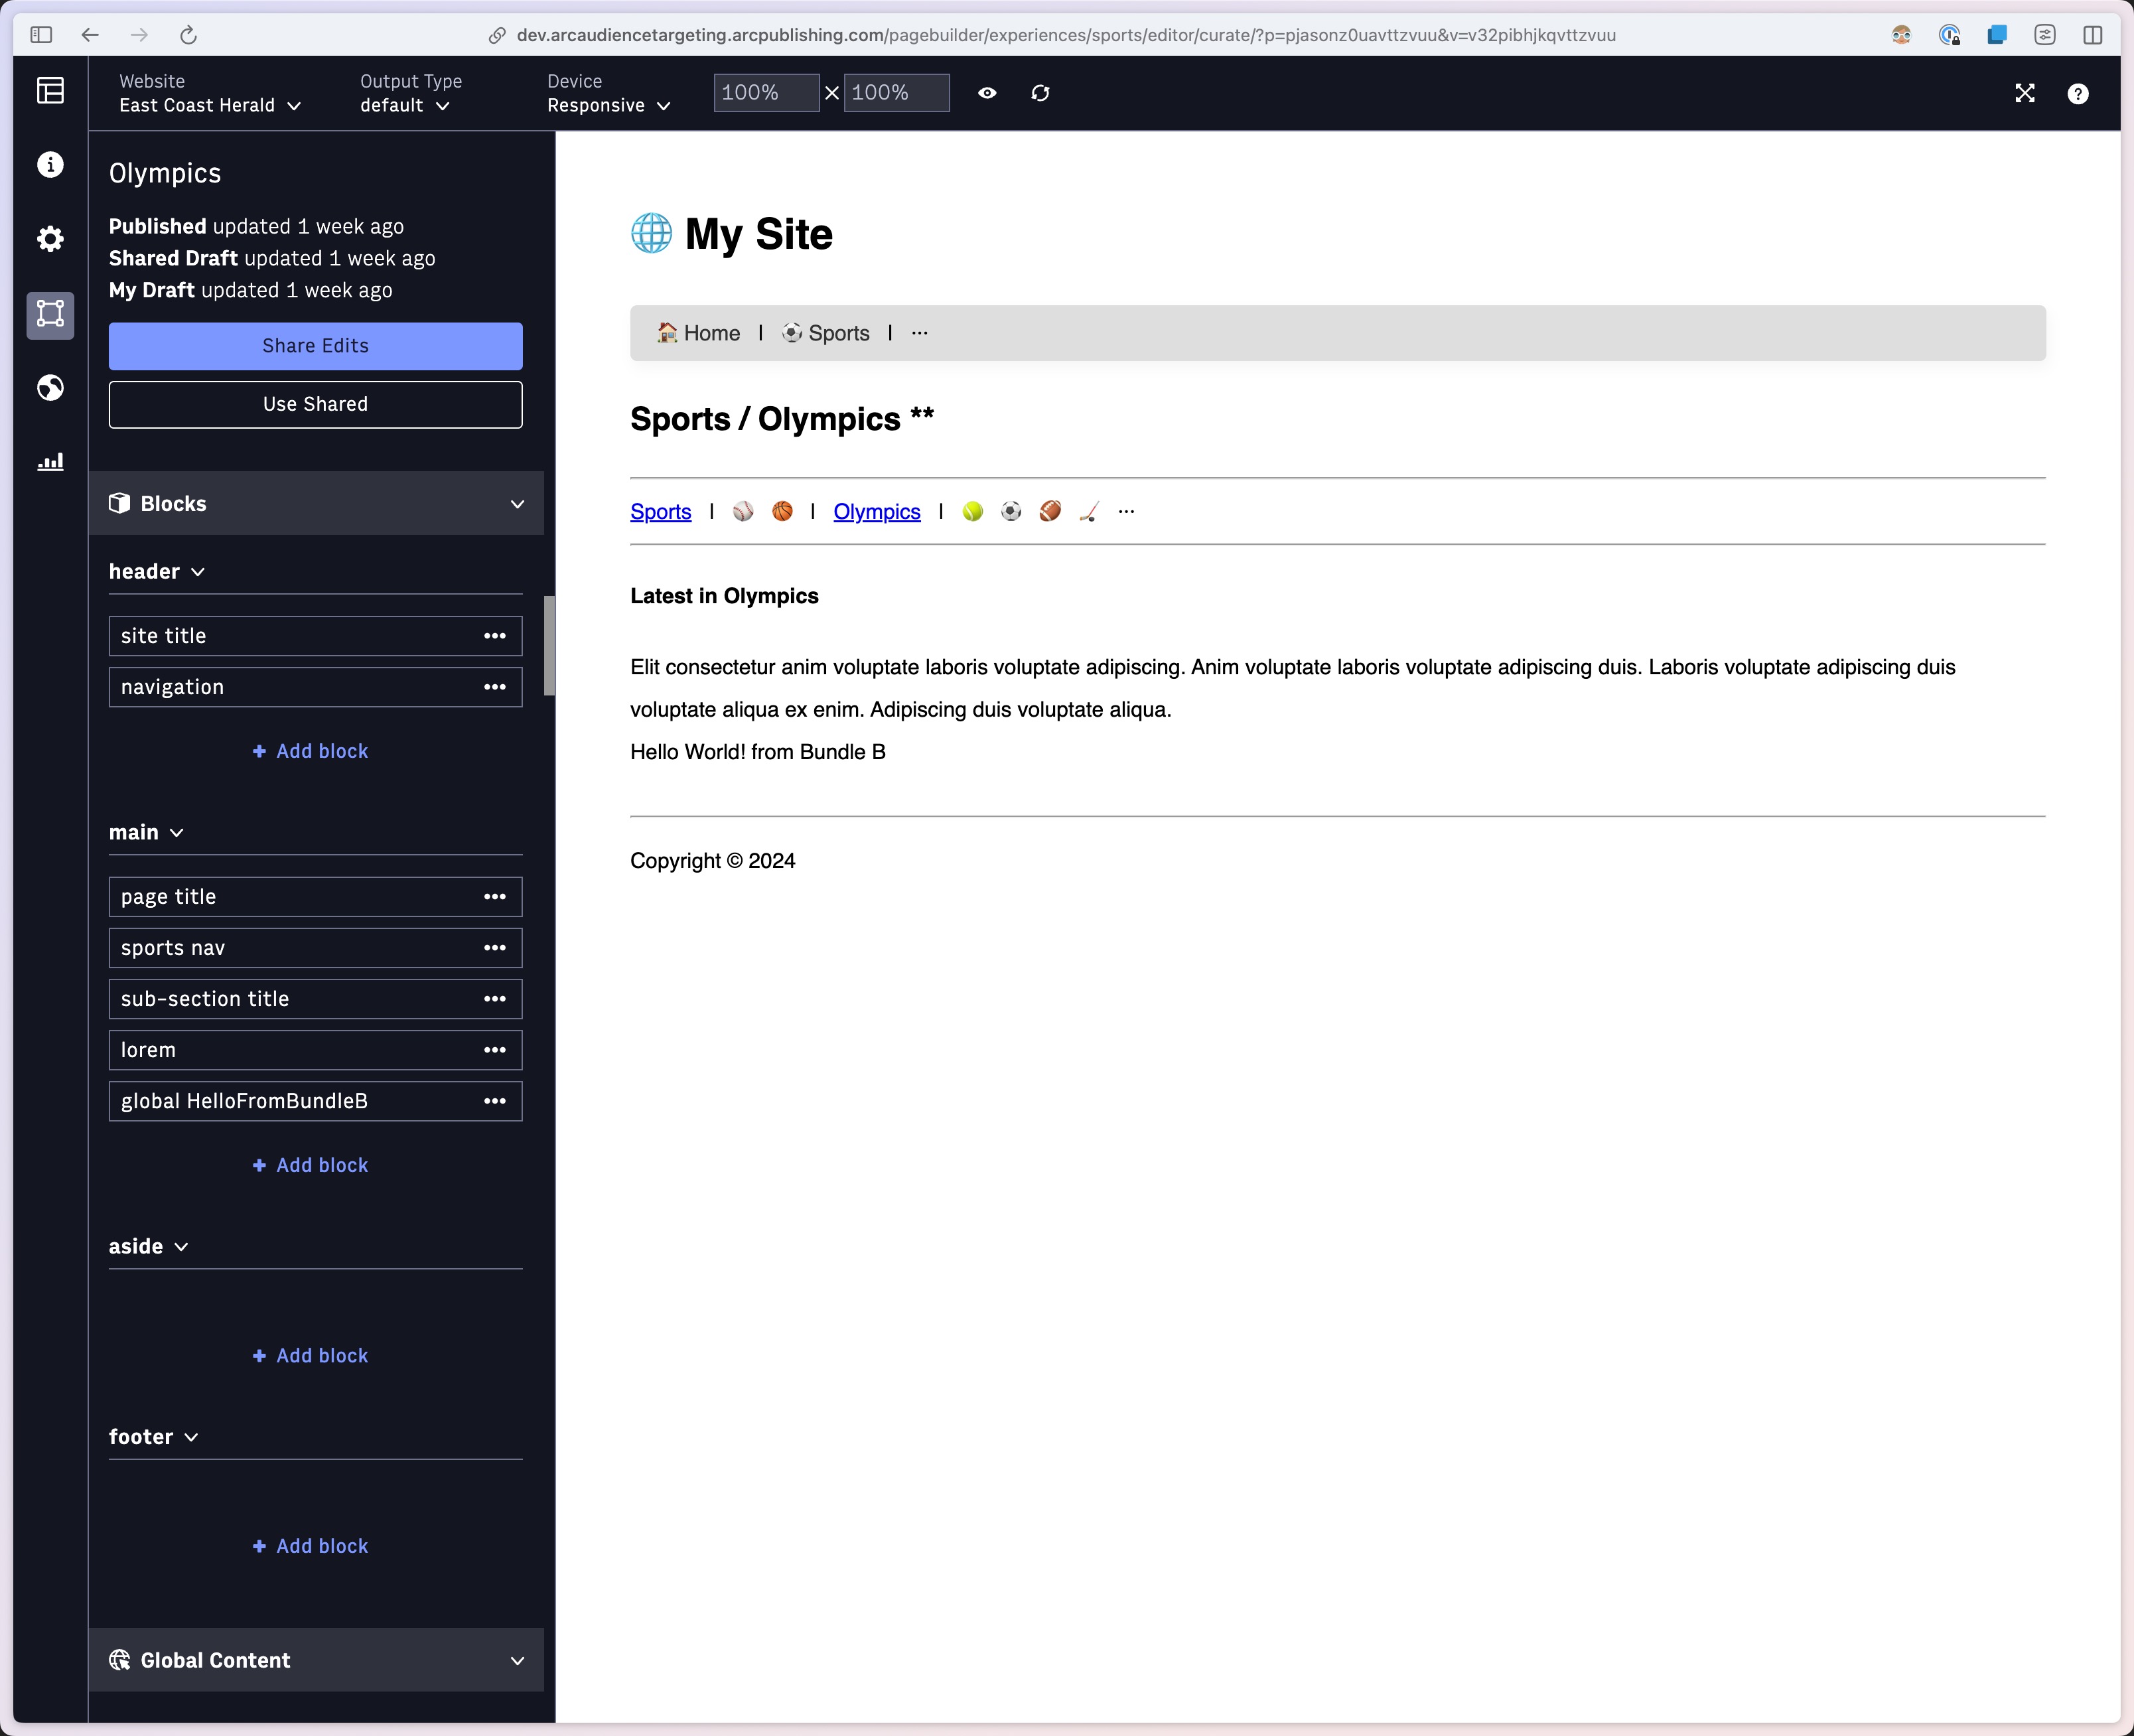
We intentionally added asterisks in the page title, so we can tell these pages are coming from Sports MX.
We publish these pages once we’re done curating.
Step 4: Go live
Publishing the pages in PageBuilder Editor will not be enough to make these pages live, unless this is default MX.
The final step to tell Arc XP to route anything under /sports/ URLs to this new Sports MX, we need to use MX Service API and update our MX’s siteMappings.
We make an API call with our dev center token to update site mappings:
curl --location --request PATCH 'https://api.dev.myorg.arcpublishing.com/pagebuilder/mx/sports' \ --header 'Content-Type: application/json' \ --header 'Authorization: ••••••' \ --data '{ "siteMappings": [ { "path": "/sports", "site": "the-gazette" } ] }'In this API call, we provided, our organization, environment in the request domain.
MX slug (sports) in the URL, as part of the API endpoint.
And the JSON array of site ↔︎ path prefix pairings that tells any URL starting with /sports in the-gazette site (site service site id). This array can have multiple sites, and different path prefixes for our Sports MX.
Both MX Service records and your page is cached at the CDN and it will take time to update (we covered how long to expect, in our technical guide). After it’s updated your readers will start seeing these new pages working seamlessly with your default experience.
Voilà!
Demo Homepage gets rendered by the default MX, sports and olympics pages gets rendered by Sports MX, while reader doesn’t see any change, continue to smoothly browse your site and enjoy the content they read.