Adopting Multiple Experience Strategy And Configuring Them
Micro Experiences opens up a lot of possibilities to redefine your development workflows. Successfully implementing Micro Experiences requires careful planning and configuration. This guide will walk you through the key considerations and steps to set up your MX instances effectively.
- 1. Multiple Experience Strategy
- 2. Codebase, Ownership and Deployments
- 3. Permissions
- 4. Testing
- 5. Ready to Go Live? Update MX with site + path prefix mappings
1. Multiple Experience Strategy
Clear Purpose of Each MX
Before setting up MX, it’s important to define the specific purpose of each instance. Consider the following questions:
- What are the distinct audiences or content areas that each MX will serve?
- How will the separation of concerns benefit your development and editorial teams?
- Which sites or paths will be mapped to each MX?
Considering your “sitemap” as your guiding point to plan which parts of your experiences should be separated. We covered an in-depth method how you can start thinking form your sitemap to plan your migration journey in Planning your Micro Experience Migration guide.
Naming Conventions
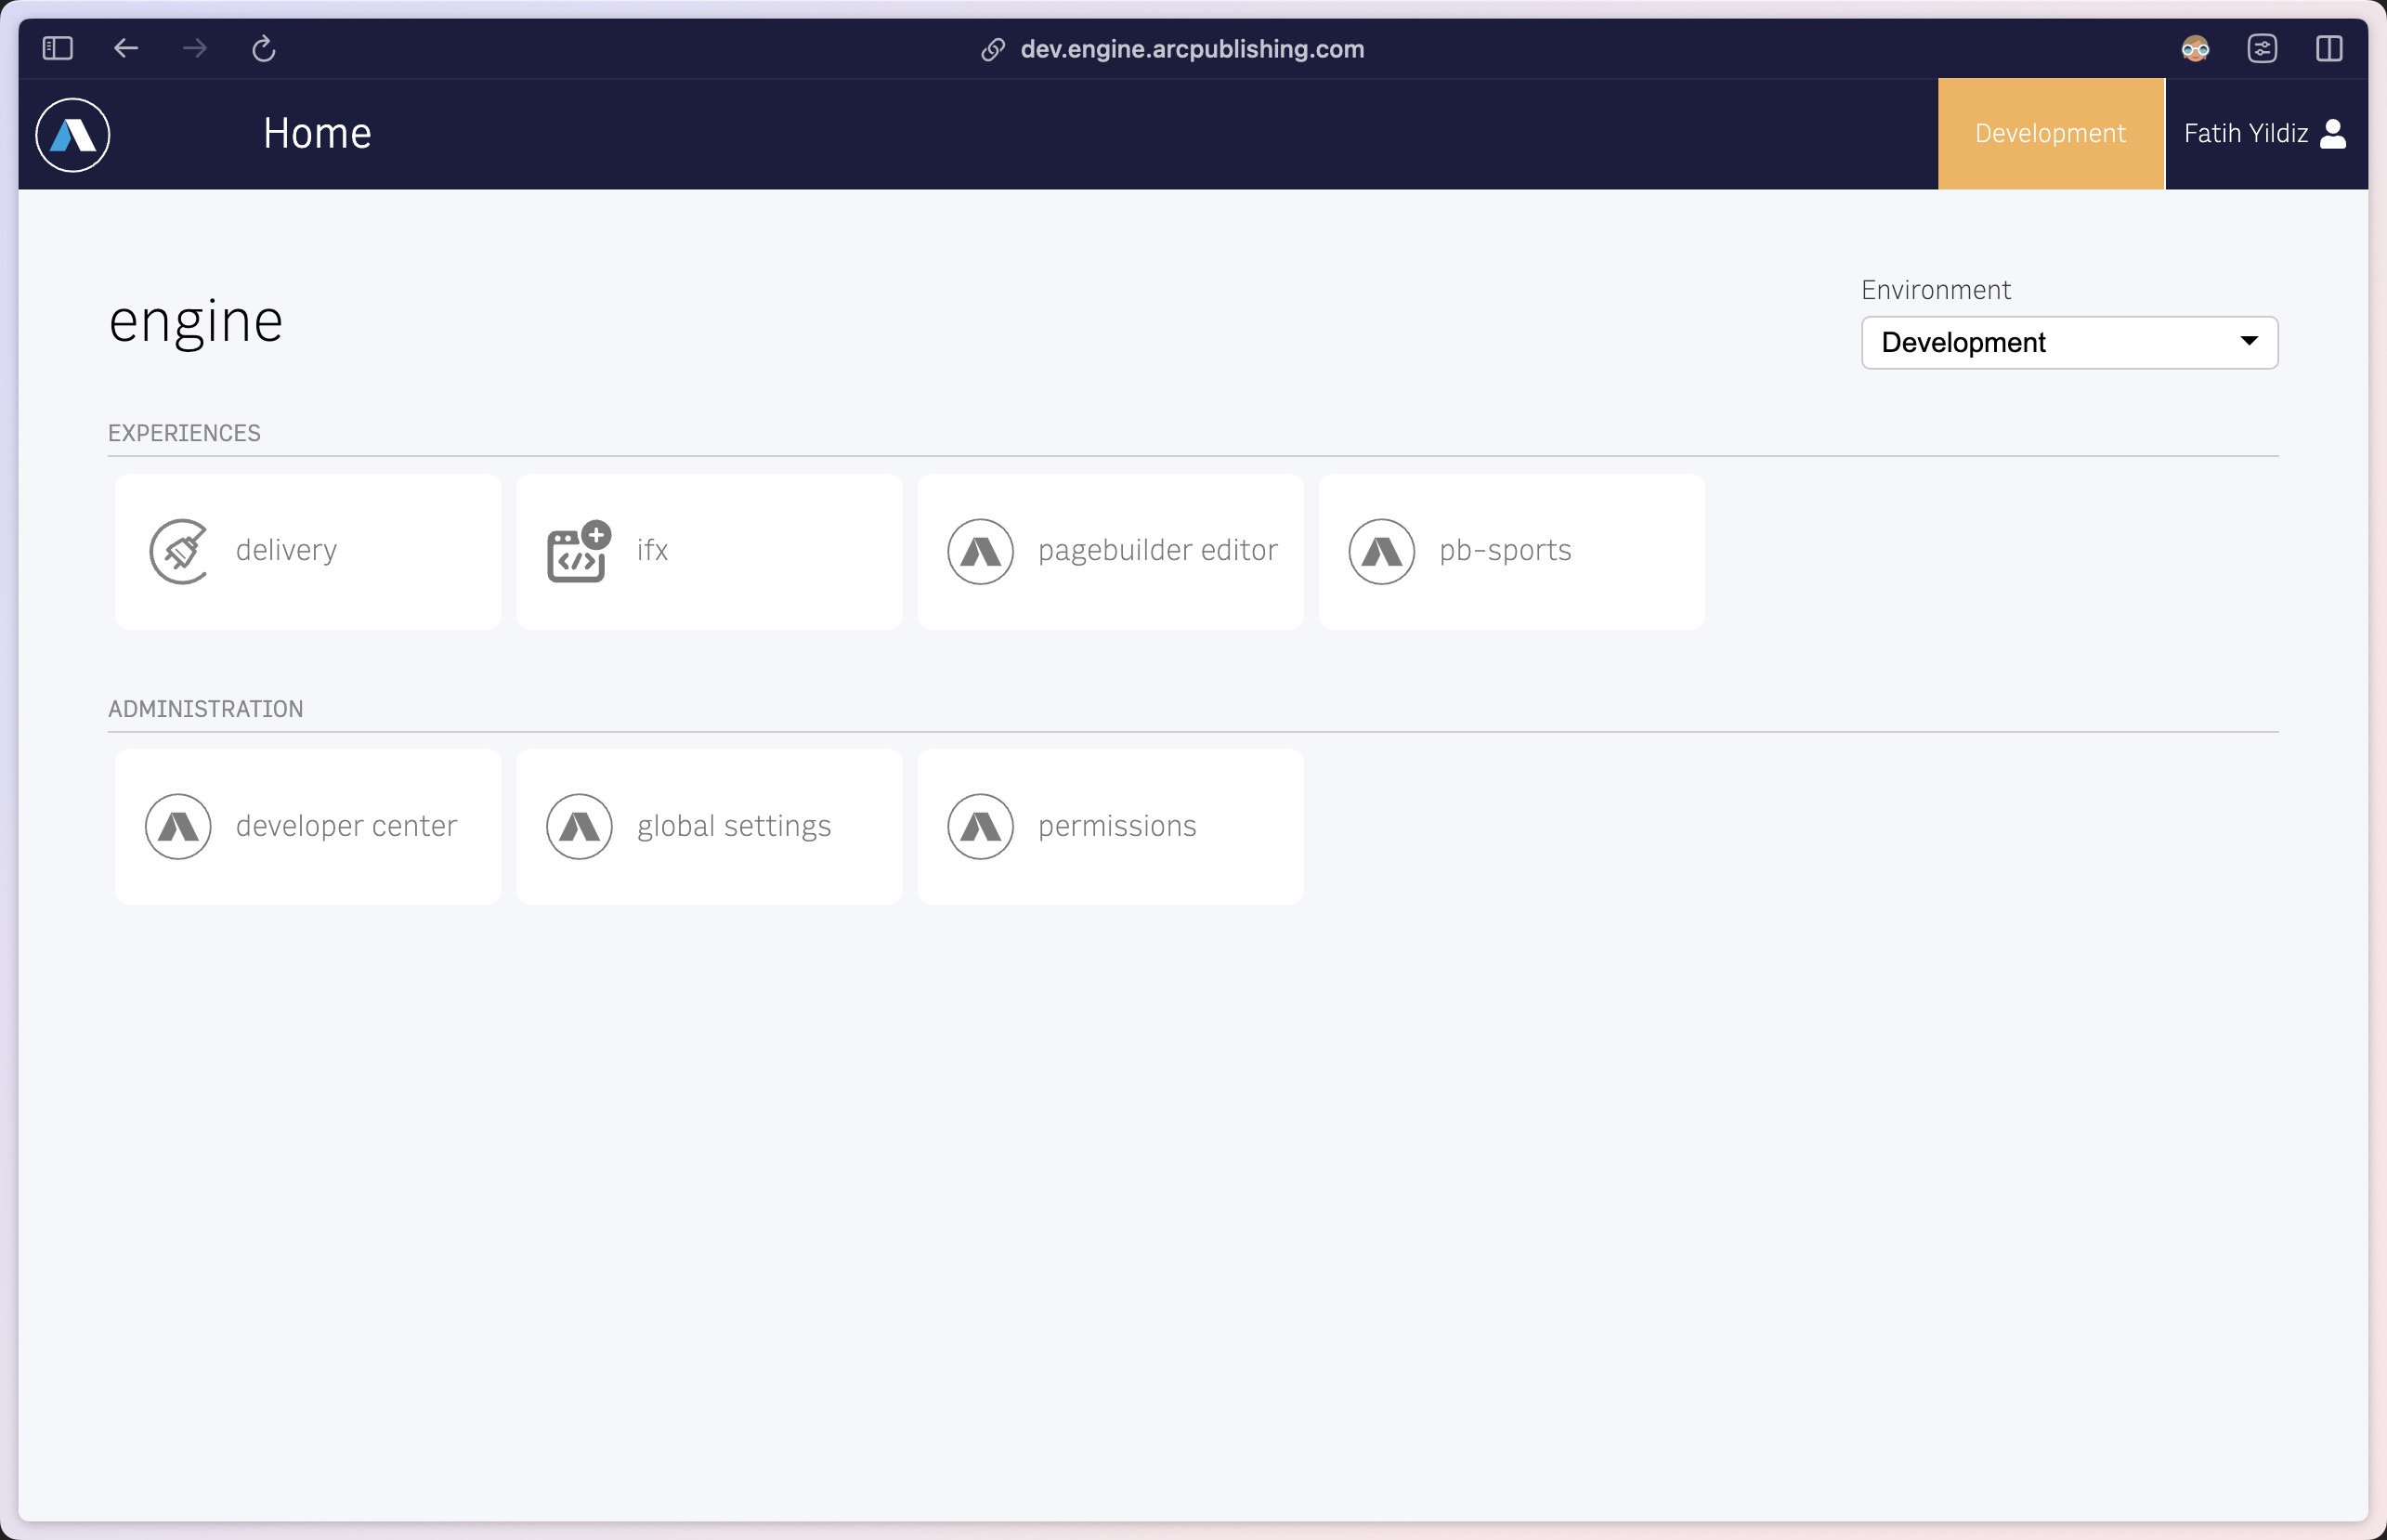
Choose clear and descriptive names for each MX that reflect its purpose. These names will appear in Arc home prefixed with “PB” (e.g., PB-Sports), making it easy for your teams to identify the correct instance.
2. Codebase, Ownership and Deployments
Separate Repo vs. Monorepo Approach
When planning your Micro Experiences (MX), the first decision is whether to use separate repositories for each MX or to maintain a monorepo approach.
- Separate Repositories: If you choose to host each MX in a separate repository, your CI/CD setup will be straightforward. Each repository will have its own deployment pipeline, triggered by activity (e.g., push/commit) in that specific repo. We recommended this approach if your MXs do not share any common code.
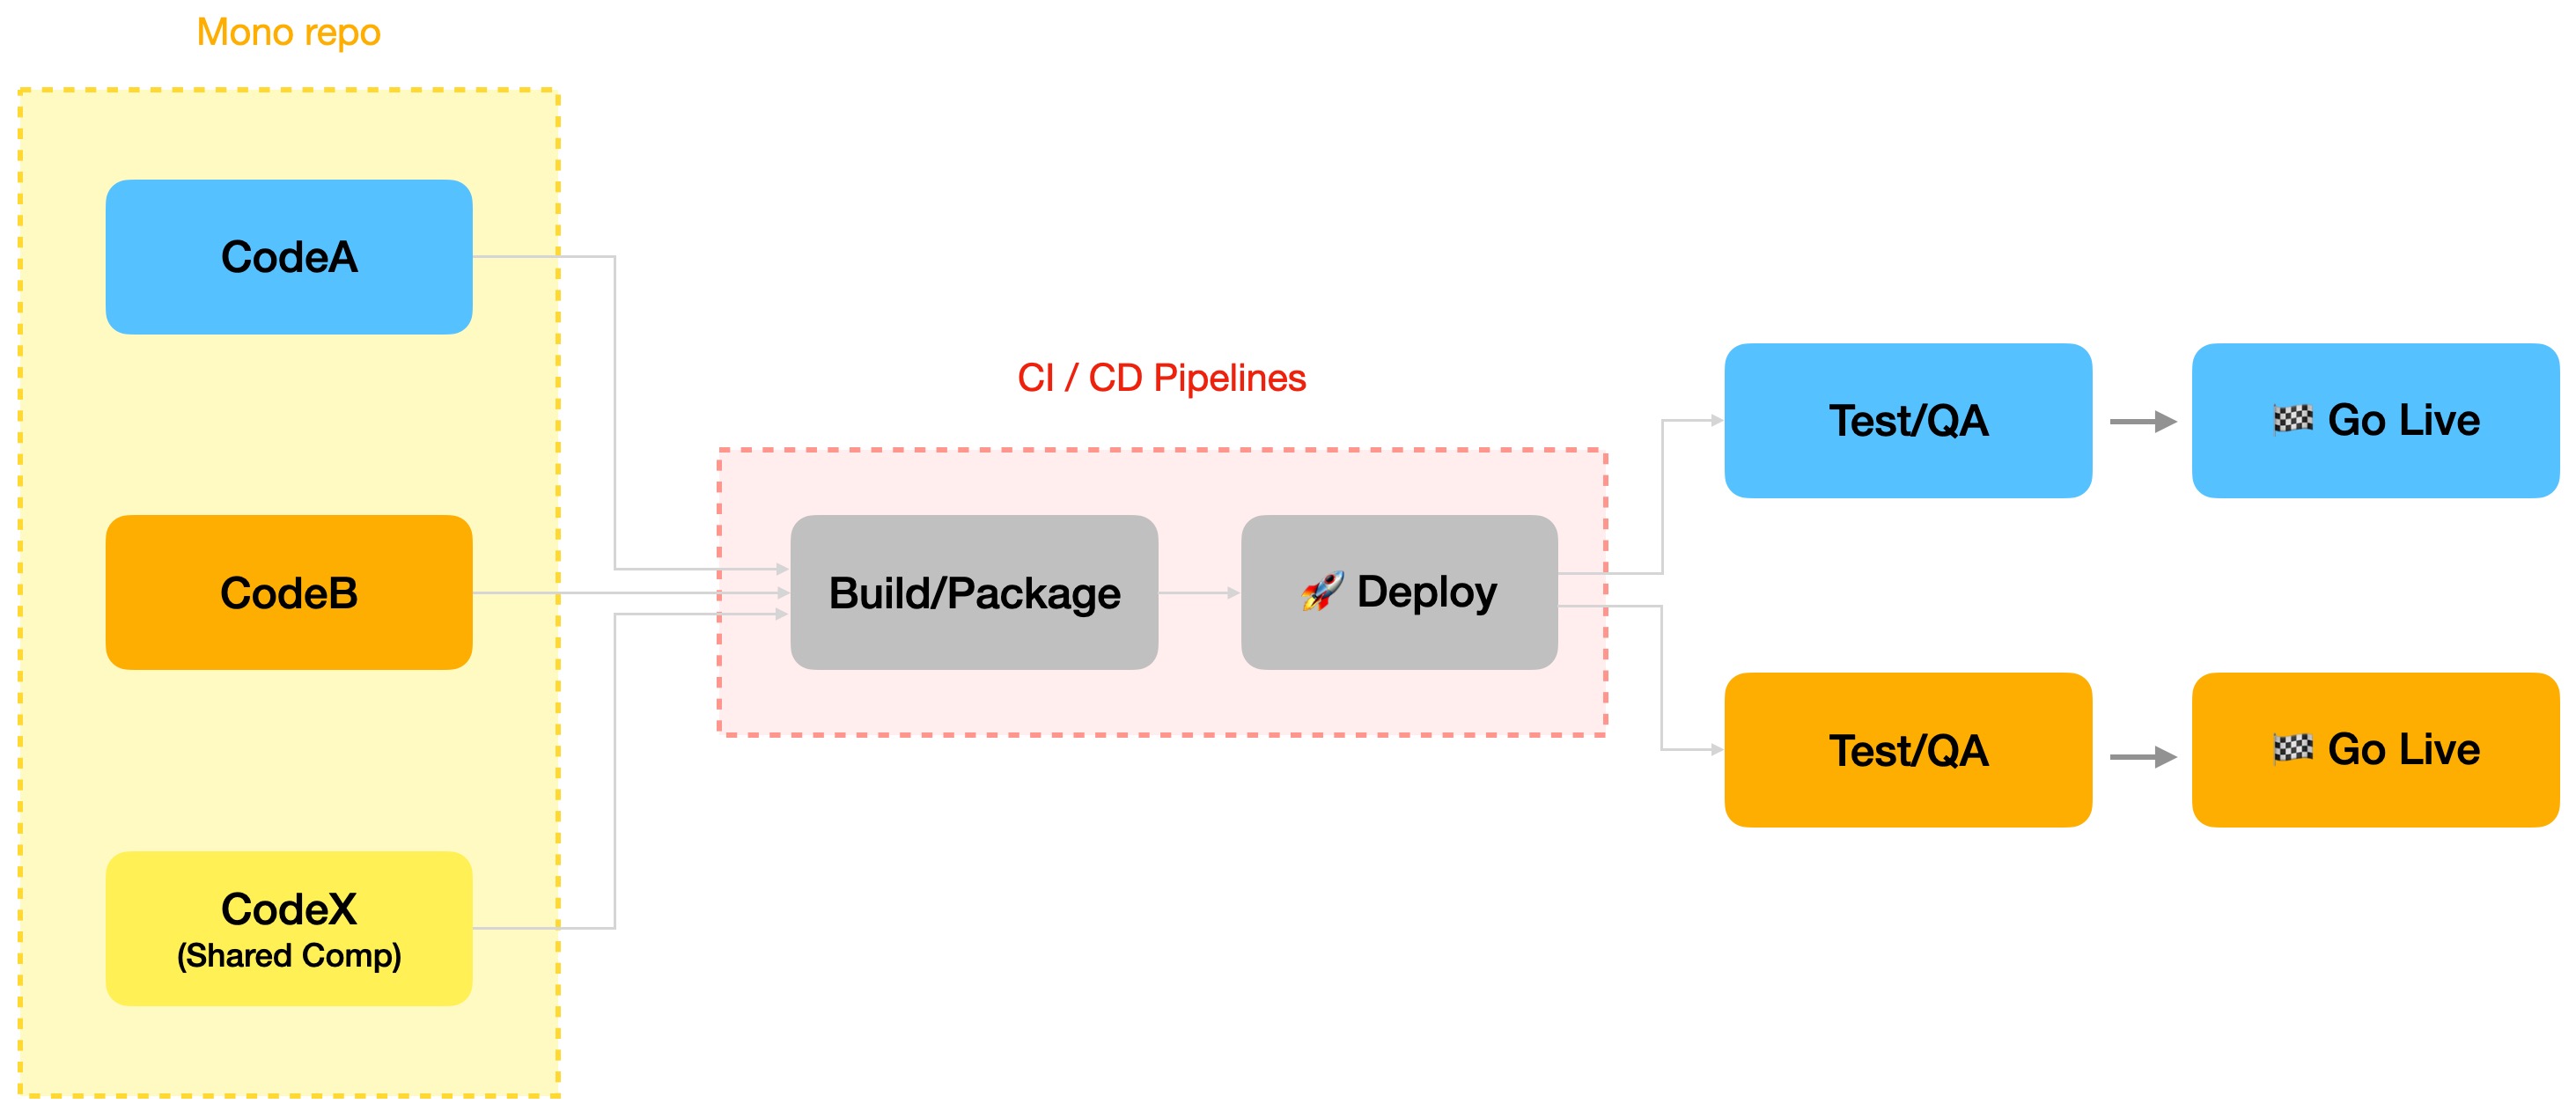
- Monorepo Approach: Opting for a monorepo means all MX instances share a single codebase. We recommend this approach if your MXs share a lot of shared code. In this setup, you’ll need to configure your CI/CD pipeline to handle parallel deployments, possibly using monorepo tooling that performs dependency analysis to determine which MX instance needs to be deployed. See Adopting monorepo with Micro Experiences if you’re considering mono repo approach.
Code Ownership
Deciding on your repository structure also affects code ownership. With separate codebases, teams can take full ownership of their specific MX instance, leading to clearer accountability and potentially faster development cycles.
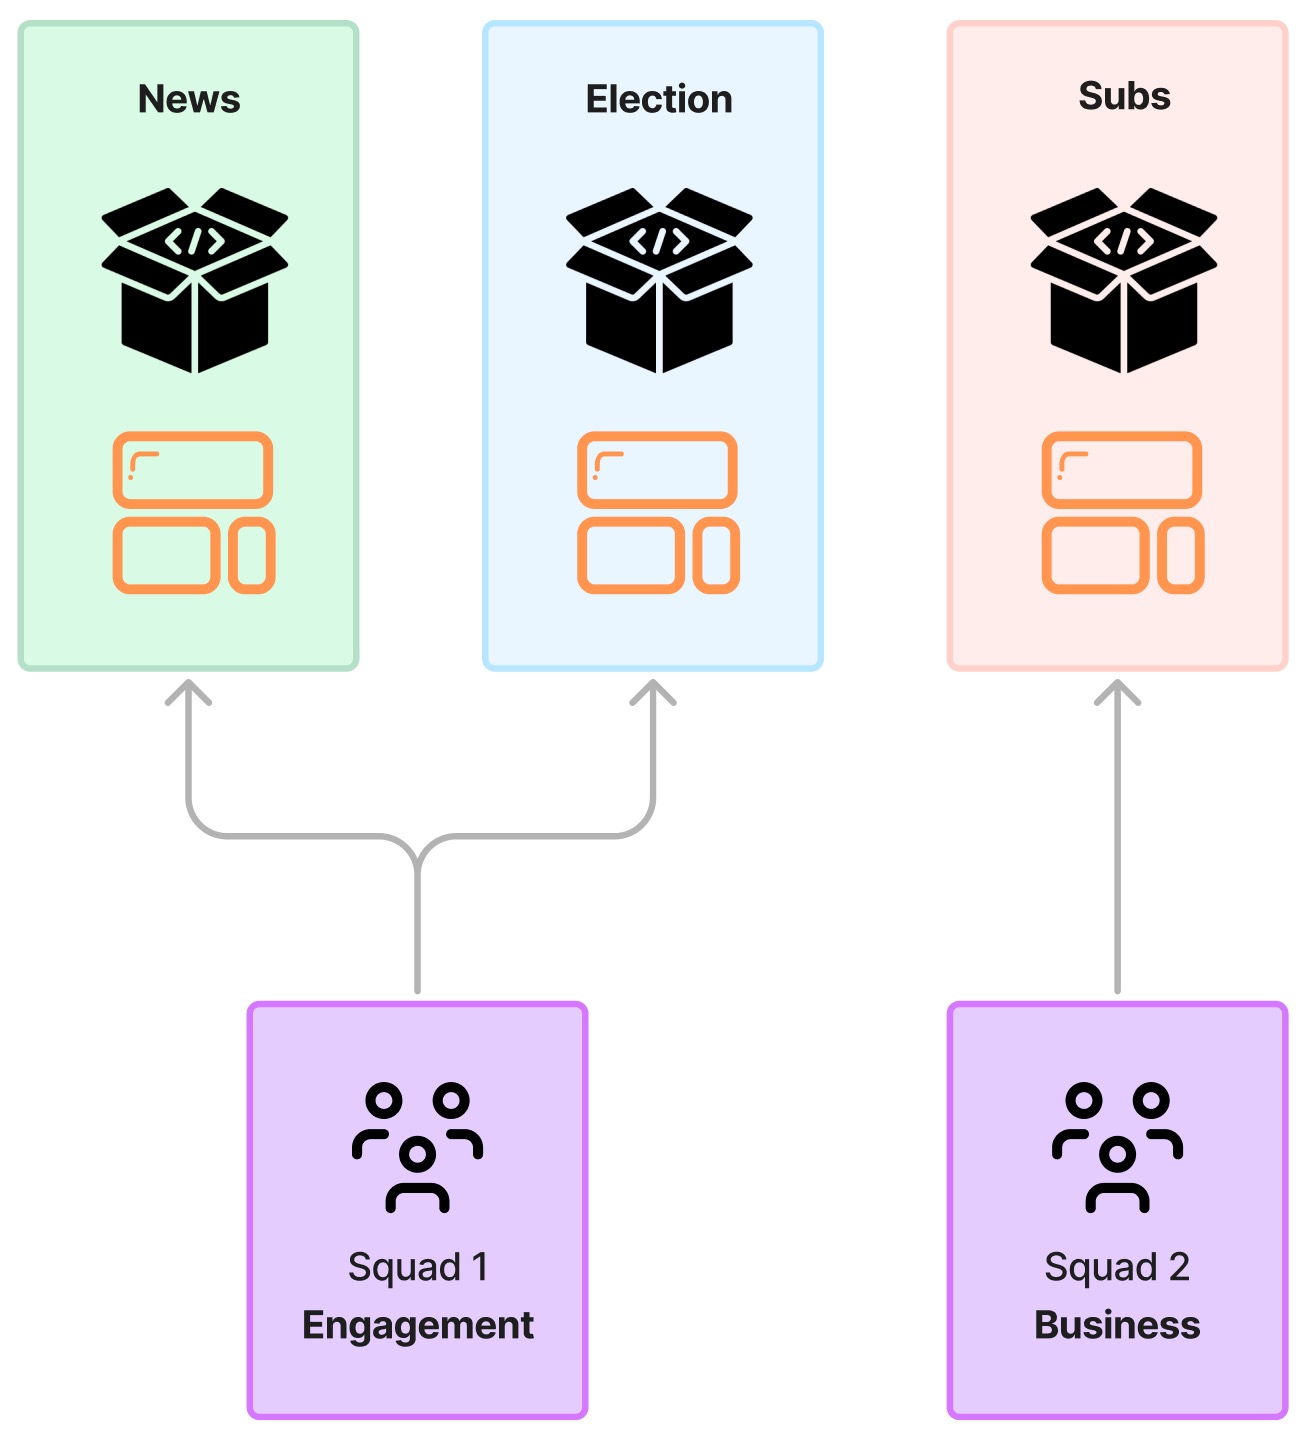
Code ownership might be shared or divided based on the structure of the codebase, team size, pace of change or your newsroom activities, requiring careful management to avoid conflicts and ensure smooth collaboration across teams.
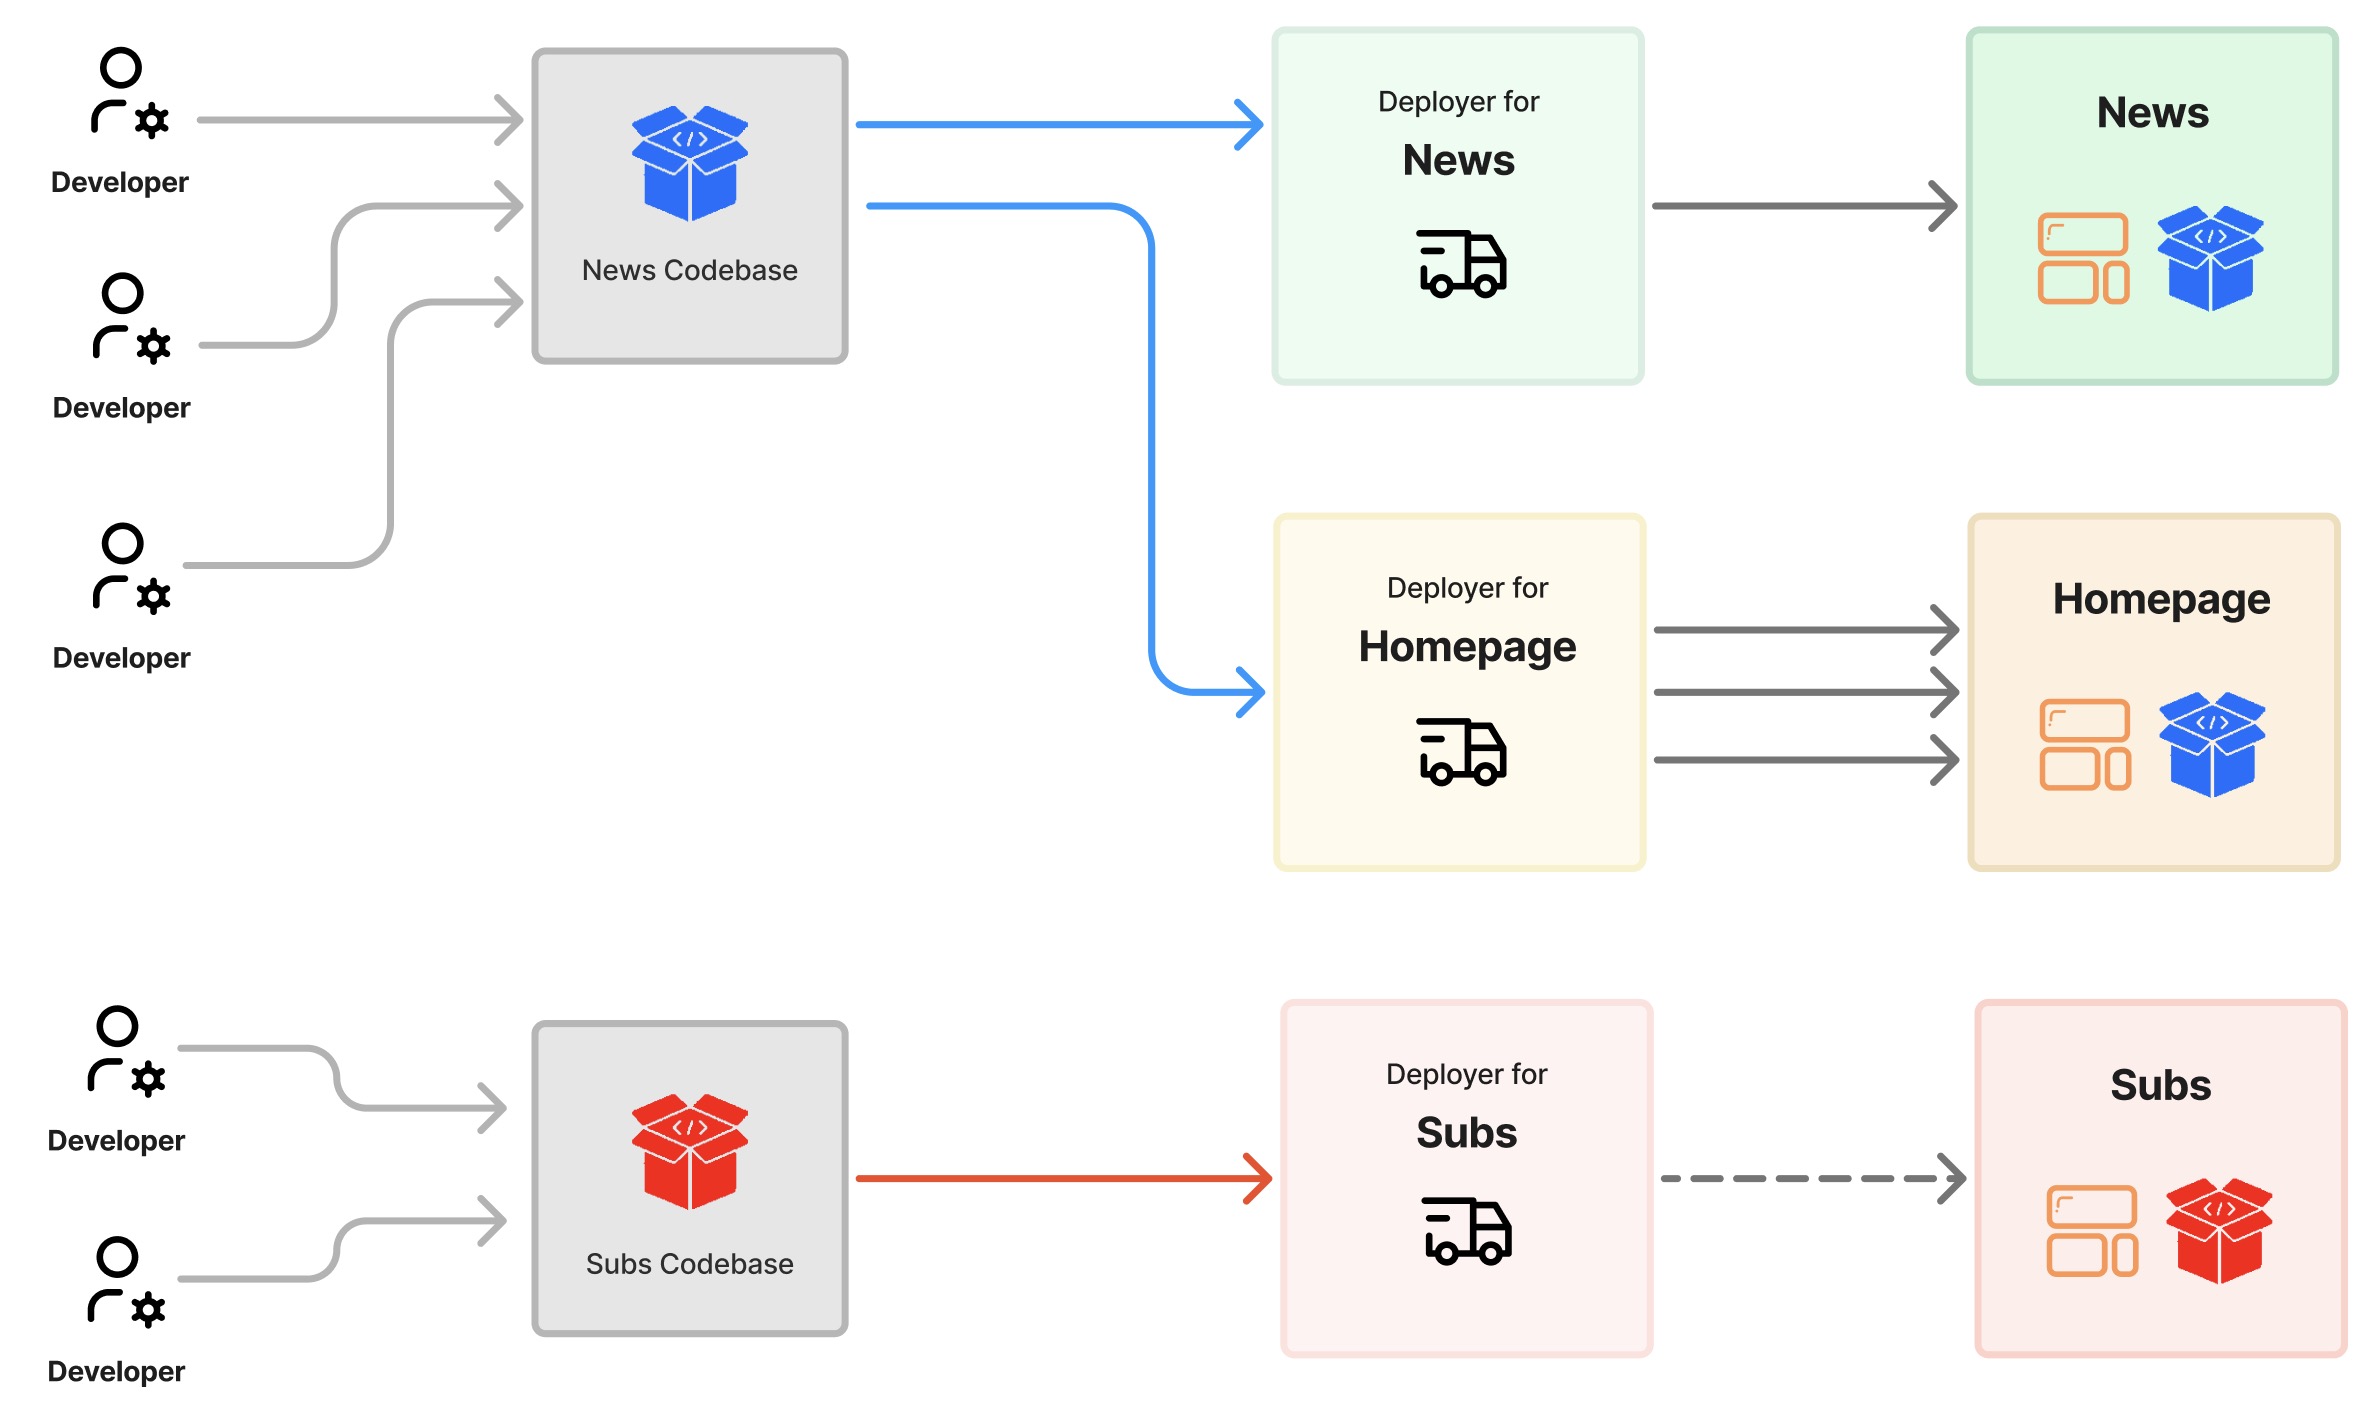
You can still deploy single bundle to multiple Experiences
It’s important to note that Micro Experiences do not require separate codebases or bundles. If you prefer, you can use the exact same bundle across multiple MX instances. This allows you to map different parts of your sites to specific MX instances and manage separate deployment schedules, which can still significantly reduce deployment risks.
Keep in mind, using same codebase on multiple experiences, does not mean they are shared, or calling ones content sources from another. They still operate in independent and isolated PageBuilder and rendering instances, they just contain same copy of the codebase running them.
In this example, homepage can get updated and deployed more frequently than the rest of the parts of the experience like article detail pages. You can eventually deploy the same changes made for homepage updates, but don’t need to deploy until you want to.
Deployment Pipelines
Ensure that your CI/CD pipelines are configured to support multiple MX instances. You can read more about how Deployment process changes with Micro Experiences in the Micro Experience Developer Guide whether you used Deployer UI or API to make your deployments.
The complexity of your deployment pipelines configuration will depend on whether you opt for using separate repositories or a mono repo for your codebase. Each approach has its own implications for how deployment pipelines are triggered and managed, but one is simpler than other.
If you use separate repos, setting up CI/CD will be pretty plain and simple. Each repo activity (push/commit) will trigger its own deployment pipeline.
If you plan to use mono-repo approach, it may involve setting up parallel deployment processes for different environments, possibly choosing mono-repo tooling that can do dependency analysis to decide which MX to deploy.
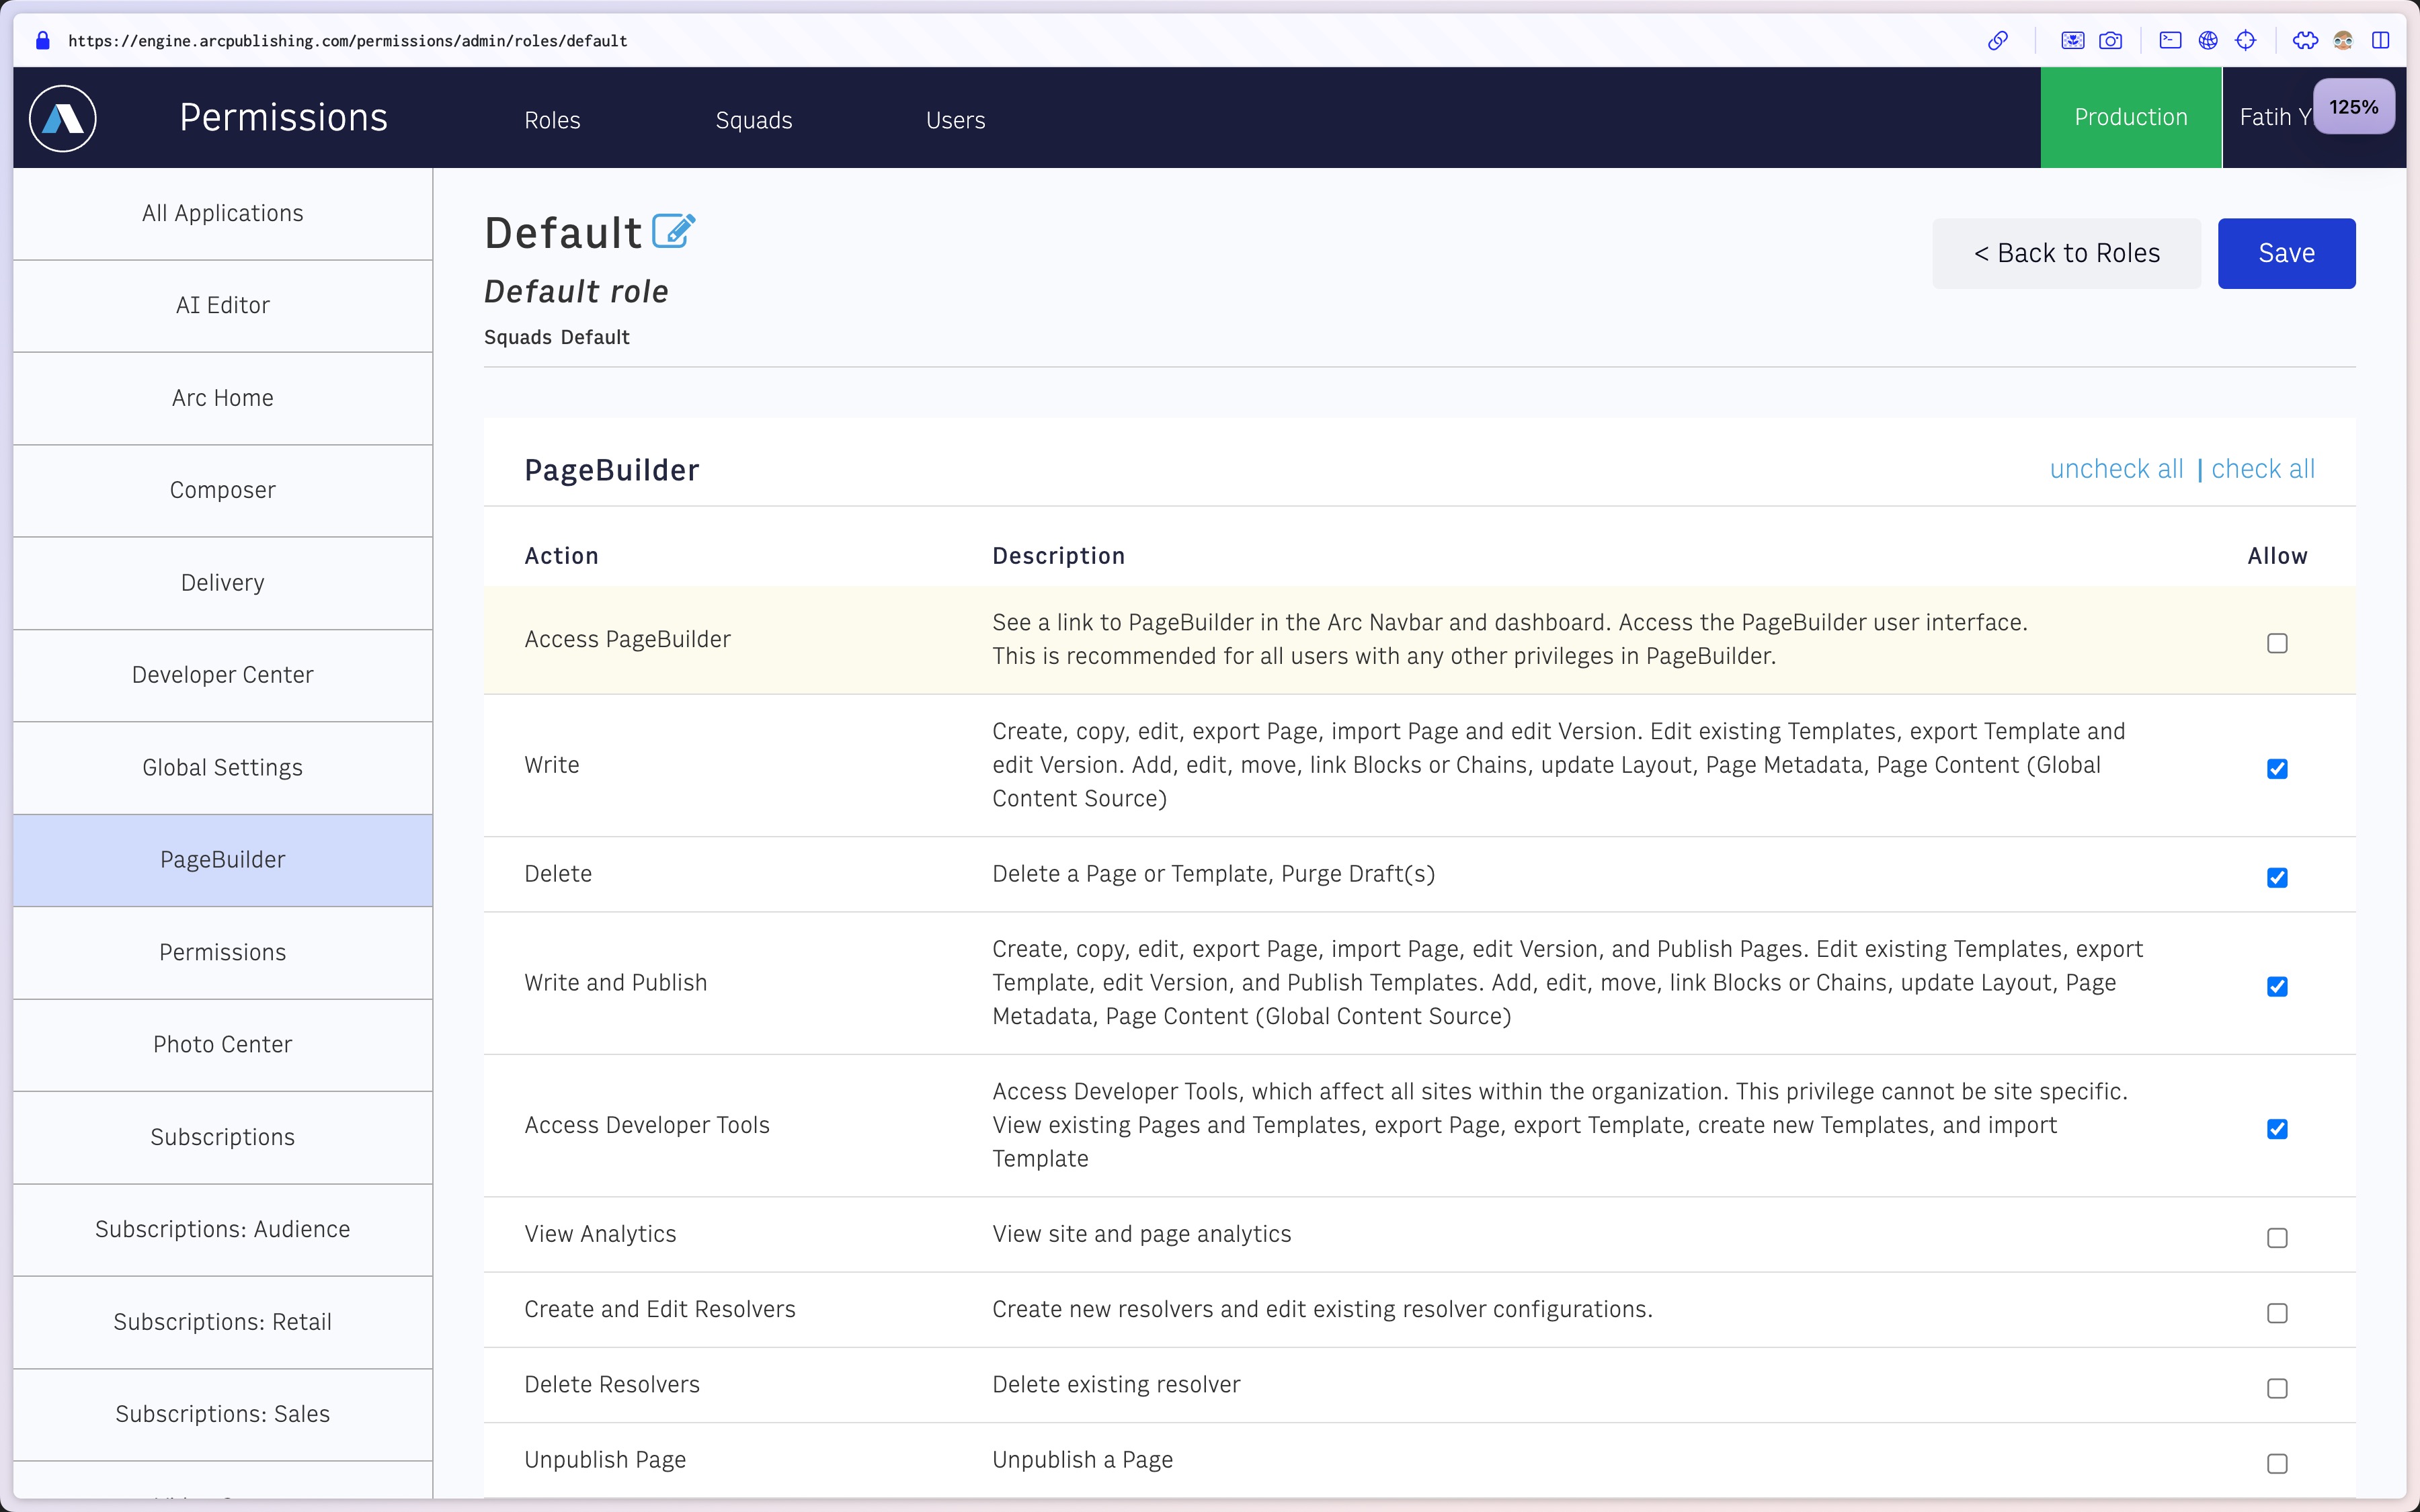
3. Permissions
Micro Experiences inherits the same permissions as your existing PageBuilder instance. There is no granular Micro Experience specific permissions in PageBuilder. Make sure your team who currently have access to PageBuilder is informed, trained and ready when new Micro Experiences start showing in their Arc Home tiles.
4. Testing
Before going live, thoroughly test each MX instance in non-production environments. Ensure that content is displaying correctly, all custom features are functioning as expected, and that the MX instances are properly isolated from one another where required.
We suggest utilizing staging environment which has your production content-base that you can also safely publish MX configurations in single environment and test multiple experience connections end to end.
There are two ways to preview and test your pages.
1. Using PageBuilder Editor, preview links. These links will construct the internal preview URLs with including mxId in them. Therefore, they will always render the preview, even if you haven’t set up your routes by setting siteMappings in MX-service for that MX. This is a consistent and reliable way to test your pages.
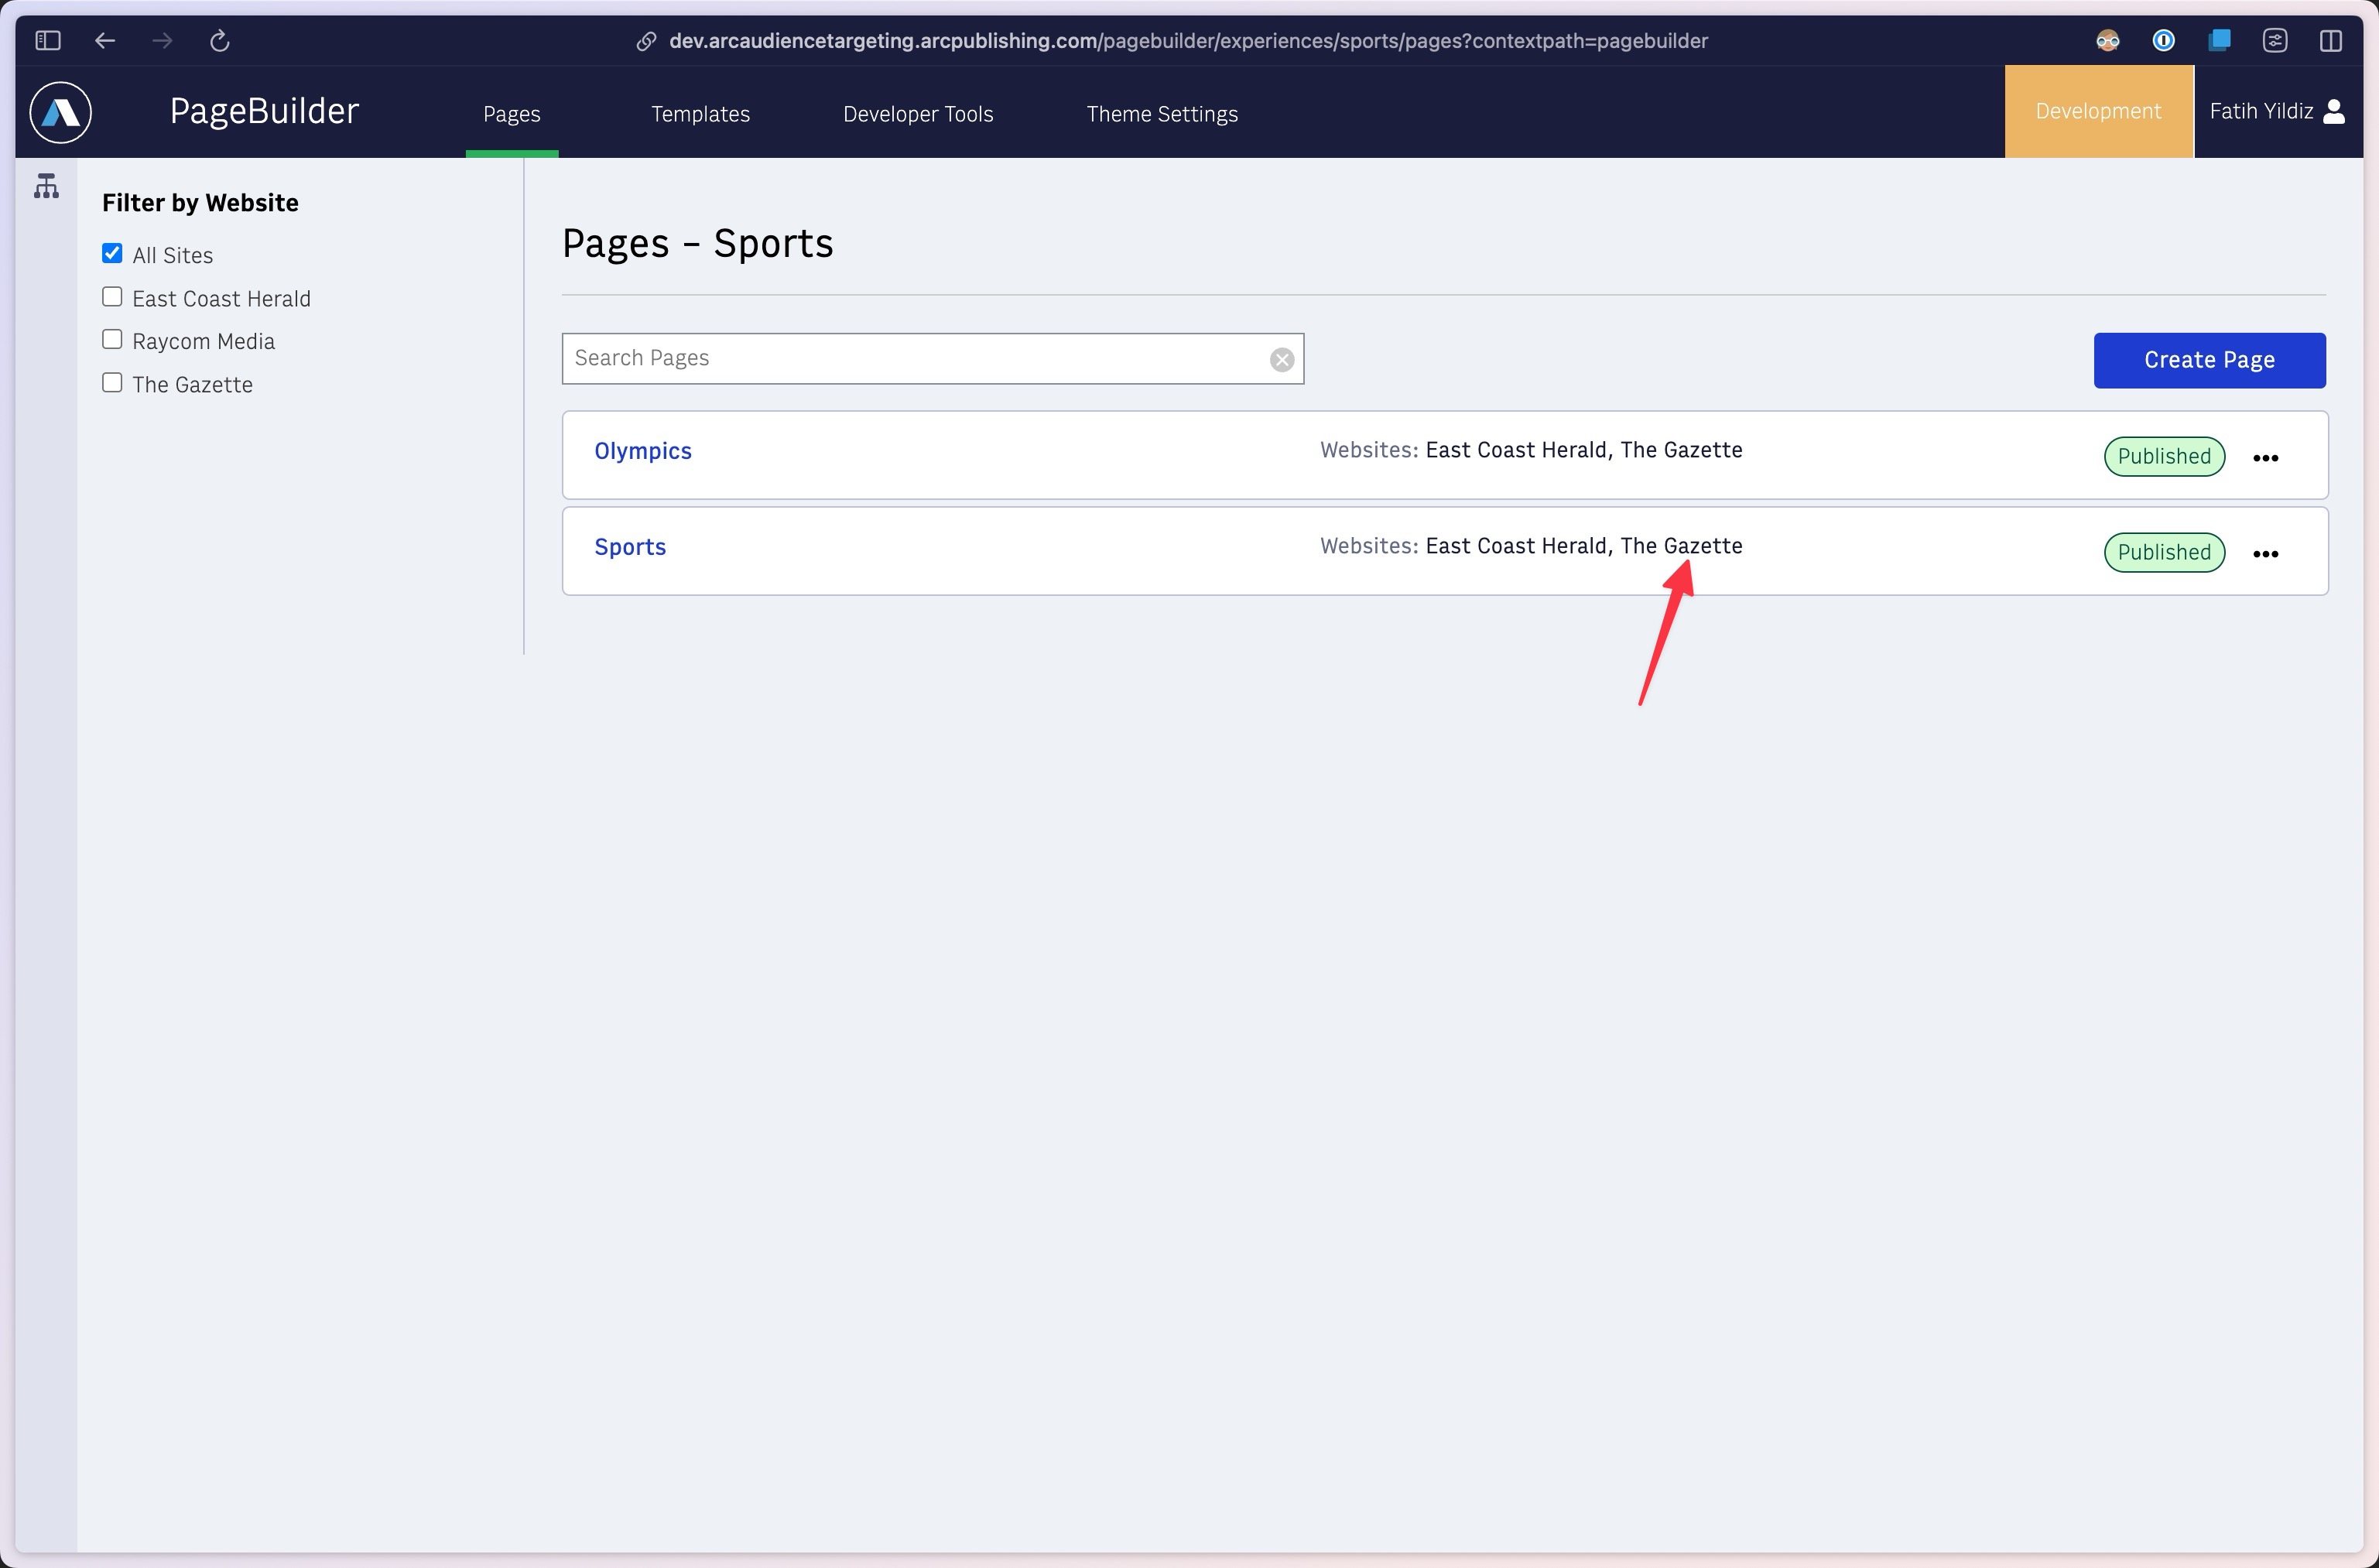
In list of pages screen:
In Curation interface, by selecting the site to preview, then clicking “eye” icon:

2. In non-prod environment, publish all pages, all MXes and set up your siteMappings with MX-Service. This is a testing method that will get you as close to the final production state where your sites will be powered by multiple experiences and you want to test all pages, smoothly navigating between them as your readers do.
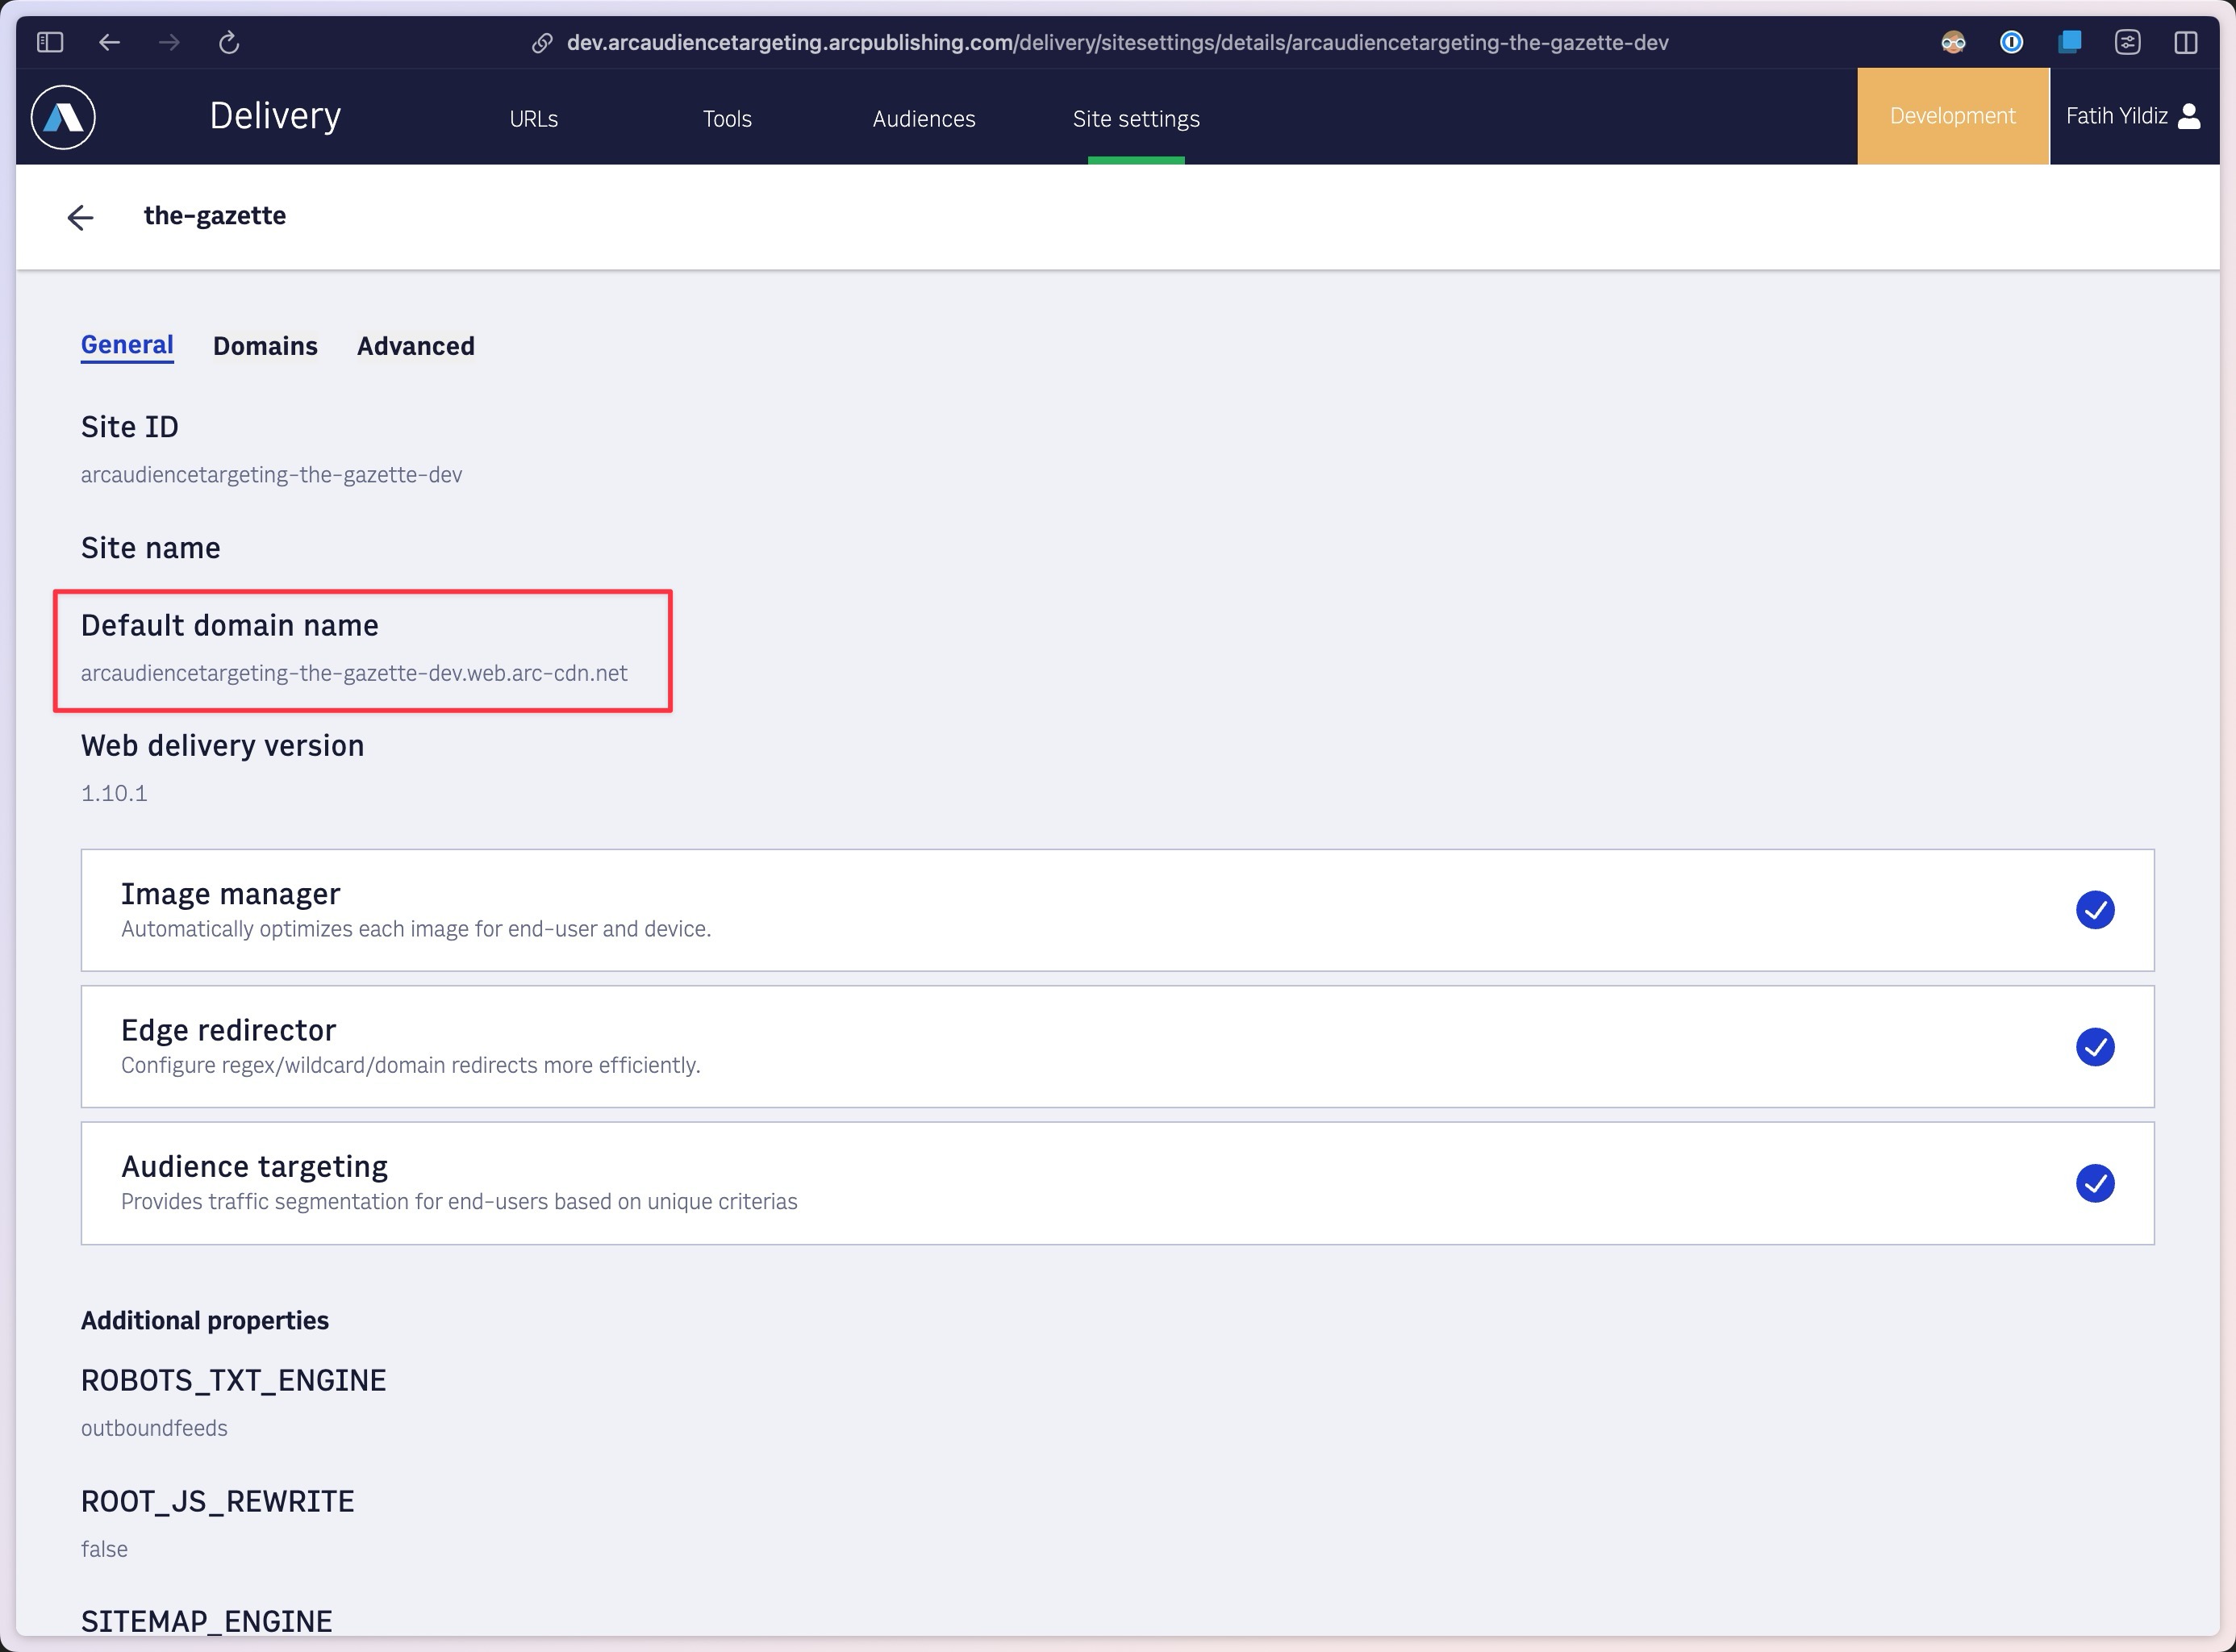
To do this, you need to use the CDN-ready url of your domain. This can be a custom domain your team set up for your test environments like https://dev.mysite.com or you can use Arc-provided CDN url for your organization/environment/site that you can see in Delivery > Sites tile, with clicking to the site you want to test and use the CDN url for that site:
5. Ready to Go Live? Update MX with site + path prefix mappings
The last action you’ll do to make your new Micro Experience to start receiving production traffic is to update the Micro Experience configuration with the site and path prefix mappings.
If you are not familiar with how the routing happens with multiple Micro Experiences, see How does Micro Experiences work? guide first. We have expanded on how multiple Experiences can be configured at the highest level of routing happens (MX Router).
When you’re ready, you can use Micro Experience Service API to update your Micro Experience. See How to update traffic routes between multiple experiences and MX Service API documentation to learn more.