iOS NewsApp Widget Documentation
Workflow for creating a Widget for your Application
- Add a widget extension to your existing application
- Configure a custom data model for your widget to display
- Create preview data to display while the widget is in transient states.
- Modify a timeline and get data for the widget
- Create navigation from Widget to Application
Goal
To configure your app with a Widget that displays Stories and navigates to a detail view on interaction with the Widget.
Prerequisites
- Access to ArcXP SDK
Adding the Widget Extension
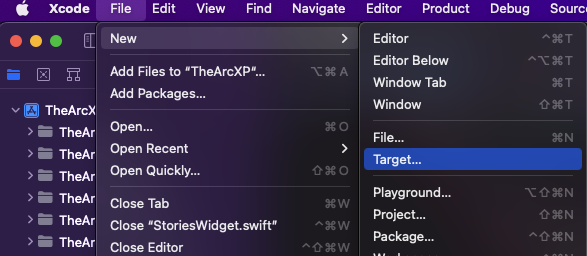
Within the Xcode project start by adding a widget extension with File -> New -> Target
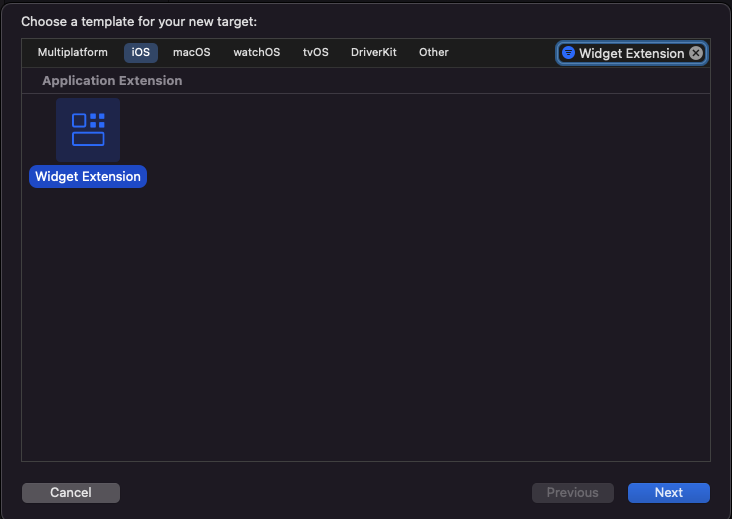
Within the iOS platform search for “Widget Extension” and click next
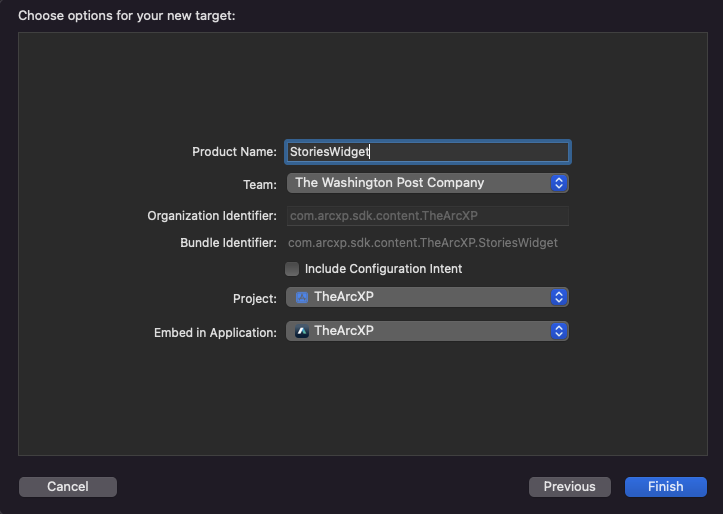
Select the options for your new widget. Make sure Include Configuration Intent is unchecked before proceeding. Click Finish.
Once the Widget is added, in the project navigator you will see its folder with one swift file named StoriesWidget.

Note after creating a Widget Extension your Xcode settings may default StoriesWidgetExtension to the current scheme.

If the StoriesWidgetExtension is selected as the current scheme select the app as the current scheme. With the app selected as the current scheme run the app. Tap the home button and hold down a click until app icons start to move. Depending on what device, a + will appear in either the left or right corner. Tap it and the widget gallery will appear. Search for your app’s display name.

Select the app. Next swipe and select the widget size you prefer and click the Add Widget button. WidgetKit offers different sizes depending on the users OS version.
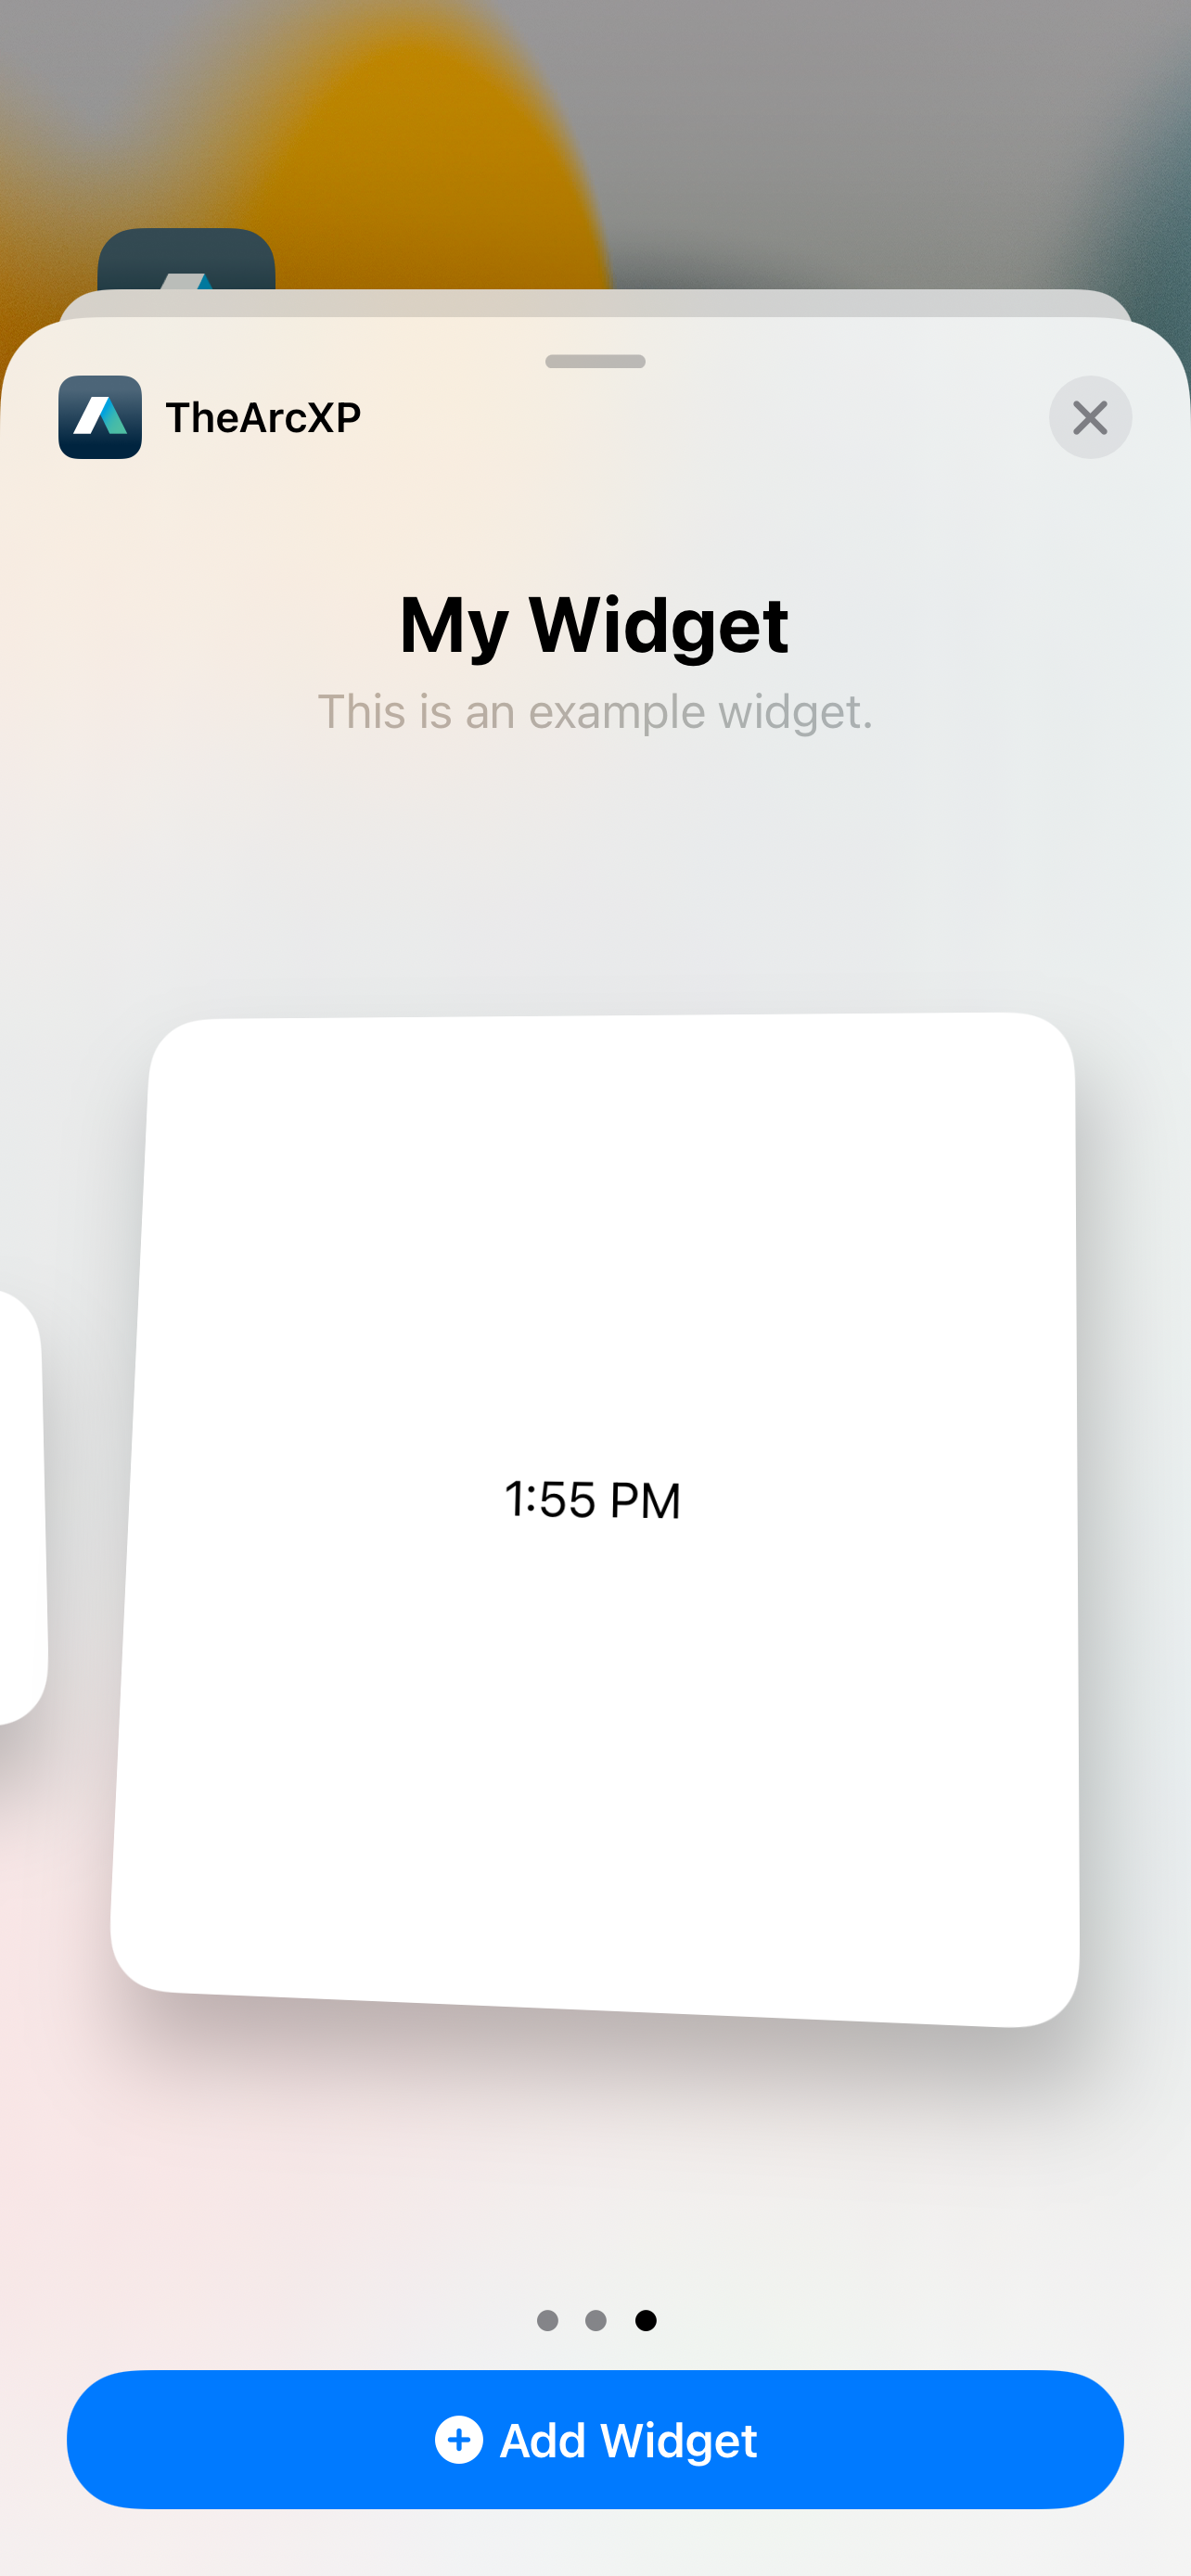
With the boilerplate code provided by Xcode this is how your widget will look.
Configure Widget for Stories functionality
Within the StoriesWidget file there are three required functions to take note of.
-
placeholder(in:)is called when the widget is displayed for the first time. This will render the widget’s view as a placeholder and gives the user an idea of what the widget will display. This instance method is synchronous -
getSnapshot(in:completion:)is called when the widget appears in transient situations such as when the user is adding a widget to their home screen. This instance method should be supplied with preview data to show your user a quick glimpse of how your widget will look. -
getTimeline(in:completion:)supplies an array of entries based on time stamps for the widget to display. You can also add a refresh policy to this method, this will update the widget based on how often you need it refreshed. You can call asynchronous or synchronous methods here.
Create a new swift file named HeadlineData . Check the files Target Membership to be StoriesWidgetExtension.
HeadlineData will serve as a data model that represents each story section within the widget.
import UIKit
struct HeadlineData: Identifiable {    let identifier: String // Each story headline will have a unique ID    let headline: String // Headline text    var headlineImageURL: String? // Each headline might have an image, that is why its an optional.    var placeHolderImageFilename: String? // Only for use in transient states    var id: String { identifier }}
The identifier property will serve as each rows unique identifier. Next, go back to StoriesWidget file. Refactor and rename the SimpleEntry struct to StoriesEntry. After doing so build the project to ensure there are no errors. Edit the StoriesEntry struct to contain a variable named stories that will contain an array of HeadlineData
struct StoriesEntry: TimelineEntry { let date: Date var stories: [HeadlineData]}Build the project, it will contain a few errors because StoriesEntry is missing an argument for the new variable we created. Next, within the Provider struct delete the boilerplate code out of the body for each of the three required functions; placeholder(in:), getSnapshot(in:completion:), and getTimeline(in:completion:).
struct Provider: TimelineProvider {    func placeholder(in context: Context) -> TopStoriesEntry {
    }
    func getSnapshot(in context: Context, completion: @escaping (TopStoriesEntry) -> Void) {
    }
    func getTimeline(in context: Context, completion: @escaping (Timeline<Entry>) -> Void) {
    }}
Now, let’s create a struct that contains static properties for our preview data. Create a Swift file named MockDataConstants. Inside the file create a struct named MockDataConstants. This struct will contain two more structs, Headlines and Images containing static properties.
import Foundation
struct MockDataConstants{    struct Headlines {        static let storyOneHeadline = "U.K. sees hottest day on record — with temperatures expected to rise"        static let storyTwoHeadline = "Nintendo buys animation studio amid video game blockbuster renaissance"        static let storyThreeHeadline = "Stunning images taken by the Hubble Space Telescope"        static let storyFourHeadline = "Skittles lawsuit claims ‘toxin’ makes it ‘unfit for human consumption’"        static let storyFiveHeadline = "NASA’s Mars helicopter was supposed to fly five times. It’s flown 28."    }    struct Images {        static let storyOneImage = "UKHotTemps"        static let storyTwoImage = "Nintendo"        static let storyThreeImage = "Hubble"        static let storyFourImage = "skittles"        static let storyFiveImage = "Mars"    }}
Replace the static properties with data you see fit. Next, let’s supply placeholder(in:) and getSnapshot(in:completion:) with our mock data. At the top of Provider declare a constant named previewData. This constant will be an array of HeadlineData. Supply the two synchronous instance methods with previewData.
struct Provider: TimelineProvider { // Data for widget while in a transient state. let previewData = [HeadlineData(identifier: NSUUID().uuidString, headline: MockDataConstants.Headlines.storyOneHeadline, placeHolderImageFilename: MockDataConstants.Images.storyOneImage), HeadlineData(identifier: NSUUID().uuidString, headline: MockDataConstants.Headlines.storyTwoHeadline, placeHolderImageFilename: MockDataConstants.Images.storyTwoImage), HeadlineData(identifier: NSUUID().uuidString, headline: MockDataConstants.Headlines.storyThreeHeadline, placeHolderImageFilename: MockDataConstants.Images.storyThreeImage), HeadlineData(identifier: NSUUID().uuidString, headline: MockDataConstants.Headlines.storyFourHeadline, placeHolderImageFilename: MockDataConstants.Images.storyFourImage), HeadlineData(identifier: NSUUID().uuidString, headline: MockDataConstants.Headlines.storyFiveHeadline, placeHolderImageFilename: MockDataConstants.Images.storyFiveImage)] // MARK: - placeholder(in:) func placeholder(in context: Context) -> StoriesEntry { // Is called when the widget is displayed for the first time. This instance method is synchronous. return StoriesEntry(date: Date(), stories: previewData) } // MARK: - getSnapshot(in:completion:) func getSnapshot(in context: Context, completion: @escaping (StoriesEntry) -> Void) { // Is is called when the widget appears in transient situations such as when the user is adding a widget to their home screen. let entry = StoriesEntry(date: Date(), stories: previewData) completion(entry) }}Getting a Glimpse of the Widget
Now let’s see how our widget looks in its transient states. First we need to create our views. Create four new SwiftUI files and name them the following.
WidgetViewWidgetTopBarViewWidgetRowViewRowImageView
import SwiftUI
struct WidgetView: View {    var updatedTime: Date    var stories: [HeadlineData]
    init(updatedTime: Date, stories: [HeadlineData]) {        self.updatedTime = updatedTime        self.stories = stories    }
    var body: some View {        VStack {            WidgetTopBarView(updatedTime: updatedTime)            ForEach(stories) { story in                if let id = URL(string: story.identifier) {                    Link(destination: id) {                        WidgetRowView(headline: story.headline,                                      headlineImageURL: story.headlineImageURL,                                      placeholderFilename: story.placeHolderImageFilename)                    }                }            }        }    }}
import SwiftUI
struct WidgetTopBarView: View { var updatedTime: Date?
init(updatedTime: Date? = nil) { self.updatedTime = updatedTime }
var body: some View { GeometryReader { geometry in HStack { Text(Constants.WidgetConstants.organizationName) .font(.custom(Constants.Fonts.ArcXPFontName, size: 20)) .frame(maxWidth: geometry.size.width / 2, alignment: .leading) .padding() if let date = updatedTime { Text("\(Constants.WidgetConstants.updated) \(DateFormatter.widgetFormatter.string(from: date))") .font(.system(size: 12)) .frame(maxWidth: geometry.size.width / 2, alignment: .trailing) .padding() } } } }}import SwiftUI
struct WidgetRowView: View { var headline: String var headlineImageURL: String? var placeholderFilename: String?
init(headline: String, headlineImageURL: String? = nil, placeholderFilename: String? = nil) { self.headline = headline self.headlineImageURL = headlineImageURL self.placeholderFilename = placeholderFilename }
var body: some View { GeometryReader { geometry in VStack { HStack { Text(headline) .font(.system(size: 14)) .frame(maxWidth: geometry.size.width, alignment: .leading) .padding([.leading, .trailing]) RowImageView(withURL: headlineImageURL ?? "", withFilename: placeholderFilename) .frame(maxWidth: 50, maxHeight: 50) Spacer() } Divider() } } }}Now that we have our views, go to StoriesWidget and update StoriesWidgetEntryView to have WidgetView in its body initialized with data.
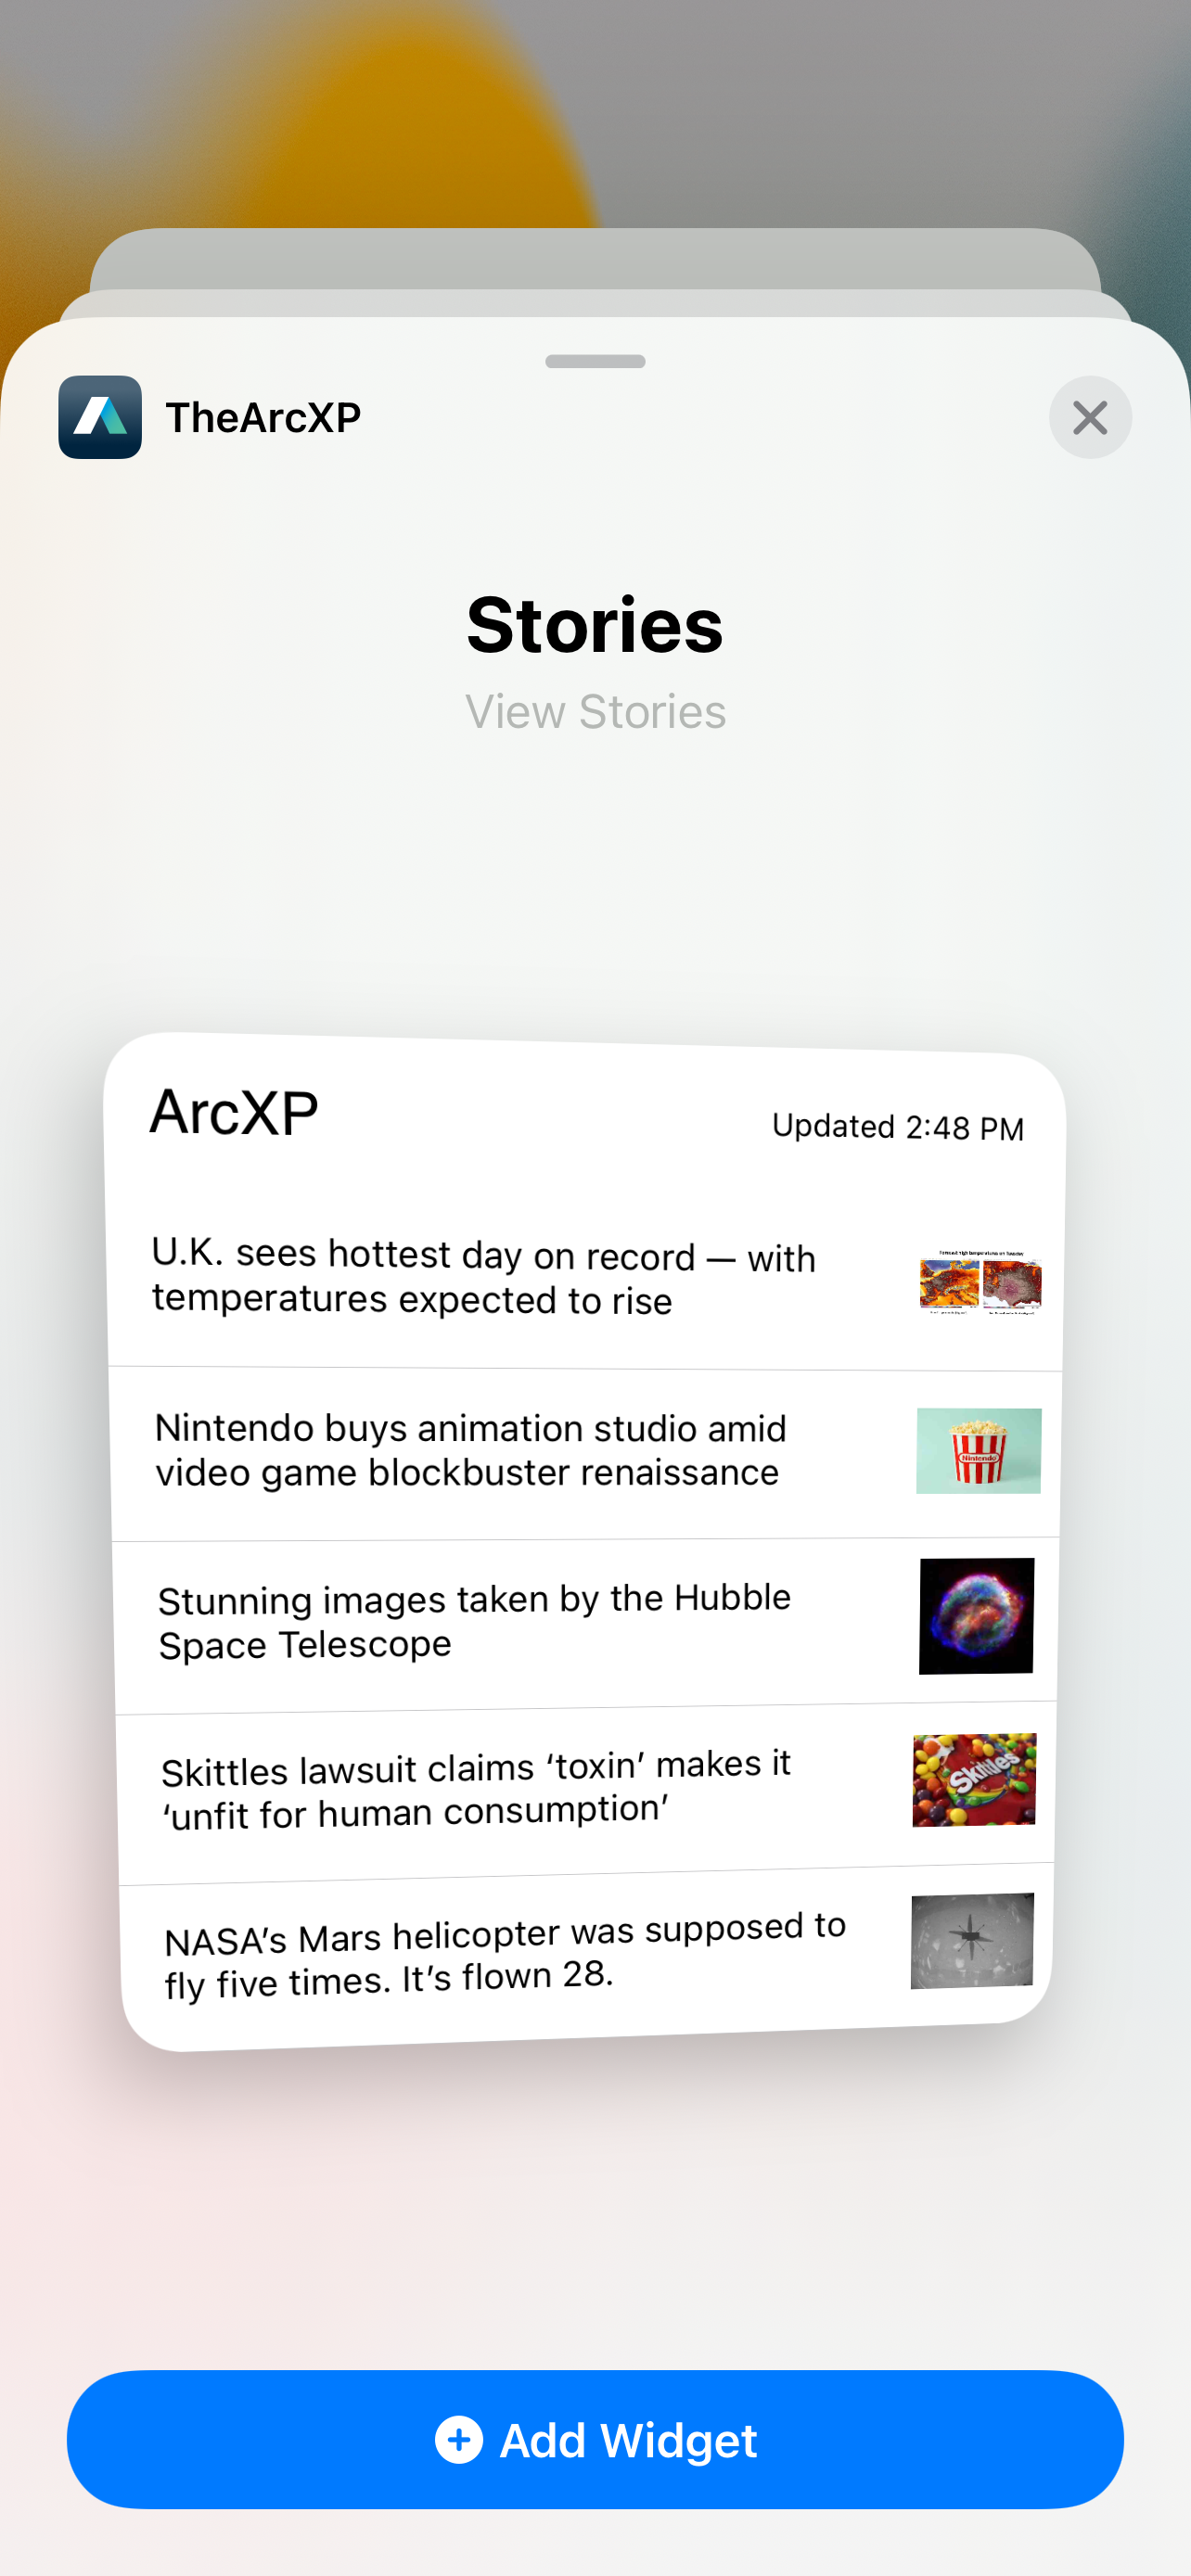
struct StoriesWidgetEntryView: View { var entry: Provider.Entry var body: some View { WidgetView(updatedTime: entry.date, stories: entry.stories) }}Run the app and exit the app, go to the widget gallery and search for the app name and select the app. Now you can see our preview data while the widget is in a transient state. This is the first impression your user will have of your widget.
Getting Story Data
Since we need to leverage ArcXPContentSDK to get Stories. Go to the project’s podfile and add the following to it.
target 'StoriesWidgetExtension' do pod 'ArcXP', '0.0.5'endSave the Podfile and in the terminal cd to the project directory and run pod install. Next we need a function to handle our api call to get our Stories. If you already have a ViewModel class that handles getting story data skip ahead to the code snippet below, else create a new swift file named ContentViewModel. In the new file Import ArcXPContentSDK and define the class ContentViewModel. Create a function called fetchTopStoriesCollectionForWidget. This function will accept the following parameters, alias: String, index: Int, size: Int. We also need a function to get the story’s headline image.
import ArcXP
class ContentViewModel {    func fetchTopStoriesCollectionForWidget(alias: String, index: Int, size: Int, completion: @escaping ArcXPCollectionResultHandler) {        ArcXPContentManager.client.getCollection(alias: alias, index: 0, size: size) { result in            switch result {            case .success(let stories):                completion(.success(stories))            case .failure(let error):                completion(.failure(error))            }        }    }
func getResizedImageURLForWidget(for arcXPContent: ArcXPContent) -> String? {        if let imageElement = arcXPContent.promoItems?.content as? ImageContentElement,           let imageResizeURLString = imageElement.additionalProperties?.thumbnailResizeUrl {            return "https://\(Constants.contentDomain)\(imageResizeURLString)"        }        return nil    }}
Next, go back to the StoriesWidget file. In our getTimeline(in:completion:) instance method is where we will make our API call. First we need to initialize our SDK before we make calls through the Content SDK Module. After that we create an empty array of TopStoriesEntry named entries and a TopStoriesEntry named entry that appends HeadlineData to itself on success we append entry to entries and configure a refresh policy.
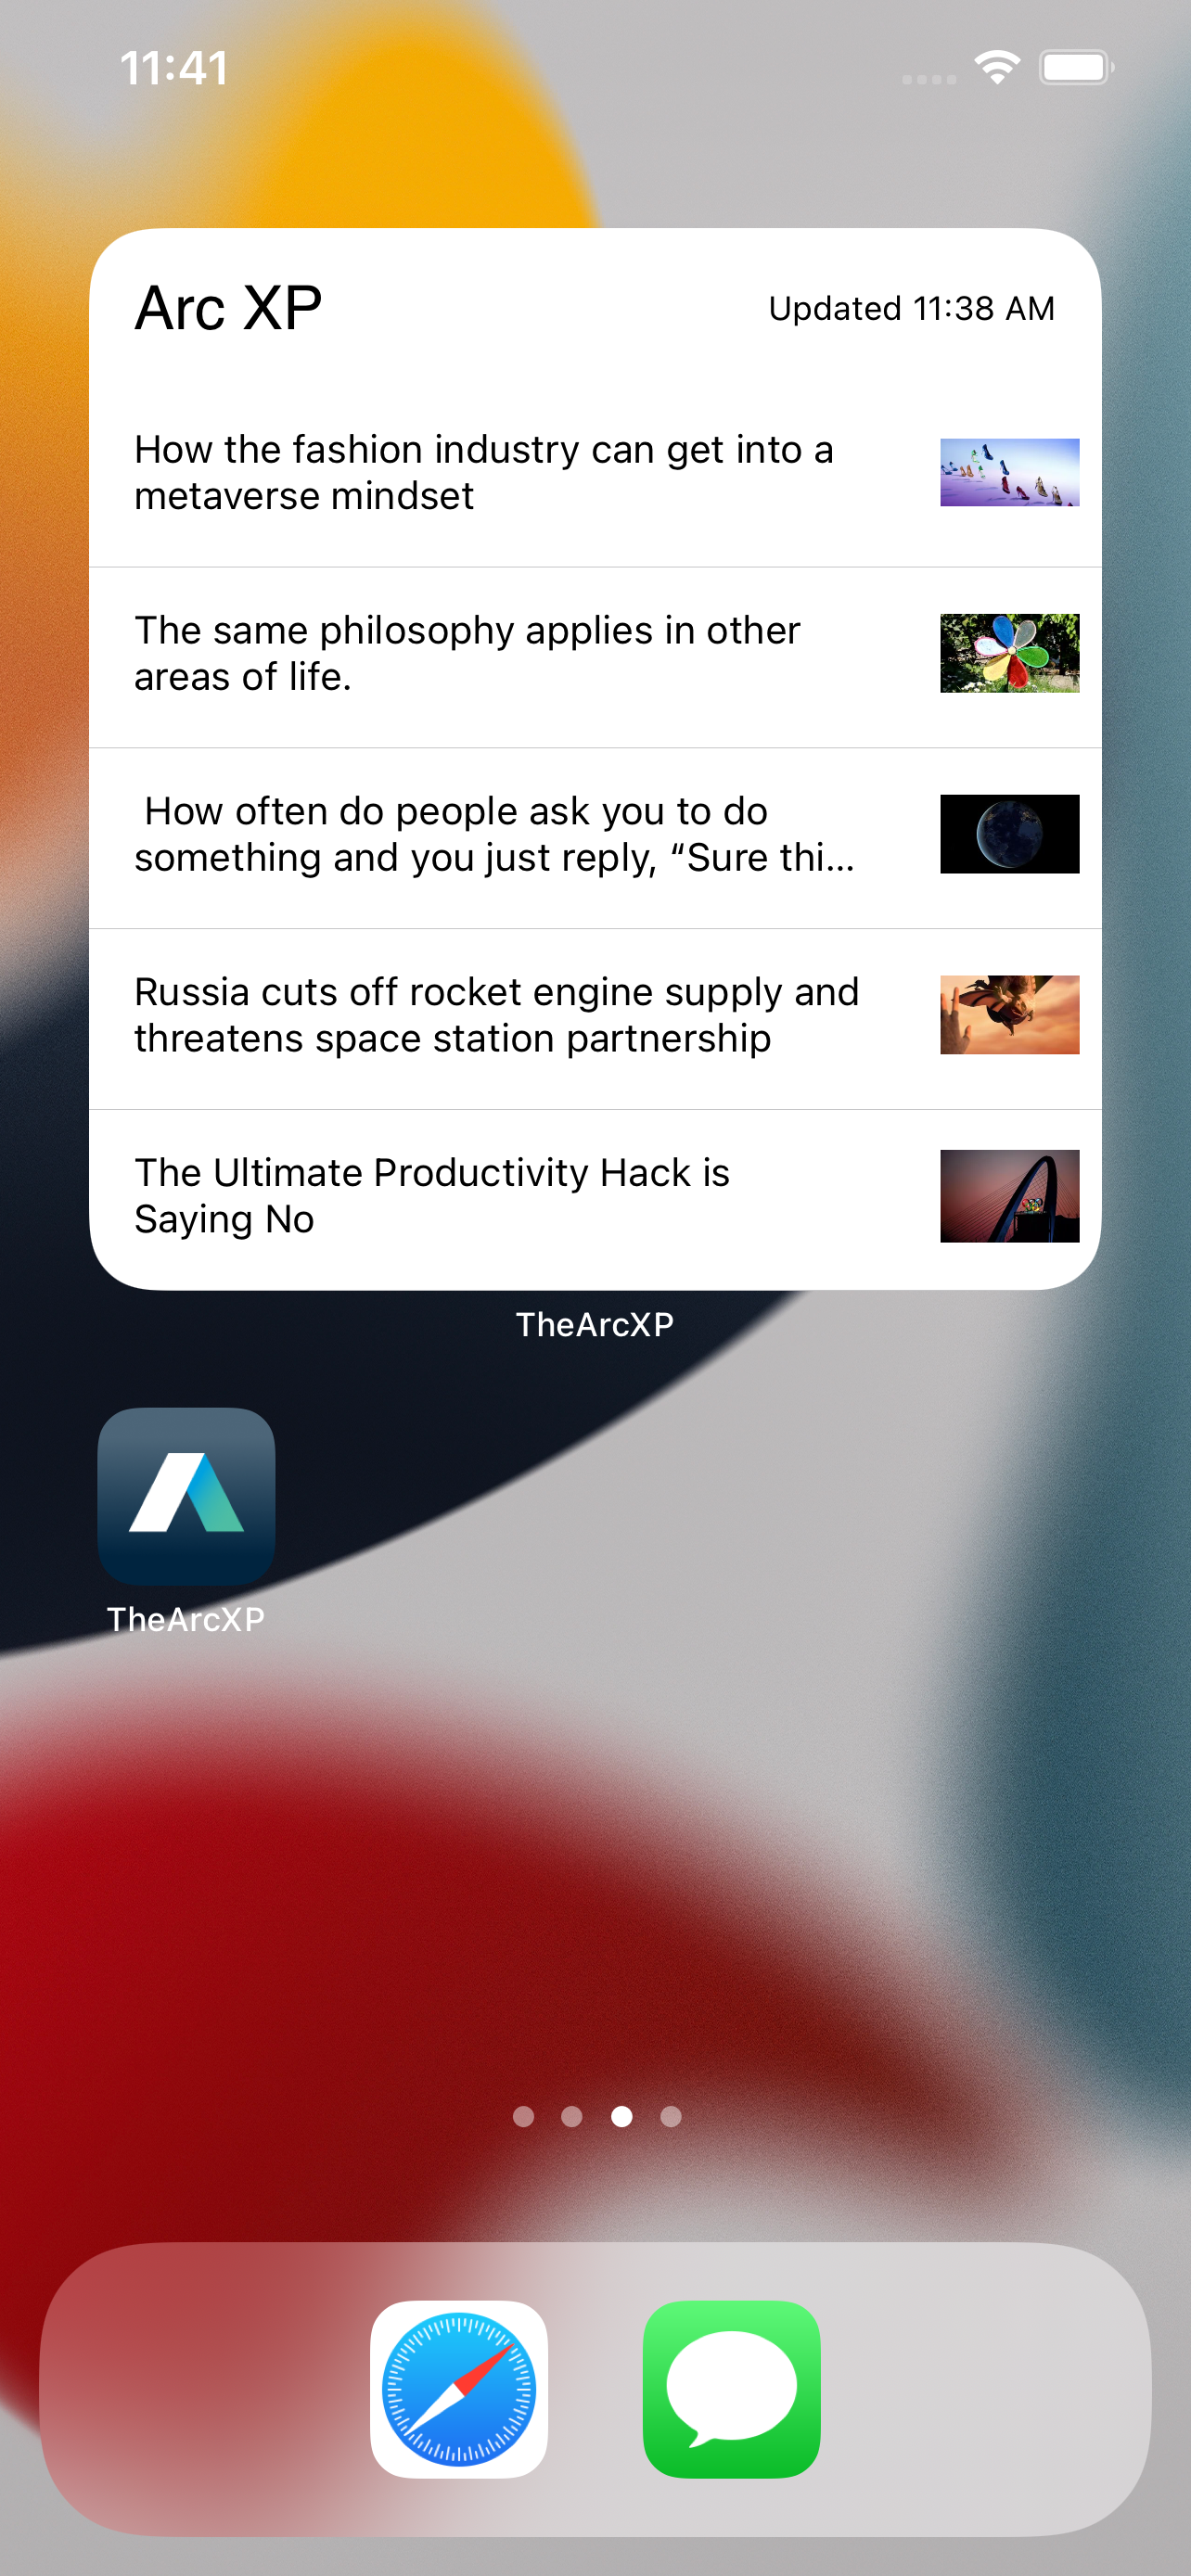
// MARK: - getTimeline(in:completion:) func getTimeline(in context: Context, completion: @escaping (Timeline<Entry>) -> Void) { // Supplies an array of entries based on time stamps for the widget to display. Asychronous or synchronous methods here. // SDK must be initialized before fetching content SDKHelper.initializeSDK() var entries: [StoriesEntry] = [] var entry = StoriesEntry(date: Date(), stories: [HeadlineData]()) let viewModel = ContentViewModel() viewModel.fetchStoriesCollectionForWidget(alias: Constants.WidgetConstants.alias, index: 0, size: 5) { result in switch result { case .success(let stories): var imageURL: String? for story in stories { if let imageURLString = viewModel.getResizedImageURLForWidget(for: story) { imageURL = imageURLString } entry.stories.append(HeadlineData(identifier: story.identifier ?? "", headline: story.headlines?.basic ?? "", headlineImageURL: imageURL)) } entries.append(entry) let timeline = Timeline(entries: entries, policy: .atEnd) completion(timeline) case .failure: break } } }Run the app and view it’s widget on the home screen.
Navigating from Widget Story to App
Since we added a Link control within the ForEach of WidgetView, each WidgetRowView contains an Identifier wrapped as an URL. When a story is tapped the individual row’s identifier to the app by using:
onOpenURL(perform action: **@escaping** (URL) -> ()) -> **some** ViewonOpenUrl delivers a URL to a scene or window the view is in.
.onOpenURL { id in// Present a detail view and initialize it with id.}