Setup Identity as an OIDC Provider
Arc XP Identity has integrated the OpenID Connect protocol (OIDC) so clients can build a sign-in flow for any OIDC provider. As part of this work, ArcXP Identity can now become an OIDC provider, which allows sharing user accounts between several organizations or sites. Learn more about it on How to use Arc XP identity as IDP.
We will guide this documentation under the following scenario: The organization STAGING_QA wants to use the user accounts that already exist on “STAGING_DEV”. That means STAGING_DEV becomes in the OIDC Provider, and STAGING_QA needs to configure STAGING_DEV as the OIDC client.
-
Configuring ArcXP Identity as an identity provider
In STAGING_DEV or any organization with Arc XP Identity enabled that you want to use as an identity provider, you will need to create an OIDC Provider config. For this go into the settings tab, then OIDC providers.
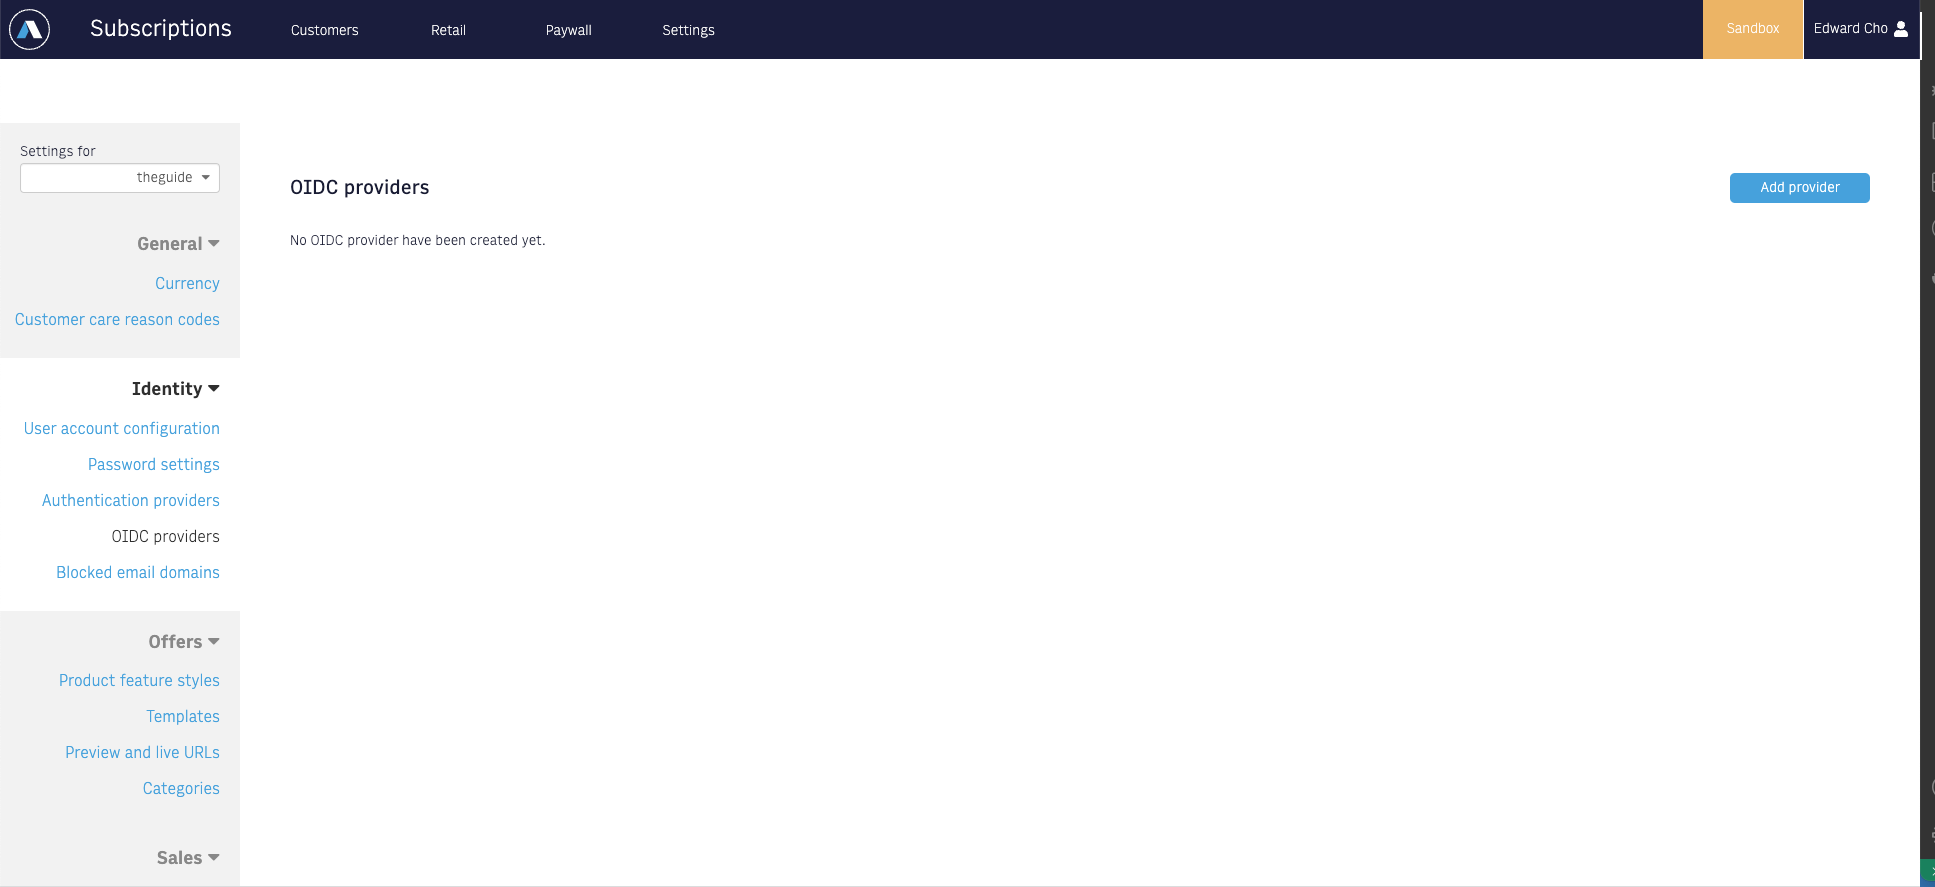
Click Add provider button to configure a new identity.

Fill out the form.
- ClientId: The OIDC client ID associated with this configuration. Clients are free to choose any name that is URL safe.
- Name: A name which is only used to refer to the configuration within CSR Admin
- Secret: The password used by the client’s backend application when calling Arc’s token API.
Also, click on Add URI button to add Regular expression used for validating a return URI.
Once satisfied with the configurations, click Add button to save.
-
Configuring newly created Arc OIDC Identity Provider as an OIDC client
In STAGING_QA or in an organization that you want to use identity provider set up in another organization, you will need to create the OIDC client.
See OIDC section on Configure third-party authetication providers, Facebook, Google, Apple, and OIDC to set up OIDC client.
-
Setup your Login pages Once you’ve created the OIDC Provider config & set up an OIDC client, you will need to update your login page so that it can be used for logging in as an OIDC Provider. Your login page will also be the
authorizationEndpointprovided in the OIDC client config in step 2, and as the"authorization_endpoint"value in the/.well-known/openid-configurationfile described in step 4.If you are using the Identity Log In Themes Block, you can simply toggle the “Login with OIDC” custom field to “on”, and your login page can be used for OIDC login. If you are doing a custom build on your login page, follow through on Set up Identity as an OIDC Provider using sdks to finish setting up the Identity as an OIDC provider.
-
Creating the
/.well-known/openid-configurationfile The /.well-known/openid-configuration endpoint returns important metadata about OIDC services in the form of a JSON object. See OpenID Connect Discovery 1.0 for more info.The
openid-configurationfile should, at minimum, include the following:{"issuer": "https://{org}-{site}-{env}.web.arc-cdn.net","authorization_endpoint": "https://{link-to-login-page}","token_endpoint": "https://{org}-{site}-{env}.api.arc-cdn.net/identity/public/v2/oidc/provider/token","jwks_uri": "https://{org}-{site}-{env}.api.arc-cdn.net/identity/public/v2/oidc/provider/all/.well-known/jwks.json","response_types_supported": ["code"],"subject_types_supported": ["public"],"id_token_signing_alg_values_supported": ["RS256"],"token_endpoint_auth_methods_supported": ["client_secret_basic"]}Replace the bracketed text with the appropriate org, site, env and login page values. Contact your TAM, provide them with this JSON object, and request that it be served from the
/.well-known/openid-configurationendpoint.