Arc XP Identity Theme Blocks configuration & Customization Deep Dive
Identity blocks are Arc Blocks that can be used together to create a front-end authentication experience powered by Arc Subscriptions on the back-end. The Identity blocks each contain a set of PageBuilder Theme blocks that can be used together or independently to create your desired user registration and log in experiences. You can use them as-is or as a starting point to customize by Forking A Theme Block.
How do I use the Identity blocks?
Identity blocks can be added to your site from PageBuilder. They can be used in conjunction with the Paywall or Subscriptions blocks, or independently. Identity blocks allow you to quickly implement functionality provided by Arc XP Identity, such as authenticating your users and granting them access to your website and its content.
Do I have to use Arc XP Identity? Can I bring my own?
The Identity blocks are designed to work with Arc XP Identity.
What are the limitations of the Identity blocks?
While the Identity blocks cover many use cases regarding the authentication experiences, there are some front-end pieces that the blocks do not cover, including:
- User e-mail address verification flows - You will be using your own e-mail provider for sending e-mails, including password resets and e-mail verification e-mails (see How-to listen Web Socket events and Implement IFX email service provider). If you choose to turn on “Email verification required for a customer to log in” setting in Arc Subscriptions, you will need to build additional front-end pages for re-sending verification e-mails or success messages upon clicking the verify link in e-mail.
- Manage user account details - The
Identity Account Management - Profileblock allows a user to manage basic profile parameters, including updating their e-mail address and password. However it does not include managing other parameters such us birth date, phone numbers, gender, attributes. If you’d like for users to view and/or edit these parameters, those pages will be custom development. - Other authentication providers - Currently, the Identity blocks support Arc Identity. If you’d like to use a different identity provider, please discuss with your TAM or add a request to the Arc Ideas Board.
Configuration required to use Arc XP Identity
Before we start learning how we can use Identity blocks we need to do some house keeping. The first thing we need to do is make sure we have the correct configurations for the Identity blocks. You will have to configure and deploy Arc Blocks with the version you would like to use. Once you have created the build you can edit the settings for the Identity blocks.
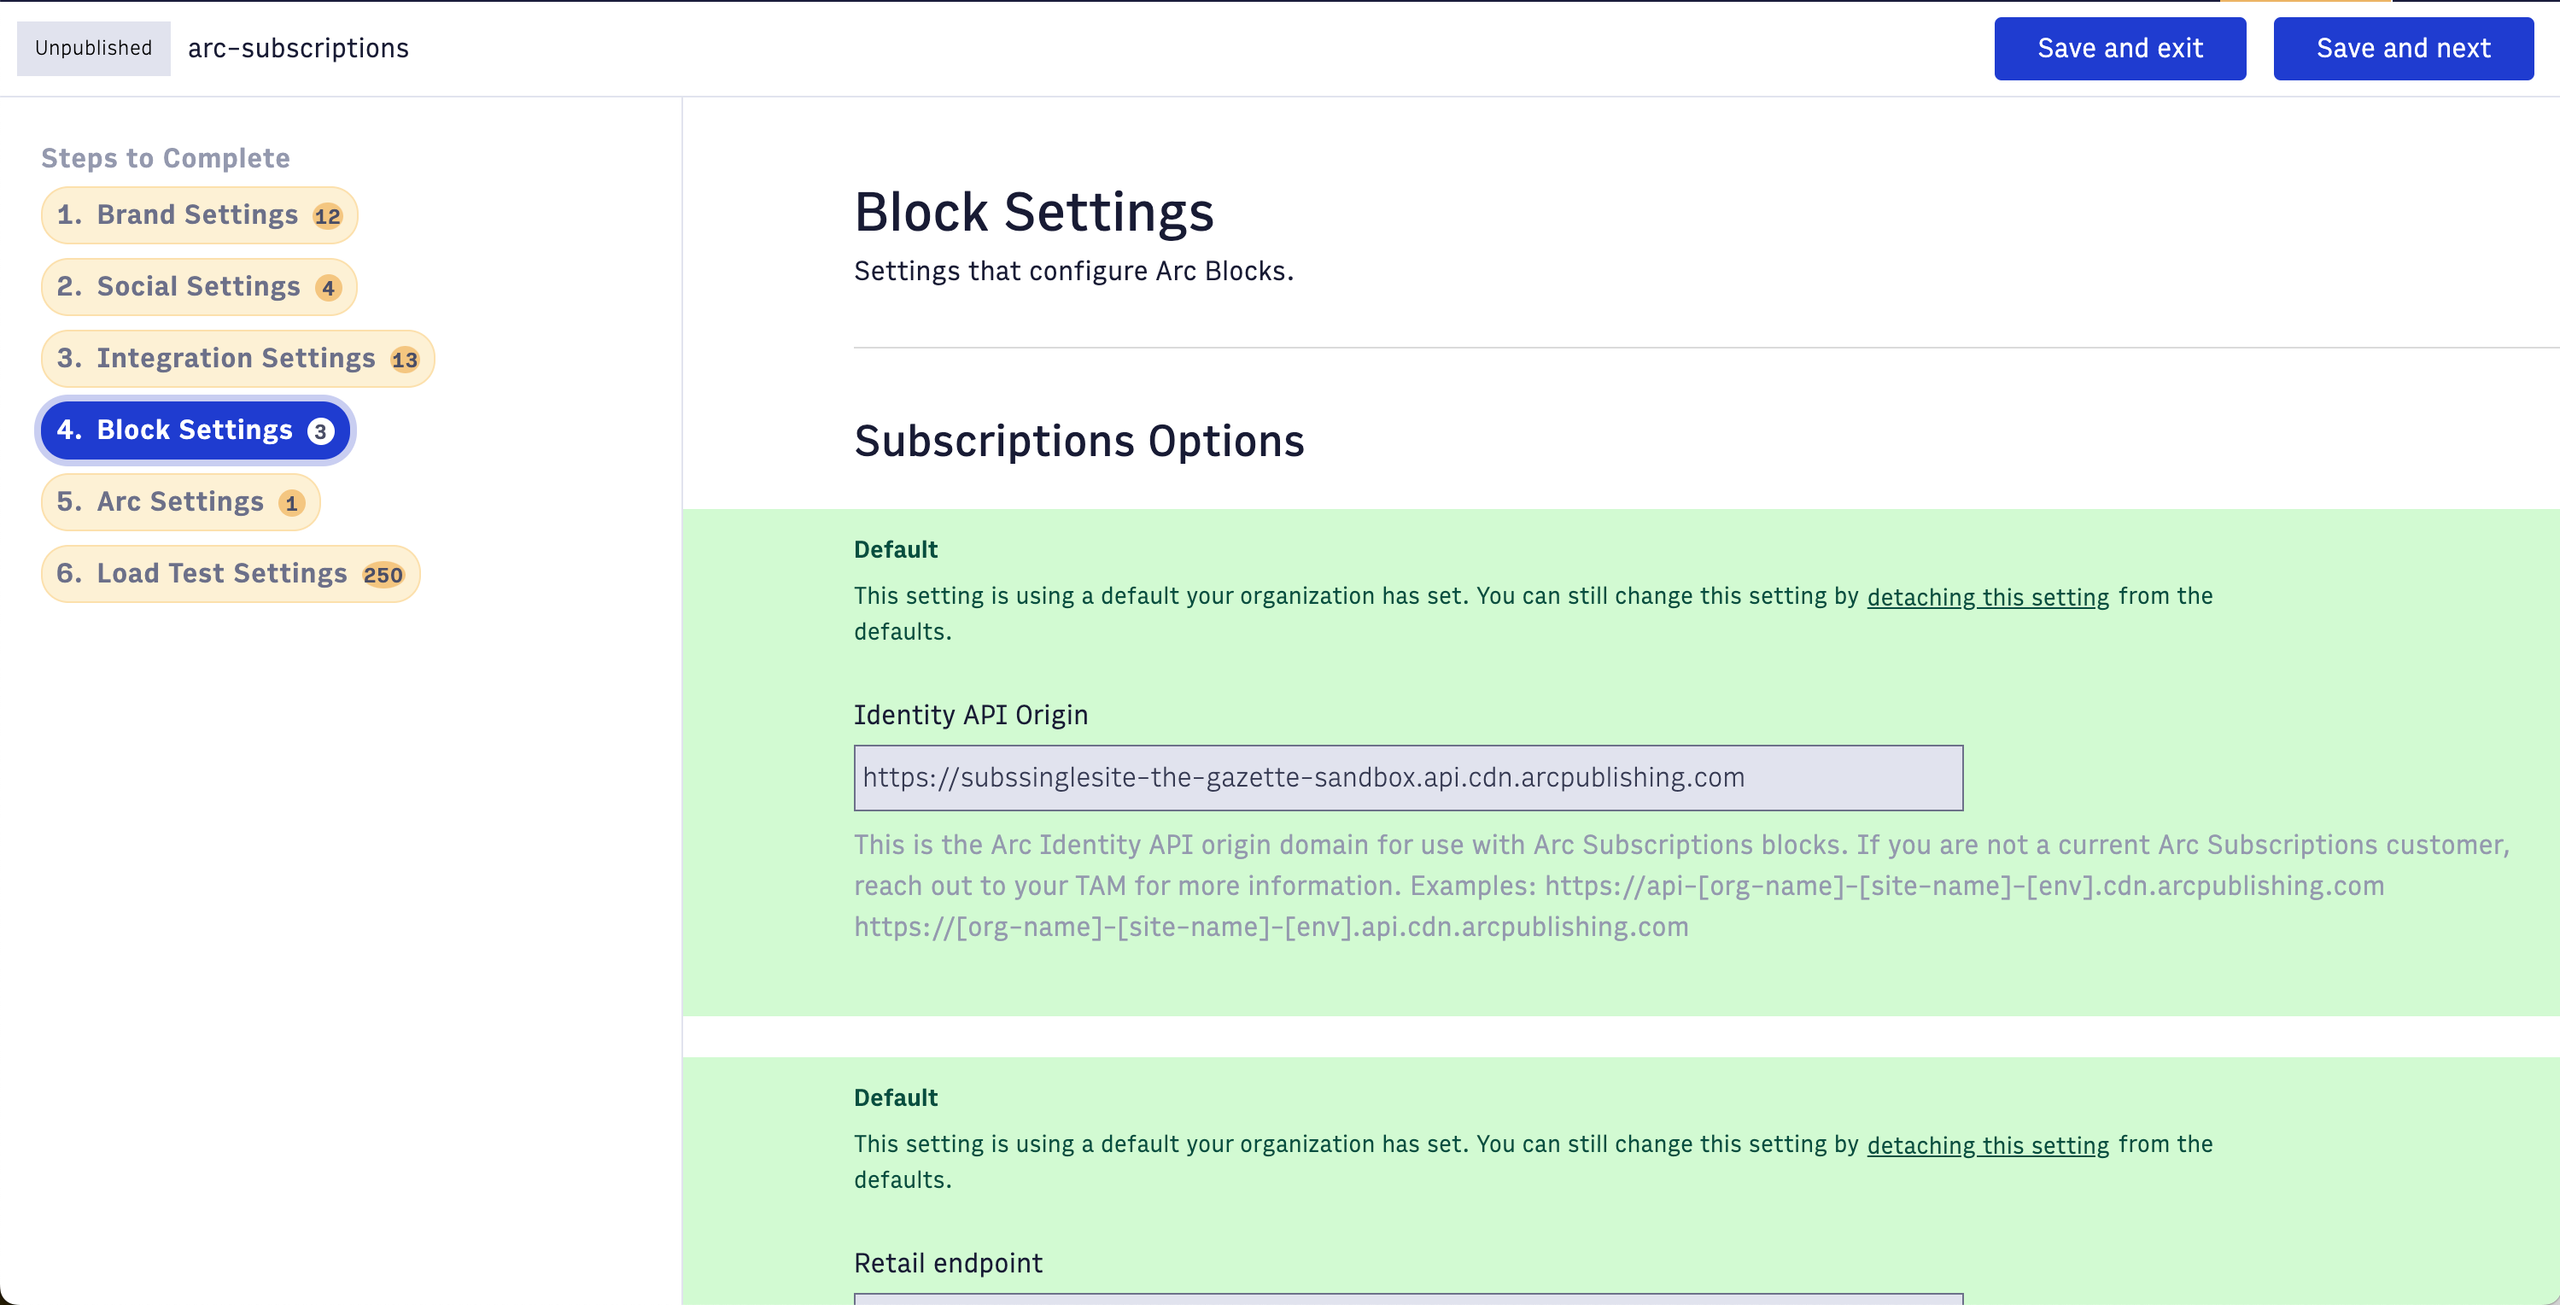
Under Global Setting you should see the Edit default button. Click there to edit your settings.

Here you will see Identity API Origin. Make sure to use the correct API origin (or CDN) for this. Save and Exit.
After you save you can complete the build. This should have you all set up to add your Identity blocks.
Identity Blocks
The Identity block package consists of nine Arc Blocks that can be used to configure the sign-up and log-in experiences for accessing walled content. It is used to manage the end-user aspects of signing up (registering/creating an account), logging in, and managing a user account. It is easy to create the following experiences using the corresponding block included in Identity block package:
| Arc Block(s) in PageBuilder | Experience/Functionality |
|---|---|
| Identity Sign Up - Arc Block | Signing up for a new account with an email address |
| Identity Log In - Arc Block | Logging In with an existing account with an email address |
| Identity Header Account - Arc Block | Sign In buttons in the Navigation bar |
| Identity Social Sign-On - Arc Block | Creating a new account or logging into an existing account using a social account (Google, Apple and/or Facebook) |
| Identity Login Links - Arc Block | Links to Log in, sign up, forgot password, and log in without password page |
| Identity Forgot Password Arc Block | Sending a reset password link to email |
| Identity Reset Password Arc Block | Resetting a forgotten password using a nonce (nonce is shared as a link to the user when the Forgot password flow is started) |
| Identity Account Management – Arc Block | Changing my email address or password on a Profile page. Able to see, link and unlink identities attached to the user accont |
| Identity One Time Password Request Form - Arc Block | Passwordless Authentication with Email |
By typing ‘Identity’ in the search bar for blocks, you will be able to see all the available Identity blocks
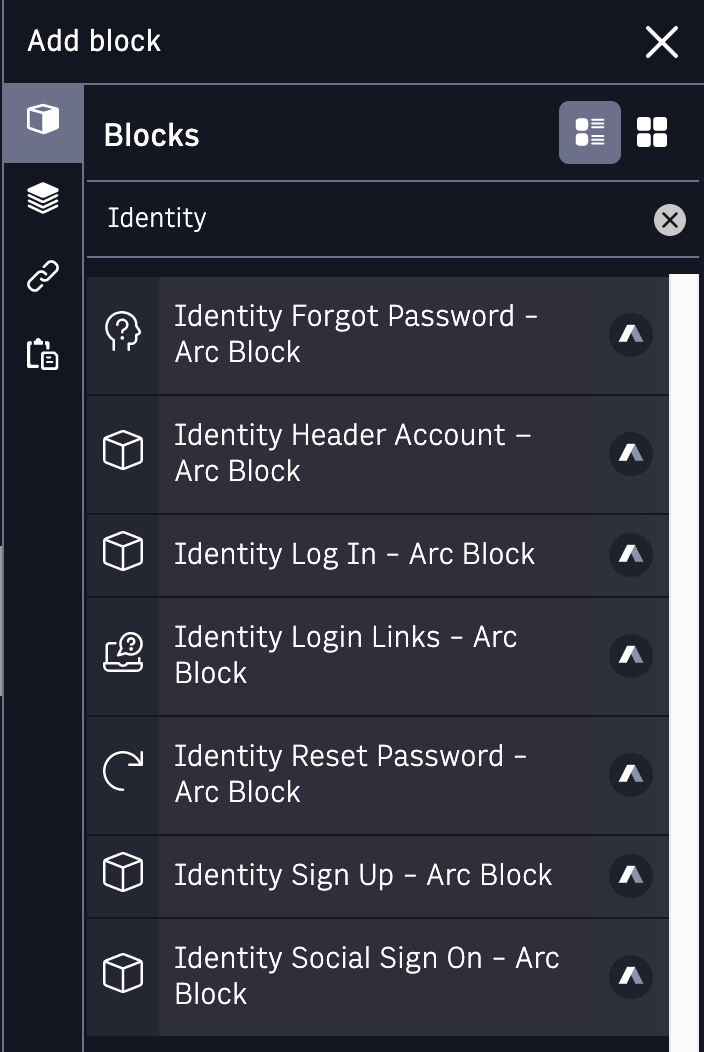
The Identity Arc Blocks are used to create several new pages (Sign Up, Log In, My Account, Forgot Password, Reset Password) and update the Navigation chain.
Identity Sign Up - Arc Block
The Identity Sign Up - Arc Block is placed on a page where a user will create a new account.
Arc Theme Blocks make it easy to create Sign Up and Log In experiences so that your users can register and log into an account. Users can register with an email address and password combination, or using a third-party social account. Currently, Theme Blocks support Facebook, Google, Apple, third-party authentication providers, and OIDC authentication providers.
To get started, first set up a Sign Up Page using the Identity - Sign Up block.
First, create the Sign Up page:
- In PageBuilder, click Create Page.
- Set Page Name. e.g.
Account - Sign Up - Set Page URI. e.g.
/account/signup/ - In the Setup tab, under Layout, select either
Single Column - Arc Layoutor another layout of your preference. - In the Curate tab, add the
Identity Sign Up - Arc Blockto the main section
After publishing the Sign Up page, a user will be able to sign up with an email address and password.
The reCAPTCHA widget will appear or not automatically depending on whether it is enabled for User registration in the Subscriptions settings (see Secure your site against attacks CORS Domains, Blocked email domains and reCAPTCHA).
| reCAPTCHA disabled | reCAPTCHA V2 enabled | reCAPTCHA V3 enabled |
|---|---|---|
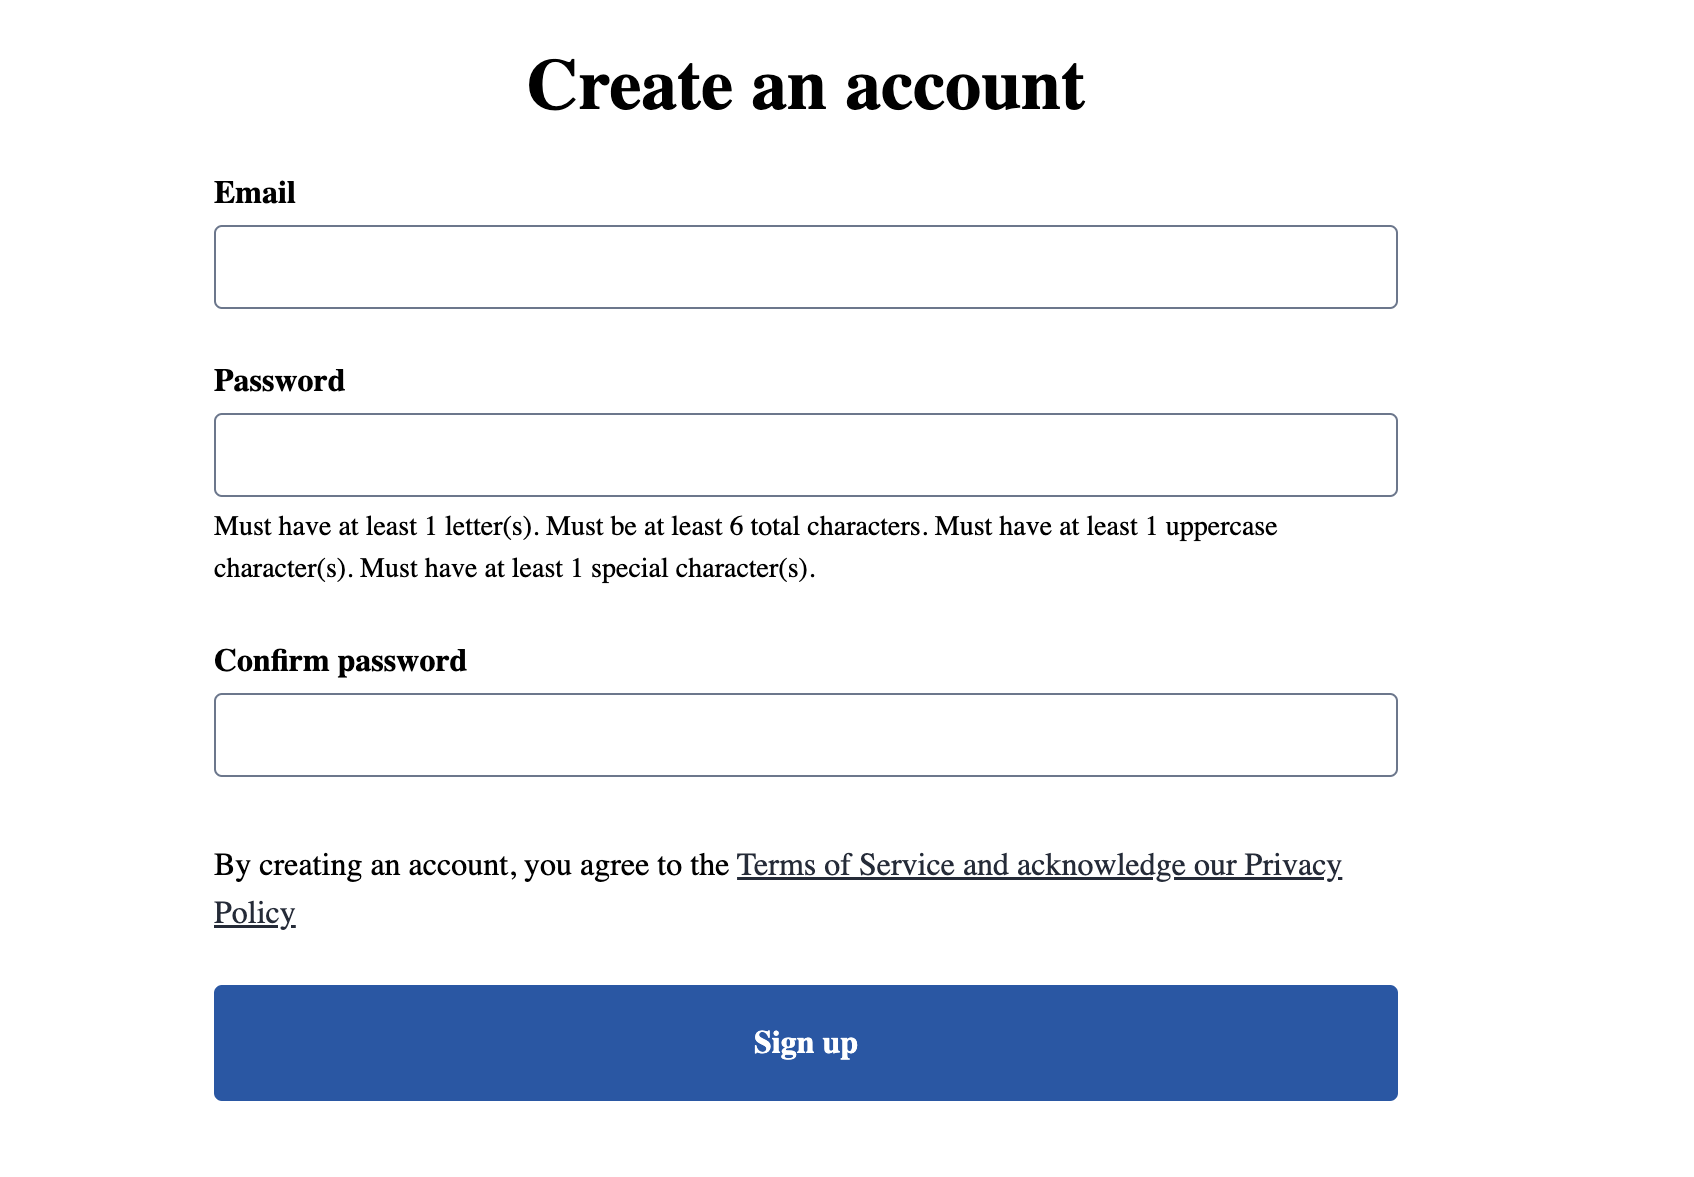 | 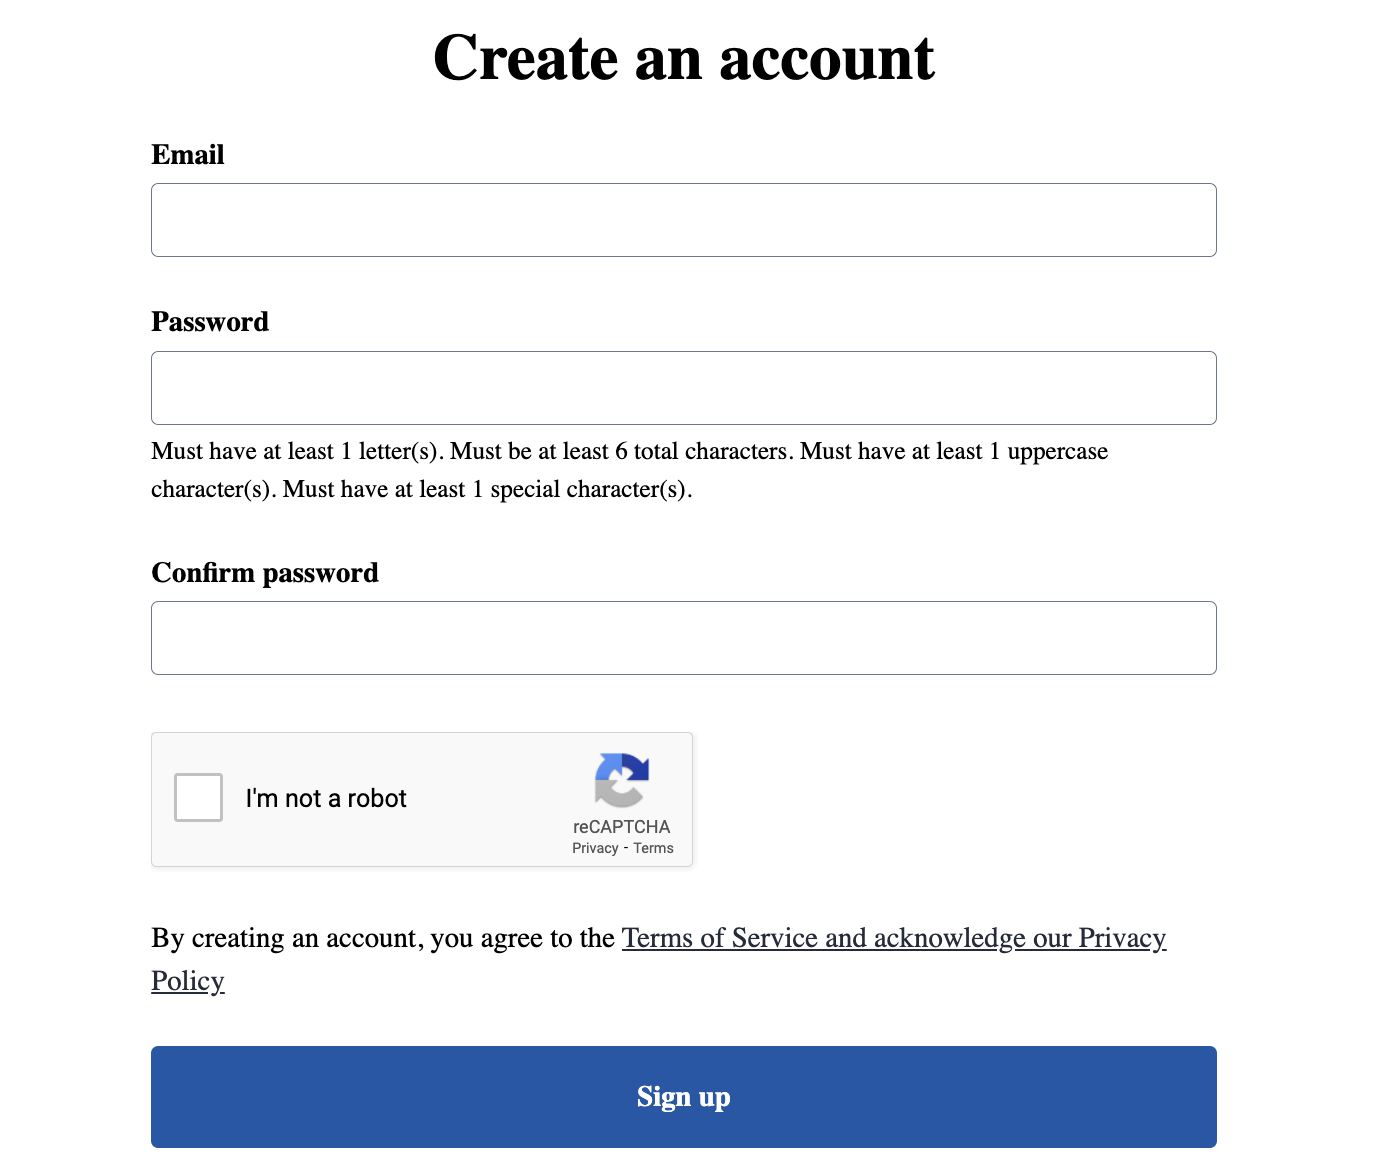 | 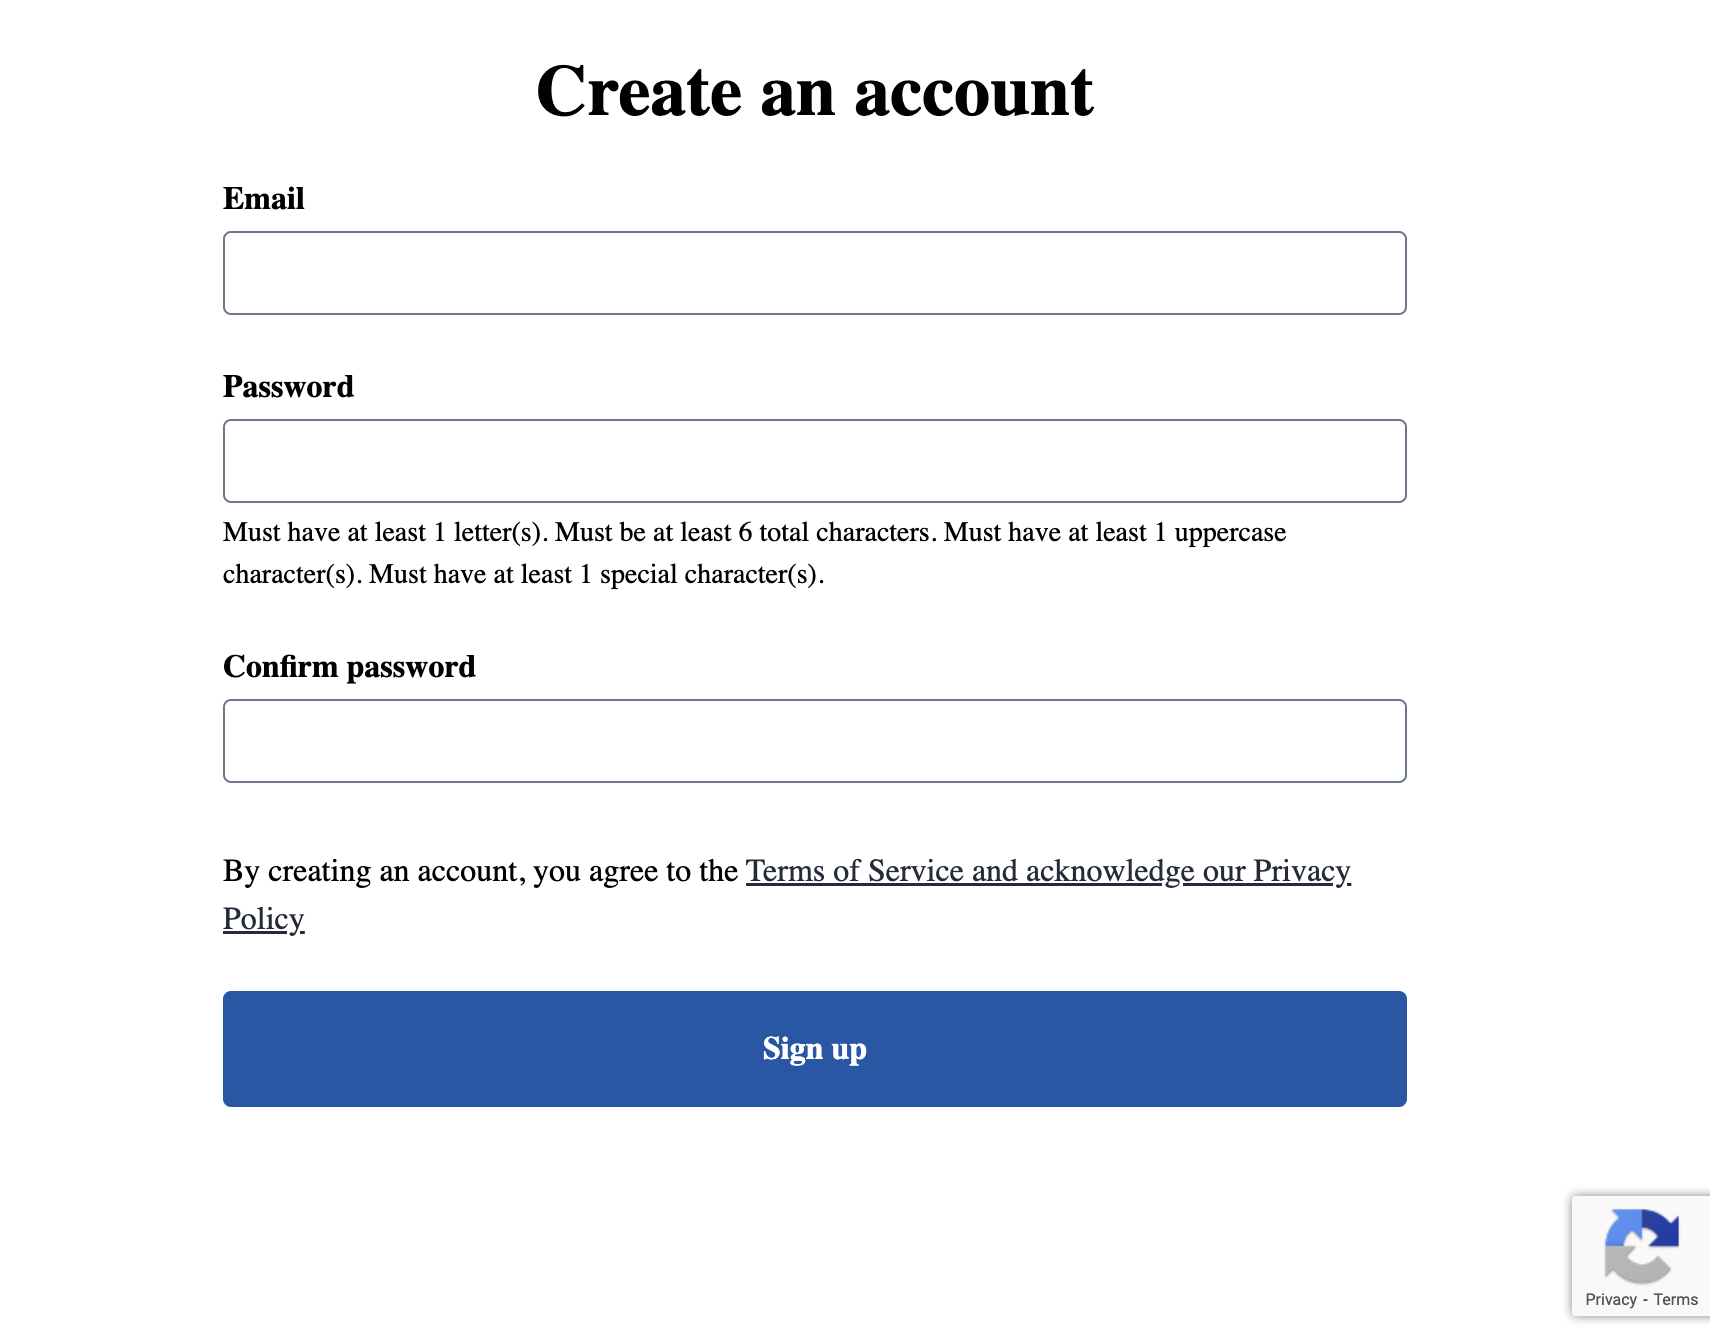 |
The Identity Sign Up - Arc Block includes the following Custom fields that an admin can configure:
| Custom field | Description |
|---|---|
| Redirect URL | The URL to which a user returns to upon successful sign up. Set to “/” by default, returning user to the homepage. |
| Redirect to previous page | The option to send the user back to the page they were on. Currently, this redirect is not supported for SPA-enabled (Single Page Application) sites. |
| Privacy Policy URL | Link to your Privacy Policy page. |
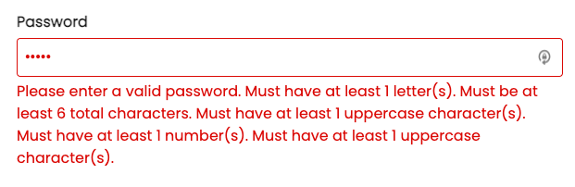
Validation examples and error handling
The Identity Sign Up - Arc Block includes error states for invalid email address format, minimum password requirements (as defined in Subscriptions settings), and matching password confirmation.
- Valid e-mail address required
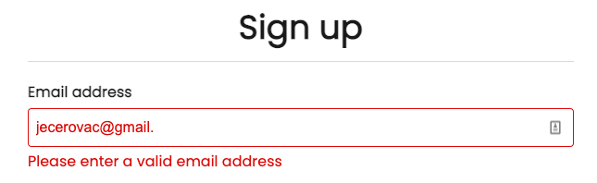
- Password requirements (as defined in Subscriptions settings)
- Confirm password validation

- Error handling: Errors coming from a failed request
Identity Log In - Arc Block
The Identity Log In - Arc Block is placed on a page where a user will log in to an existing account.
First, create the Log In page:
- In PageBuilder, click Create Page.
- Set Page Name. e.g.
Account - Log In - Set Page URI. e.g.
/account/login/ - In the Setup tab, under Layout, select either
Single Column - Arc Layoutor another layout of your preference. - In the Curate tab, add the
Identity Log In - Arc Blockto the main section
After publishing the Log In page, a user will be able to log in with an email address and password that have been created on the Sign Up page.
The reCAPTCHA widget will appear or not automatically depending on whether it is enabled for User sign in in the Subscriptions settings (see Secure your site against attacks CORS Domains, Blocked email domains and reCAPTCHA).
| reCAPTCHA disabled | reCAPTCHA V2 enabled | reCAPTCHA V3 enabled |
|---|---|---|
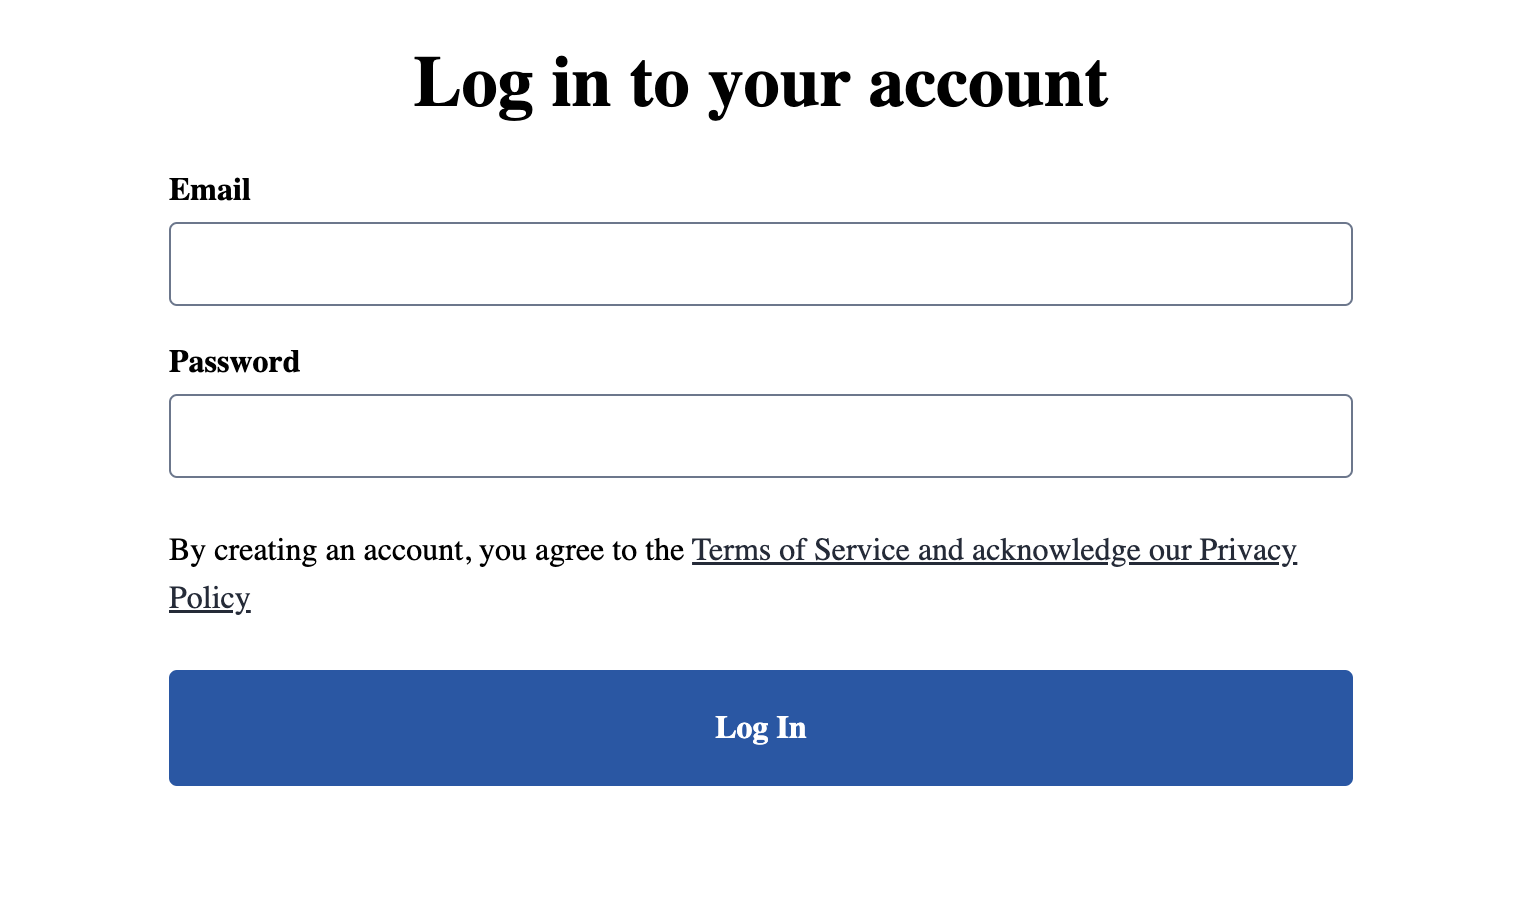 | 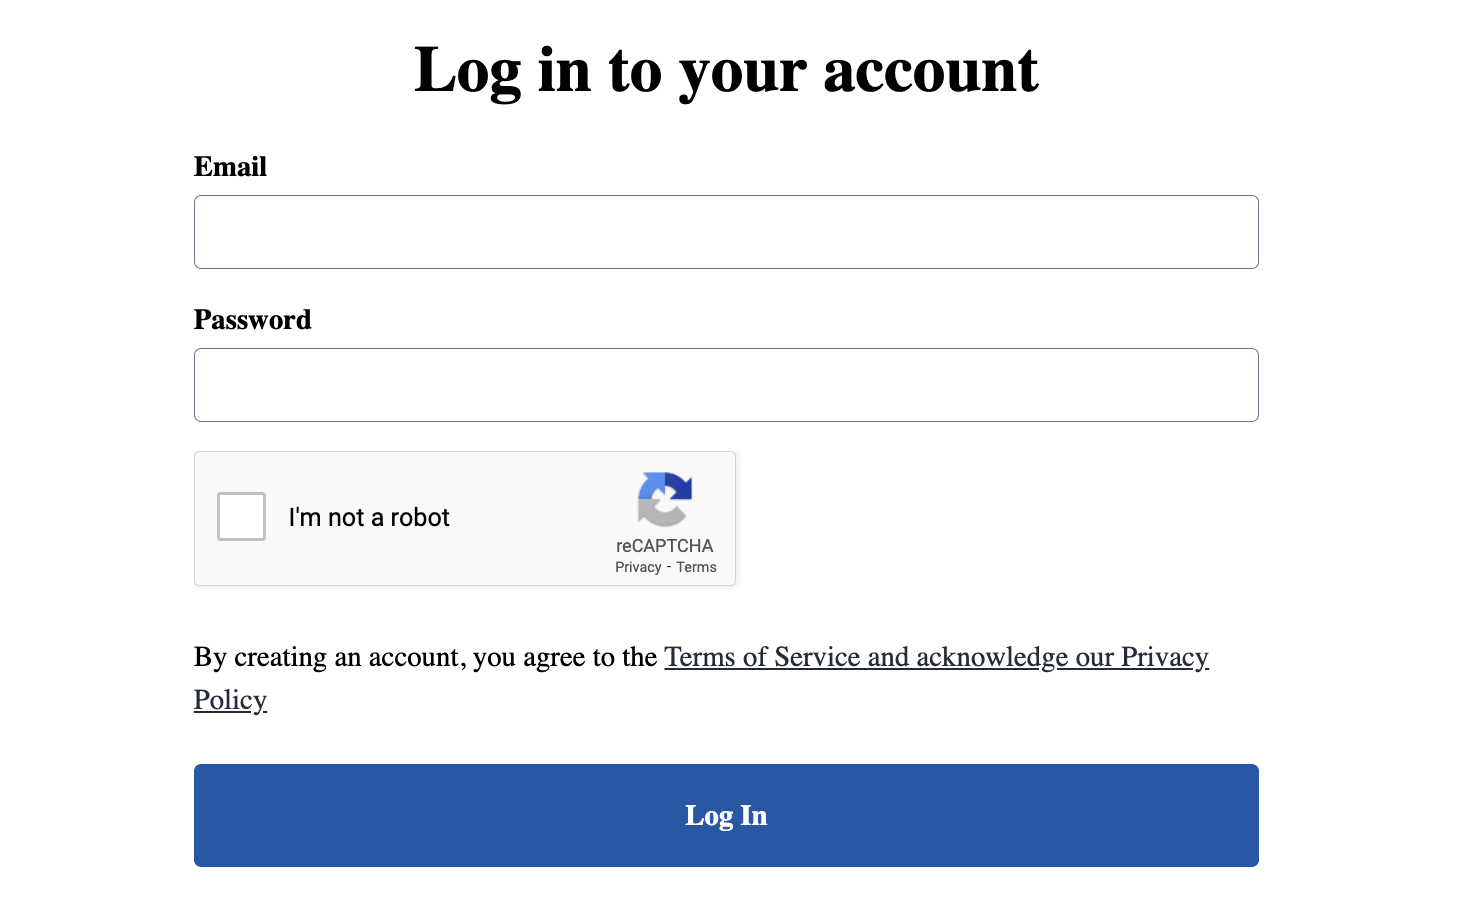 |  |
The Identity Log In block includes the following Custom fields that an admin can configure:
| Custom field | Description |
|---|---|
| Redirect URL | The URL to which a user returns to upon successful login (with option to redirect to previous page). Redirect to previous page is not currently supported for SPA-enabled sites. |
| Logged in URL | The URL to which a user is redirected to if visiting the Sign In page and the user is already logged in. |
| Login with OIDC | This will be used with an OIDC authentication provider. If checked it will activate the OIDC flow if you are using a OIDC authentication provider and passing in the appropriate query params in the url. |
| Privacy Policy URL | Link to your Private Policy page. |
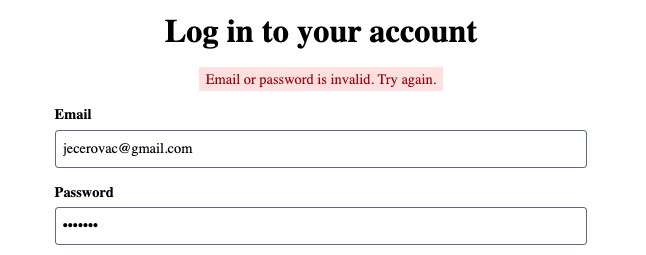
Validation examples and error handling
- Valid e-mail address required
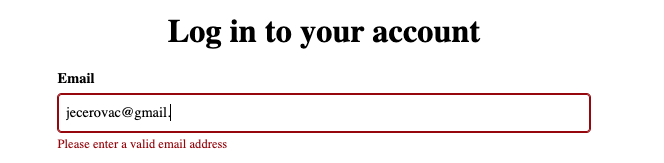
- Error handling: Errors coming from a failed request
Identity Header Account - Arc Block
Now you have the basic setup for sign up and log in we can add a button on your header so that users can register and log in to your site.
-
Go to your page to your Navigation - Arc Chain
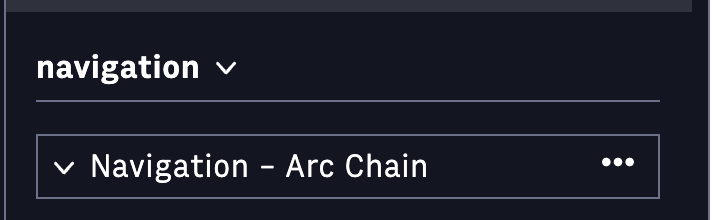
-
Click on the dropdown button. Select the option for
Add Block Chain -
Select the
Identity Header Account - Arc Block.Here is what it should look like

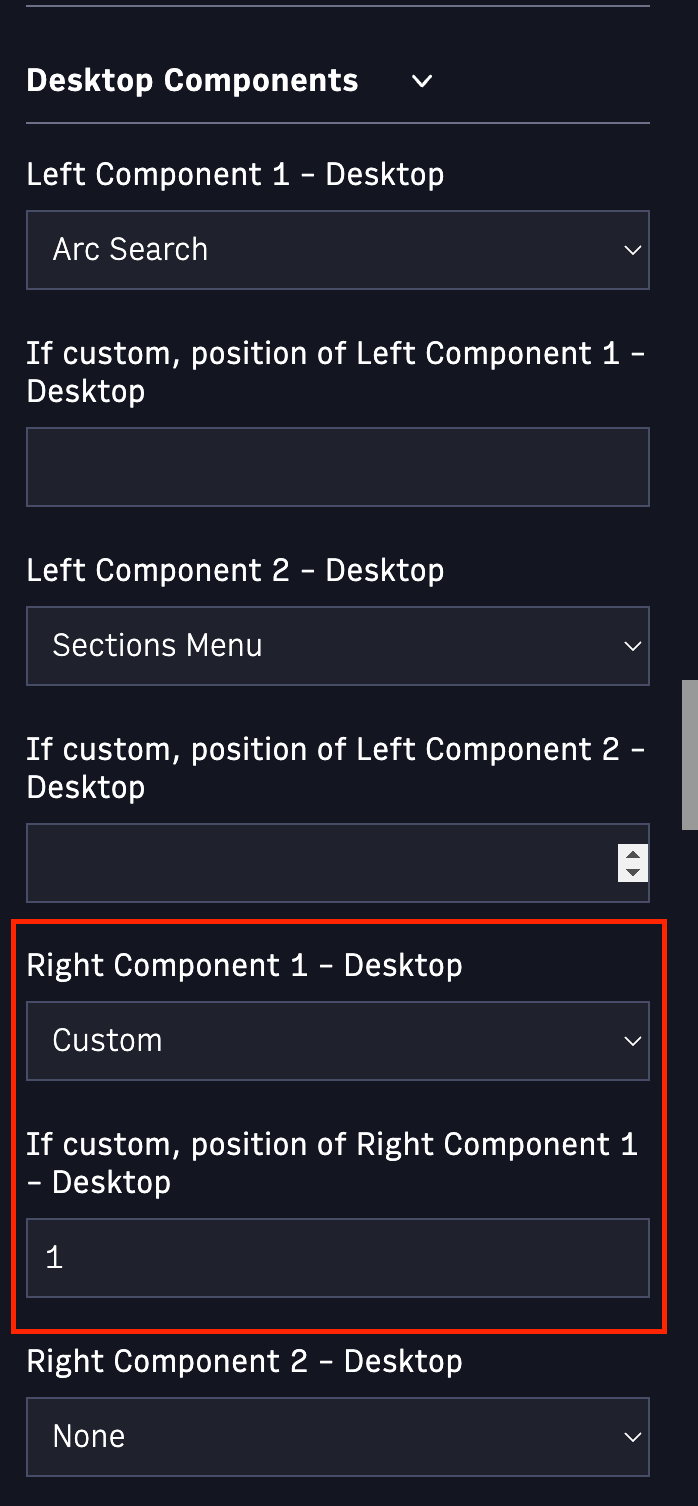
If you don’t see it rendering on your header make sure your settings are correct in the Navigation block. Make sure you have the correct settings under Desktop Components and Mobile Component. This is an example of how you might set it up.
| Custom field | Description |
|---|---|
| Log In URL | Url for the log in page. |
| Sign Up URL | Url for the sign up page. |
| Log Out URL | Url where you want the user to be redirected after they log out. |
| Manage Account URL | Url for the manage account page. |
Identity Social Sign On - Arc Block
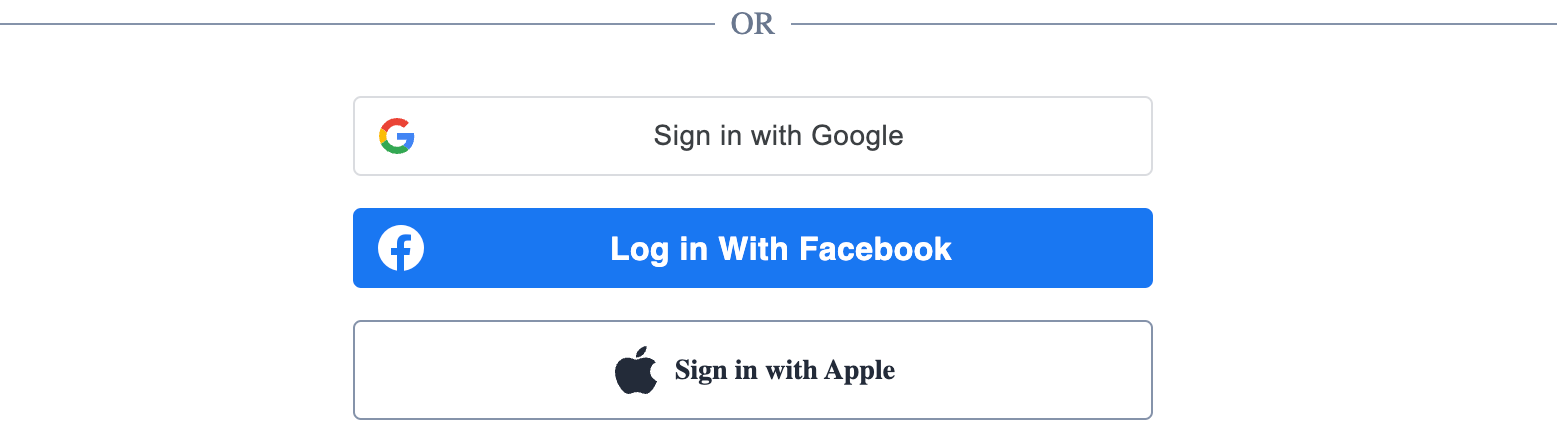
The Social Sign On block can be placed on both the Log In and Sign Up pages and displays the action buttons to sign in with social accounts, as set up in the Authentication Providers section of the Subscriptions settings application. Currently, Themes supports Arc XP's Integration Framework Google, Facebook, and Apple as authentication providers.
The social buttons will dynamically render based on the setup within Arc Subscriptions. For example, if Google is set up in Arc Subscriptions but Facebook is not, only Google login button will show. The CTA button text will also change based on the user’s logged in state of the social providers. For example, a user who is not logged into Facebook in their browser session will see “Log In With Facebook” while a user who is logged into their Facebook account will see “Continue as [Your Name]”.
If a user has an existing account, they will be logged in. If a user is new, an account will be created.
If a user already has an existing e-mail and password account and logs in with a social account of the same e-mail address, the accounts will automatically merge and a user may log in with either e-mail and password or using the social sign on buttons (see Authentication Password, Social, OIDC, and one-time access link for more details).
The Identity Social Sign On - Arc block includes the following Custom fields that an admin can configure:
| Custom field | Description |
|---|---|
| Redirect URL | The URL to which a user returns to upon successful login (with option to redirect to previous page). Redirect to previous page is not currently supported for SPA-enabled sites. |
| Apple OIDC Client ID | Client ID for Apple OIDC authentication provider. This is the “Provider key” in your “Authentication Providers” settings. You will need to setup a Sign in with Apple OIDC Authentication Provider. Here is a link to the guide - Sign in with Apple as an OIDC Authentication Provider |
| Redirect to previous page | Do you wish for the user to be redirected to the page they entered from before logging in? This overrides redirect URL. |
| Logged In URL | The URL to which a user is redirected to if visiting the Sign In page and the user is already logged in |
| Login with OIDC | This will be used with an OIDC authentication provider. If checked it will activate the OIDC flow if you are using a OIDC authentication provider and passing in the appropriate query params in the url. |
| Social Sign On In | Choose either Login or Signup option. |
| Hide Divider | This will hide the divider between login block and social sign on block. |
| Custom Facebook/Gooogle/Apple buttons | Unchecked this will use the default social sign on html element provider by the sign on provider. When checked this uses our custom buttons that are responsive and work well on mobile. |
Identity Login Links - Arc Block
The Identity Login Links - Arc Block is placed on both the Sign Up and Log In pages. Login Links block includes links for resetting a password (”Forgot Password?”) and returning to the corresponding Sign Up or Log In page.
For example, if a user arrives to a Sign Up page but they already have an account, the Login Links block can be configured to take them to the Log In page.
To use the Login Links block on the Sign Up page, you will:
- Add the Login Links block (typically below the Sign Up block) on the Sign Up page
- Enable the “Show Login Link” in the login section of the Custom Fields
- Enter the URL where a user should Log In (/account/login/ by default)
If a user arrives to a Log In page, but has not yet created an account, the Login Links block can be configured to take them to the Sign Up page.
To use the Login Links block on the Sign Up page, you will:
- Add the Login Links block (typically below the Log In block) on the Log In page
- Enable the “Show Sign Up Link” in the login section of the Custom Fields
- Enter the URL where a user should Sign Up (/account/signup/ by default)
You can also use the Log In Links block to add a “Forgot Password?” link to the Log In page.
- Add the Login Links block (typically below the Log In block) on the Log In page
- Enable the “Show Forgot Password Link” in the login section of the Custom Fields
- Enter the URL where a user should request a password reset (/account/forgot-password/ by default)

The Identity Login Links - Arc Block includes the following Custom fields that an admin can configure:
| Custom field | Description |
|---|---|
| Show Login Link | Used on the Sign Up page to direct users who have an existing account and need to log in |
| Log In Link | The URL where a user can log in |
| Login Without Password | This will display the button that will allow your user to login without a password. They will be sent an email allowing them to login with a link. Clients will have to use a email service provider to send out emails (see How-to listen Web Socket events and Implement IFX email service provider) |
| Show Forgot Password | Used on the Log In Page to direct users to a forgot password page where they can initiate a password reset |
| Forgot Password | The URL where a user can request a password reset |
| Show Sign Up Link | Used on the Log In page to direct users who need to create an account |
| Sign Up Link | The URL where a user can sign up for an account |
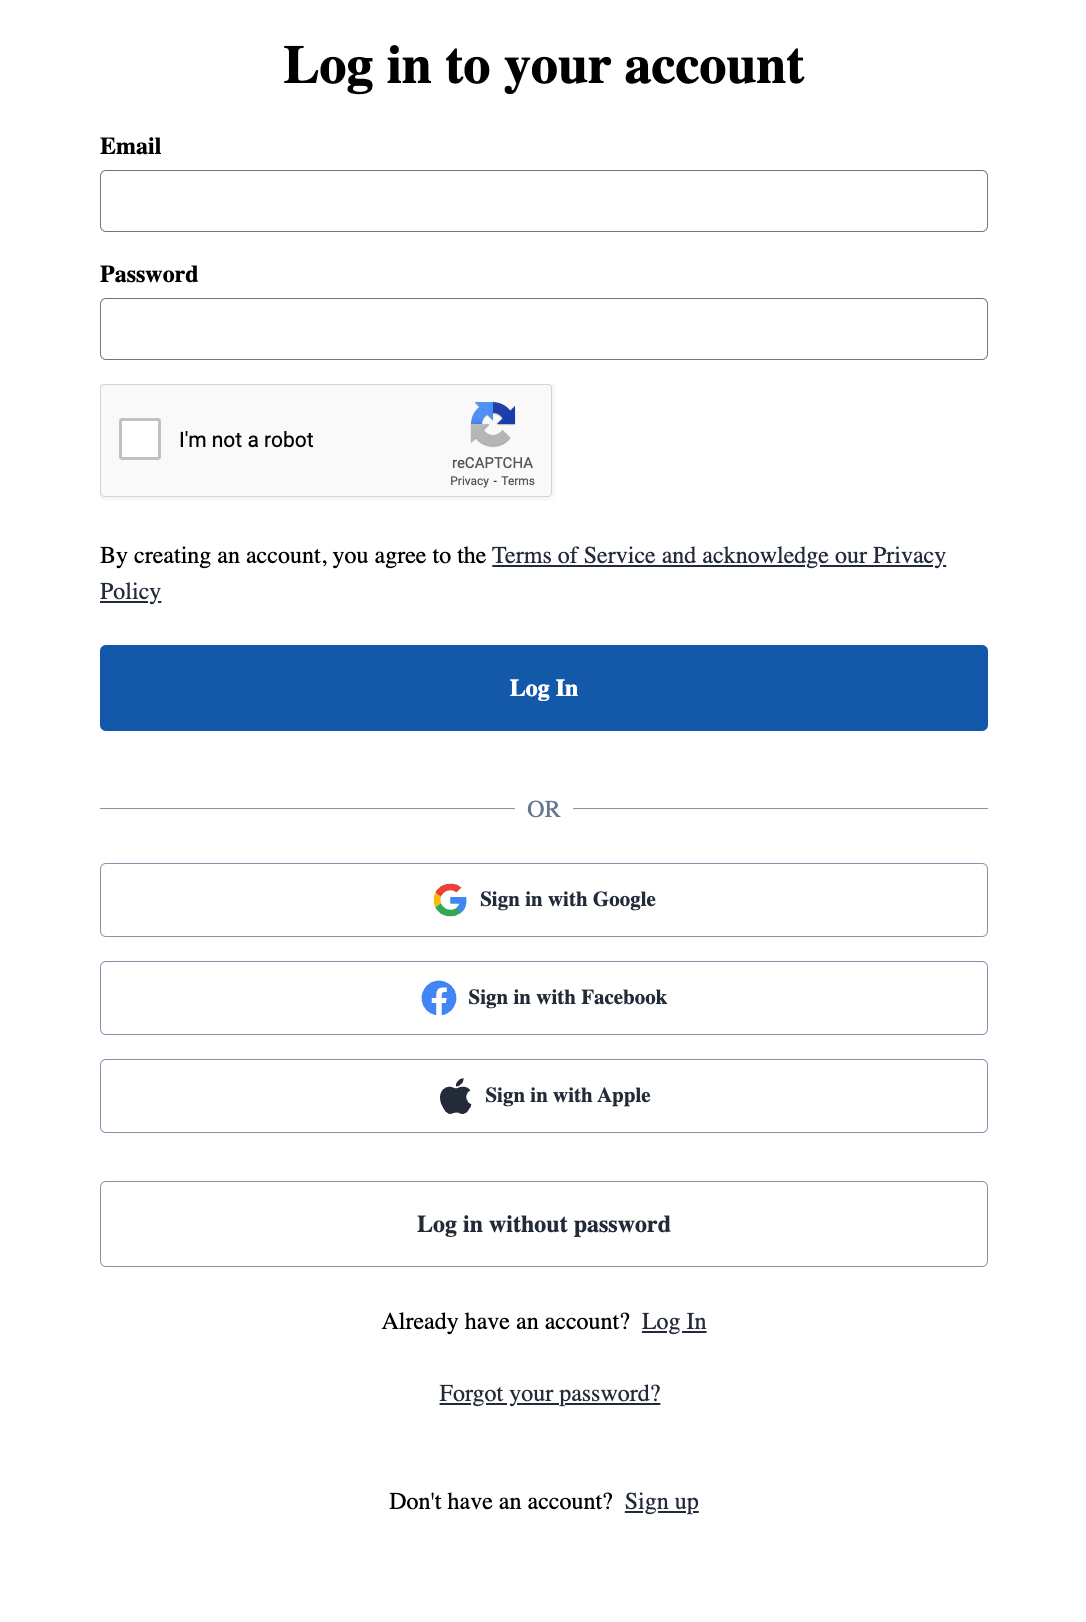
The image below illustrates how you can build a login page using the blocks described above.”
Creating a “Forgot Password?” Experience
If a user cannot remember their password, they can request a password reset by clicking the “Forgot Password?” link from the Login Links block. We recommend creating a “Forgot Password?” page where a user will enter their e-mail to request a password reset, and a “Reset Password” page where a user will return to set a new password after receiving the password reset e-mail.
The Forgot Password flow is:
- From the Login page, user clicks “Forgot Password” and is directed to the Forgot Password page that includes the
Identity - Forgot Password - Arc Block. - User enters their e-mail address on the Forgot Password page to generate a password reset.
- Our system generates a WebSocket PASSWORD_RESET_REQUEST event. It happens only if there is an account associated to the e-mail entered. You can listen for this event and dispatch an email which will provide the user with a link that contains the provided reset nonce. Learn more about How-to listen to web socket events.
- User receives an e-mail with a link to reset the password. The link directs to the Reset Password page that includes the Reset Password block and a nonce parameter in the URL. For example, a Reset Password link may be constructed like:
https://www.yoursite.com/reset-password?nonce=TA8QQ4D22I9Px7dmtahj73YObKDk-ZxaTGTvxaBXCGUa2Gid - User enters a new password on the Reset Password page. User can now log in with the new password.
Identity - Forgot Password - Arc Block
The Identity Forgot Password - Arc Block is placed on a Forgot Password page, where a user can initiate a password reset. Users typically arrive at the Forgot Password page from the Log In page.
To use the Forgot Password block, first create the Forgot Password page:
- In PageBuilder, click Create Page.
- Set Page Name. e.g.
Account - Forgot Password - Set Page URI. e.g.
/account/forgot-password/ - In the Setup tab, under Layout, select either Single Column - Arc Layout or another layout of your preference.
- In the Curate tab, add the
Identity Forgot Password - Arc Blockto the main section
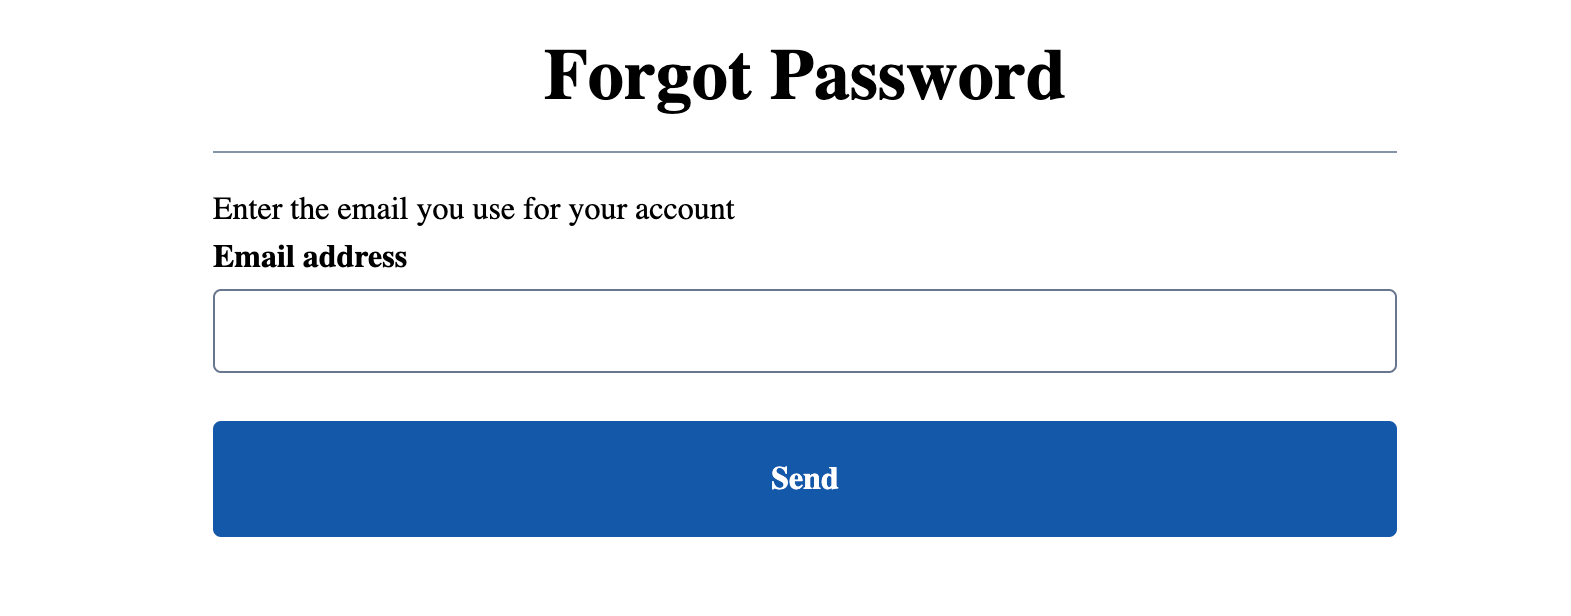
After publishing the Forgot Password page, a user will be able to initiate a password reset by entering an email address.
The Forgot Password flow begins with a user entering their e-mail address on the Forgot Password block:
Upon entering a valid e-mail address, the Forgot Password block will show a message to check the user’s email:
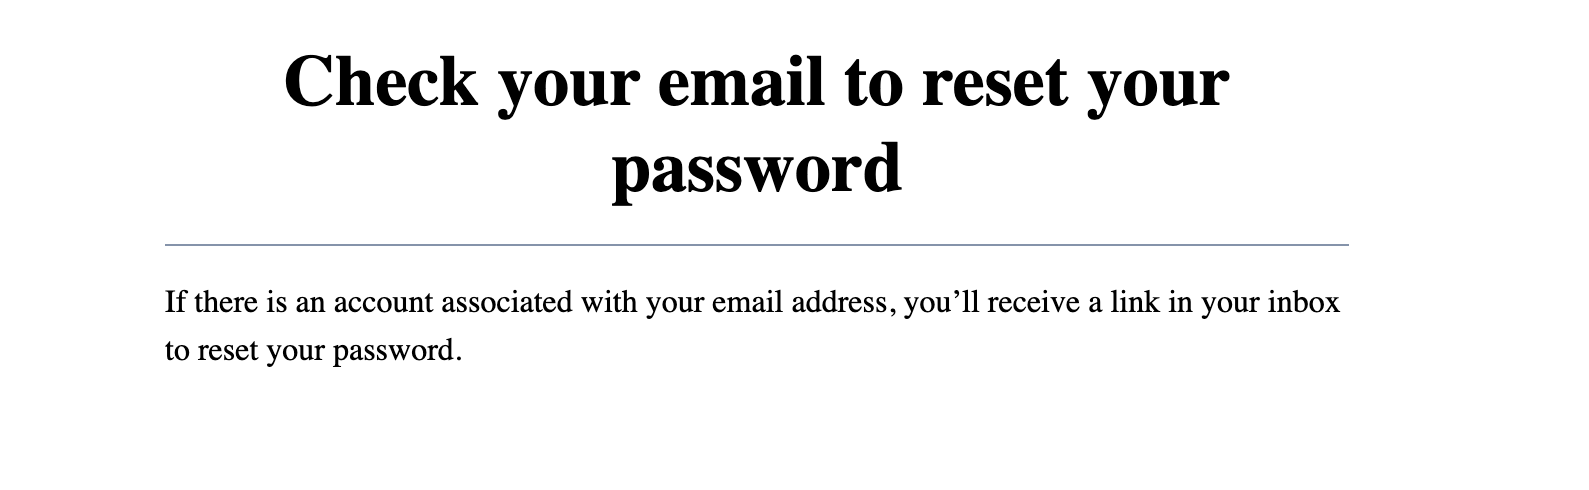
Upon clicking reset password link in their e-mail, a user will be directed to a page with the Reset Password block.
Identity - Reset Password - Arc Block
The Identity Reset Password - Arc Block is placed on a Reset Password page, where a user can create a new password. Users arrive at a Reset Password page by clicking a link in the reset password e-mail.
To use the Reset Password block, first create the Reset Password page:
- In PageBuilder, click Create Page.
- Set Page Name. e.g.
Account - Reset Password - Set Page URI. e.g.
/account/reset-password/ - In the Setup tab, under Layout, select either Single Column - Arc Layout or another layout of your preference.
- In the Curate tab, add the
Identity Reset Password - Arc Blockto the main section
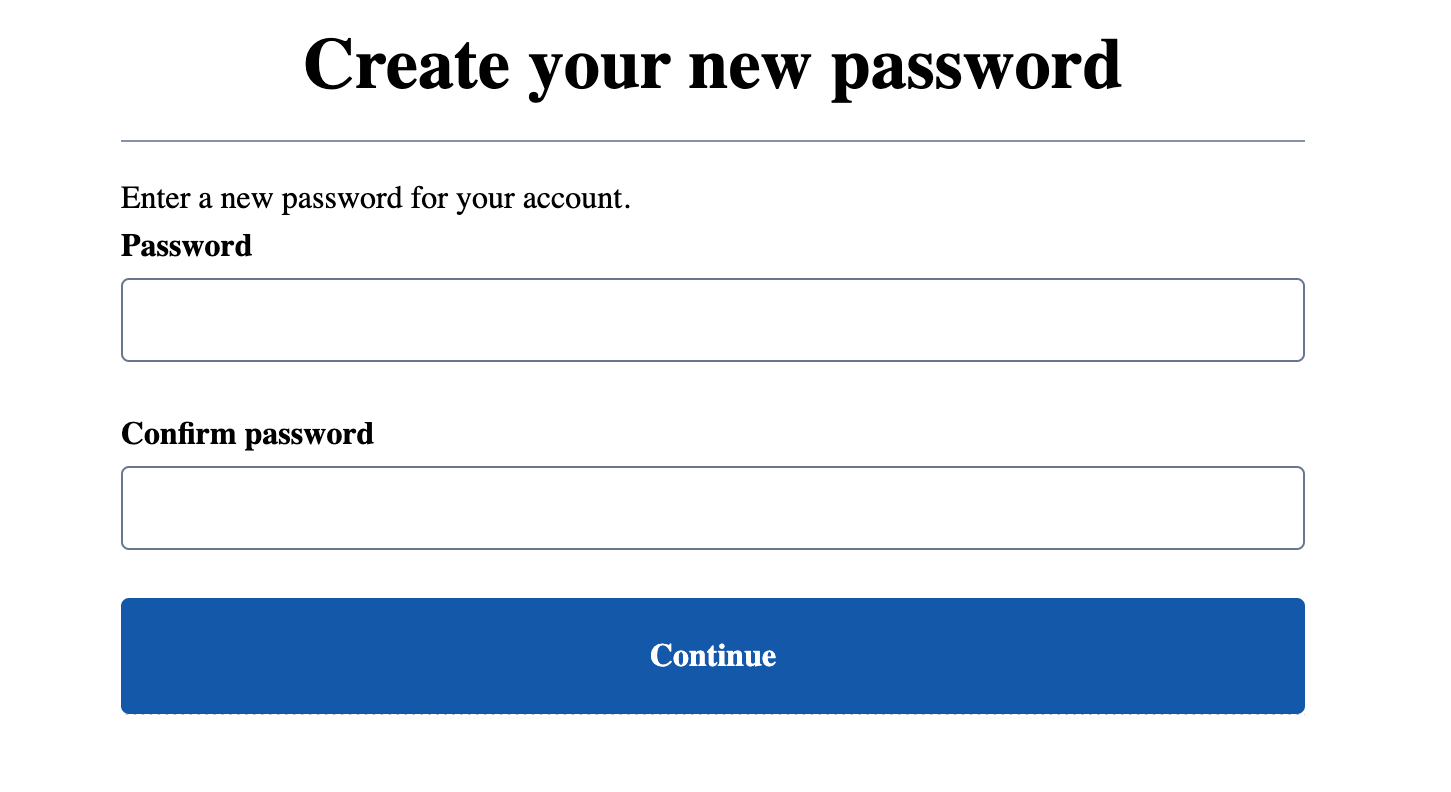
After publishing the Reset Password page, a user will be able to reset their password by entering a new password twice.
The Identity Reset Password - Arc Block includes the following Custom fields that an admin can configure:
| Custom field | Description |
|---|---|
| Successful Action URL | Where the user is directed to after successfully resetting the password. Set to /account/login/ by default. |
Identity Account Management - Profile - Arc Block
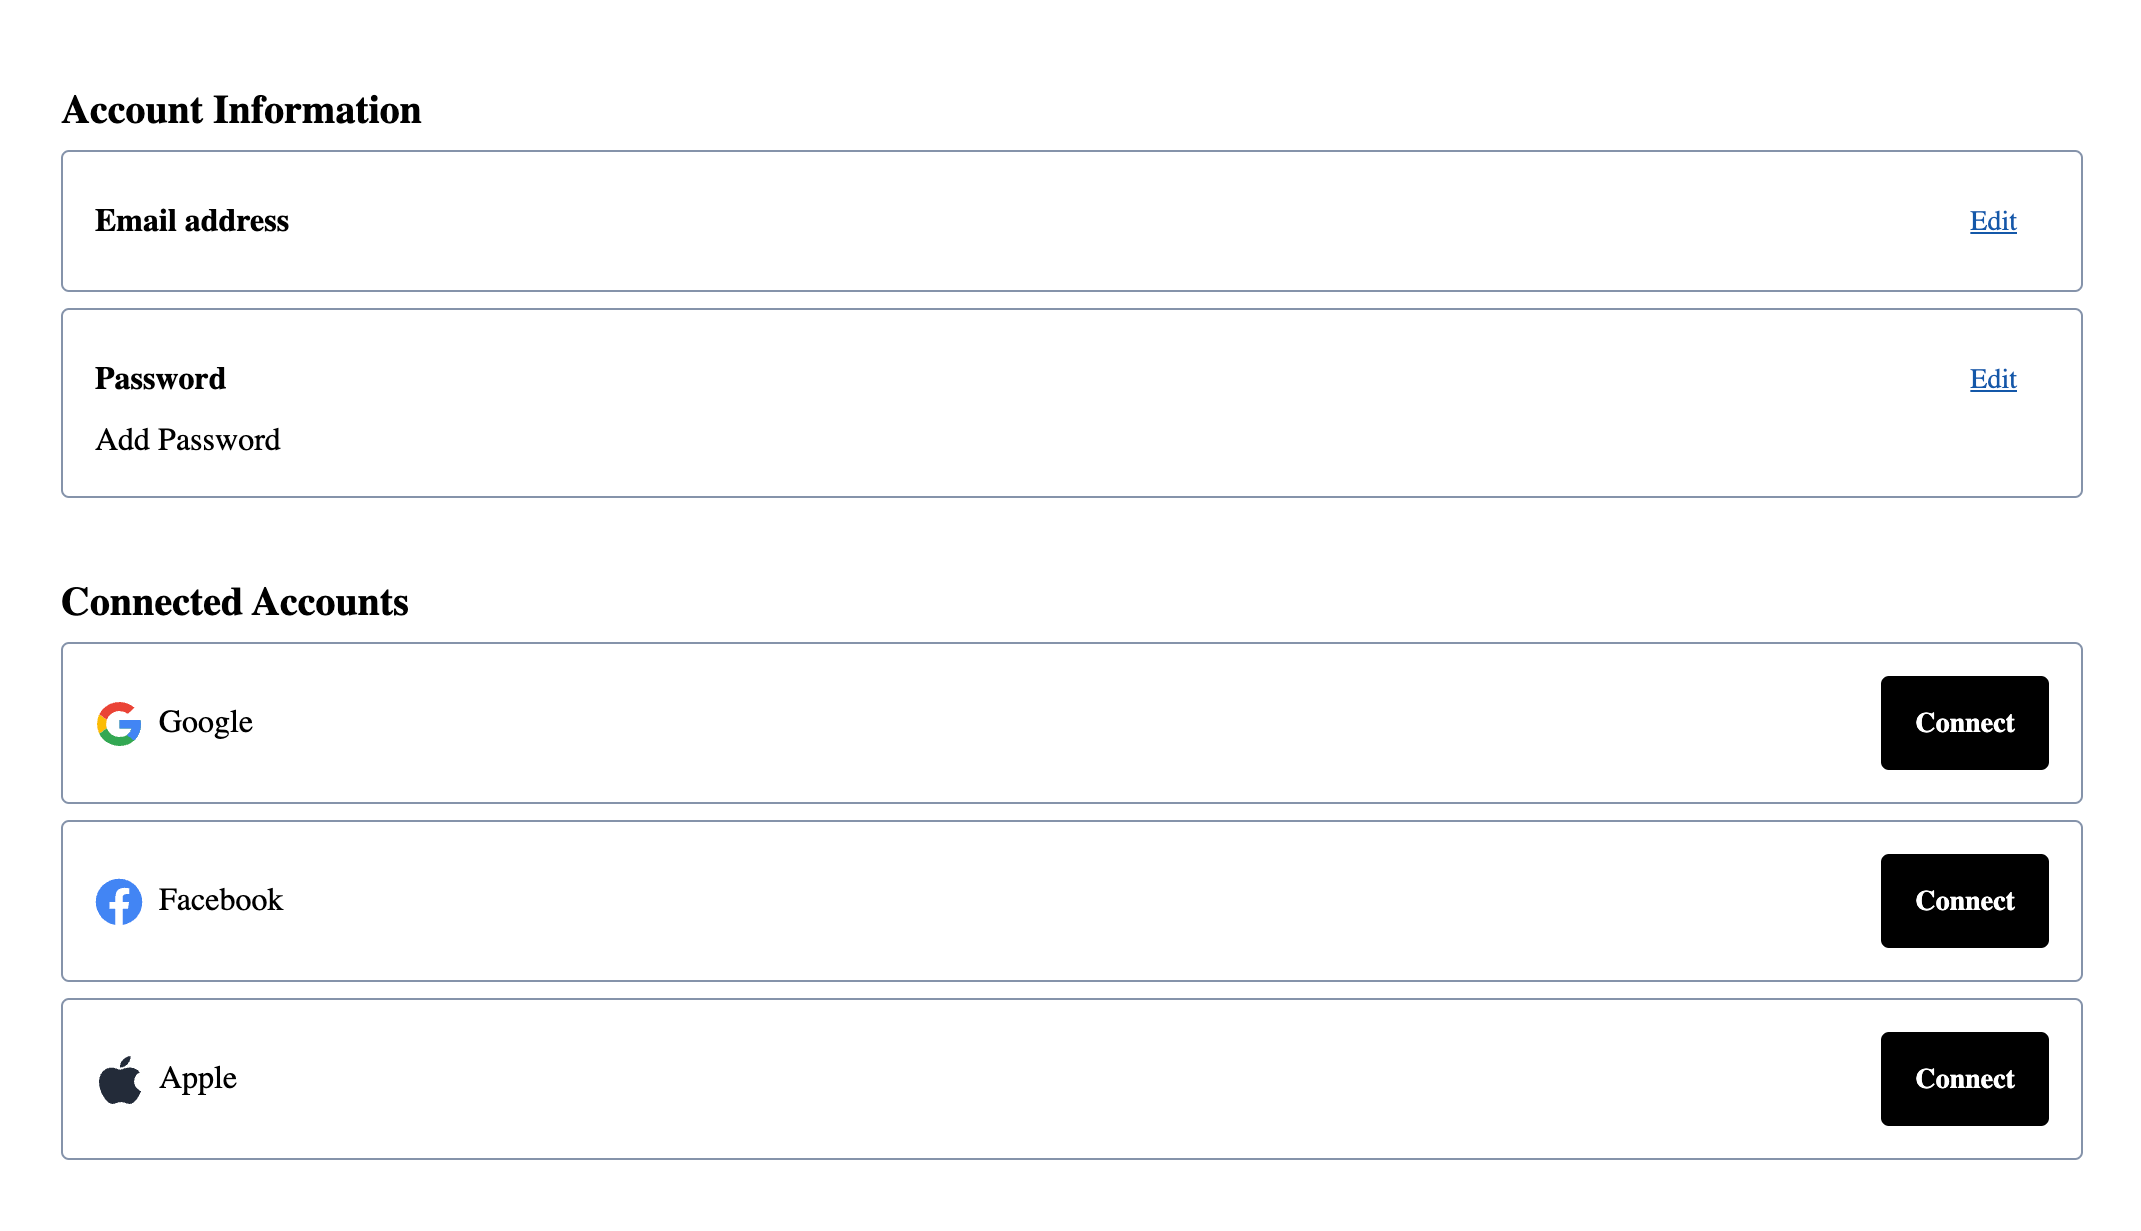
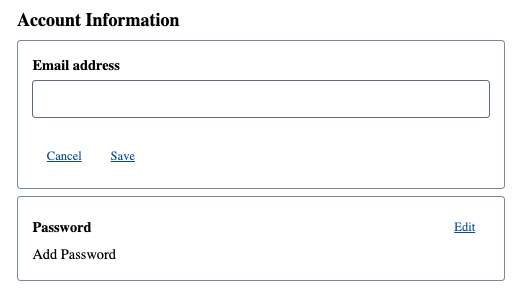
The Identity Account Management - Profile - Arc Block is placed on a Profile page and is where a user can see their current account information. It is used to self manage a user’s account, including updating the user’s email address, password, and connecting or disconnecting social accounts.
To use the Profile block, first create the Account Management - Profile page:
- In PageBuilder, click Create Page.
- Set Page Name. e.g.
Account - Profile - Set Page URI. e.g.
/account/profile/ - In the Setup tab, under Layout, select either Single Column - Arc Layout or another layout of your preference.
- In the Curate tab, add the
Identity Account Management - Profile - Arc Blockto the main section
The Identity Account Management - Profile - Arc Block includes the following Custom fields that an admin can configure:
| Custom field | Description |
|---|---|
| Redirect URL | The page where a user is redirected if arriving at a Profile page when not logged in. |
| Enable Email Address Editing | Displays the functionality for updating a user’s email address; you may disable this if you are using social logins only. |
| Enable Password Editing | Displays the functionality for updating a user’s password; you may disable this if you are using social logins only. |
| Enable Social Profile Editing | Displays the functionality for connecting or disconnecting social authentication providers from a user’s account. |
Depending on whether the user clicks ‘Edit’, other input fields may appear.
Identity One Time Password Request Form - Arc Block
To allow your user to log in without a password you can add a page with the One Time Password Request Form block. This will send an email with an authentication link that will log in the user.
To use the One Time Password Request Form block, first create the One Time Password page:
- In PageBuilder, click Create Page.
- Set Page Name. e.g.
One Time Password Form - Set Page URI. e.g.
/request-onetime/ - In the Setup tab, under Layout, select either Single Column - Arc Layout or another layout of your preference.
- In the Curate tab, add the
Identity One Time Password Request Form - Arc Blockto the main section
The reCAPTCHA widget will appear or not automatically depending on whether it is enabled for One-time access link in the Subscriptions settings (see Secure your site against attacks CORS Domains, Blocked email domains and reCAPTCHA).
| reCAPTCHA disabled | reCAPTCHA V2 enabled | reCAPTCHA V3 enabled |
|---|---|---|
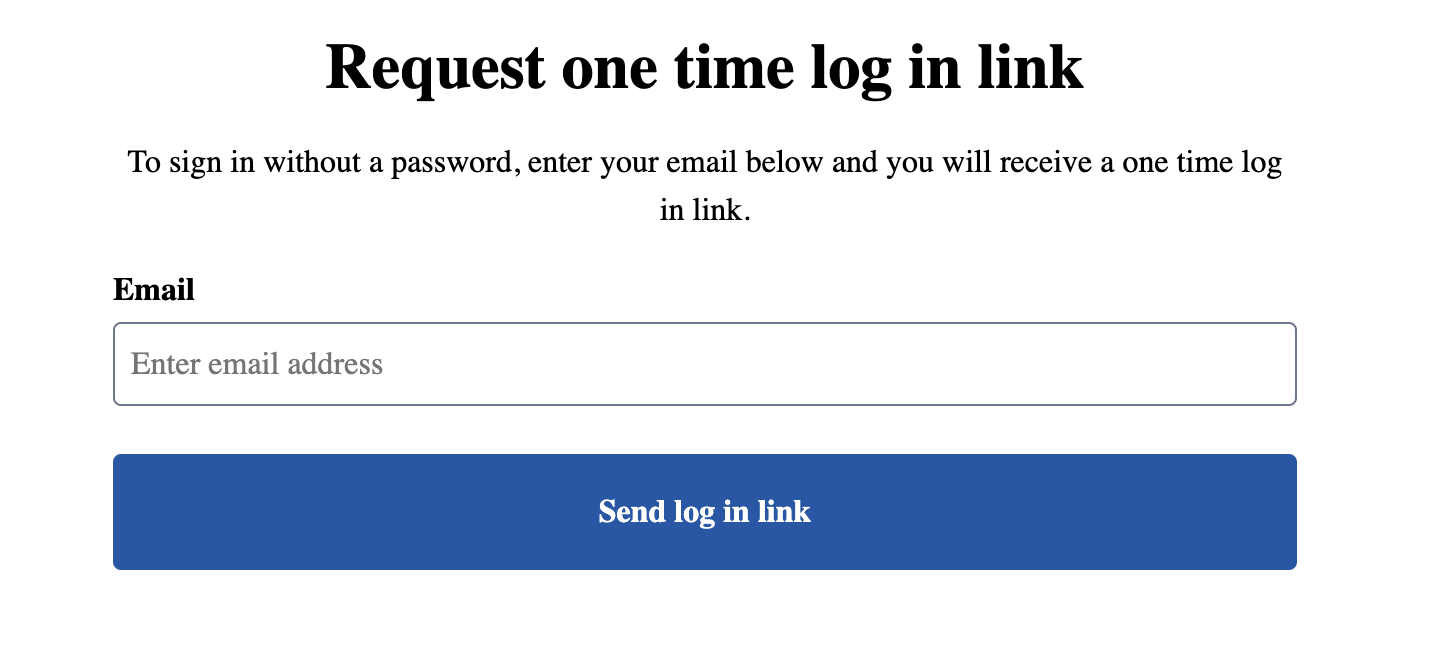 | 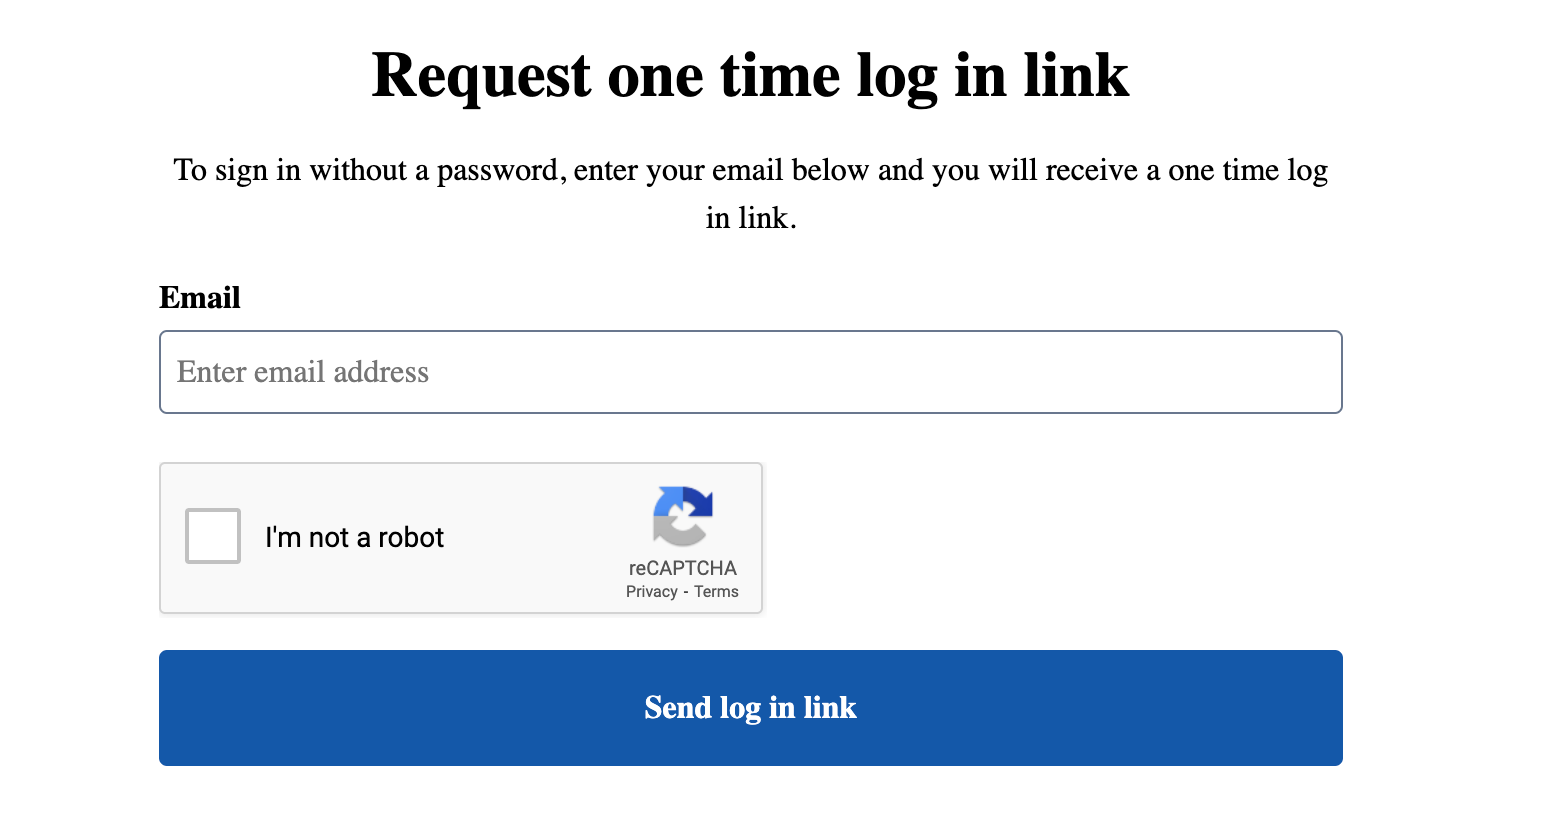 | 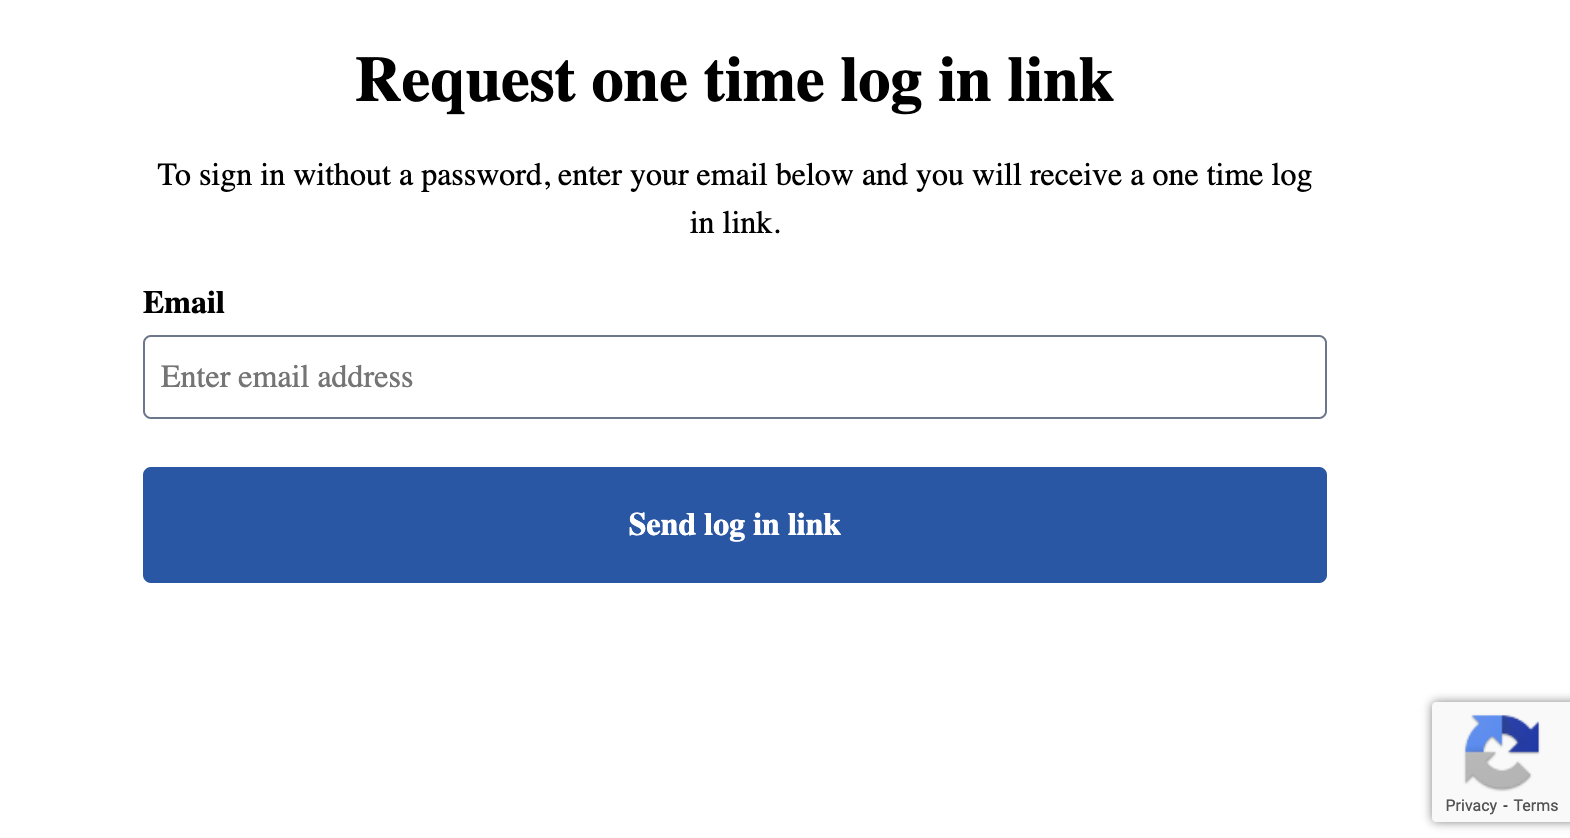 |
The Identity One Time Password Request Form - Arc Block includes the following Custom fields that an admin can configure:
| Custom field | Description |
|---|---|
| Logged In URL | URL where you want your user to redirect to after login |