Configuring CircleCI to automate deployments
CircleCI can help you automate building and deploying your PageBuilder code. This guide contains only the basic functions for building and deploying. You development team can further tailor this guide as needed. Continuous integration and continuous deployment (CI/CD) pipelines are an optional step for your Arc XP site. To perform manual deployments, see How to deploy a bundle.
Use the following sections in this order to configure CircleCI for your organization.
Signing up for CircleCI and creating an organization
The first step is ensuring you have a CircleCI and creating an initial CircleCI organization.
-
Log in to CircleCI using your GitHub account and authorize access for your GitHub organization.
-
Create a CircleCI organization. If you’re signing in for the first time, CircleCI prompts you to create a CircleCI organization. If you’re logging in to an existing CircleCI account, click the Organizations drop-down menu and select Create new Organization. CircleCI redirects you to the GitHub oAuth authorization flow.
-
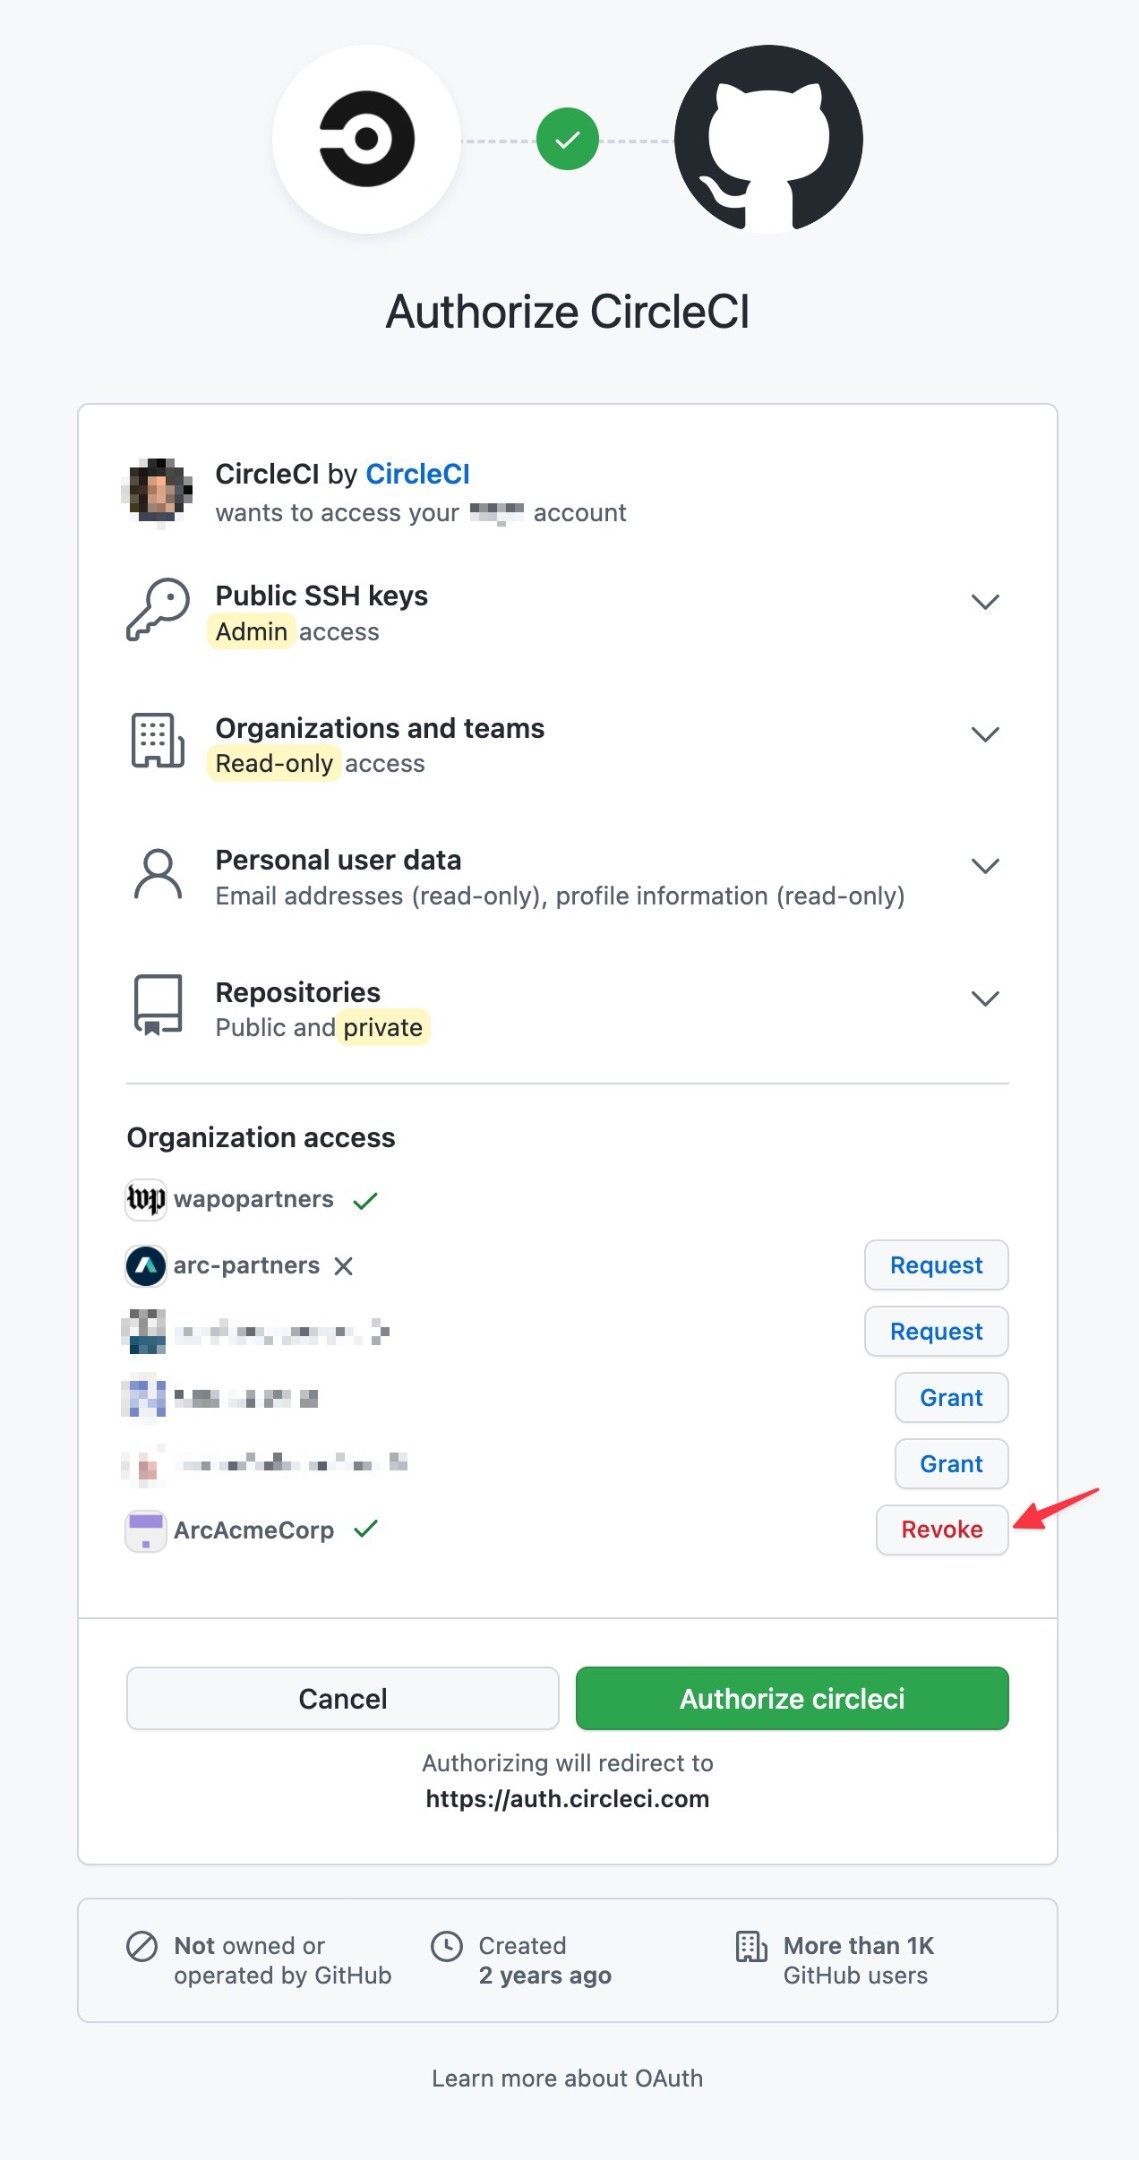
When GitHub asks which organizations to grant access to, click Grant next to your new organization. If successful, you will see a check mark next to the organization name and the Grant button will change to Revoke as seen in the image below. Then you can proceed with authorizing CircleCI.
-
After authorizing, you will be navigated back to CircleCI dashboard. Confirm you see your Github organization in the CircleCI console. (You may need to switch to your organization from the top left organizations drop-down menu).
Setting up your repository in CircleCI
After you create your CircleCI organization, you must add a project to the organization.
-
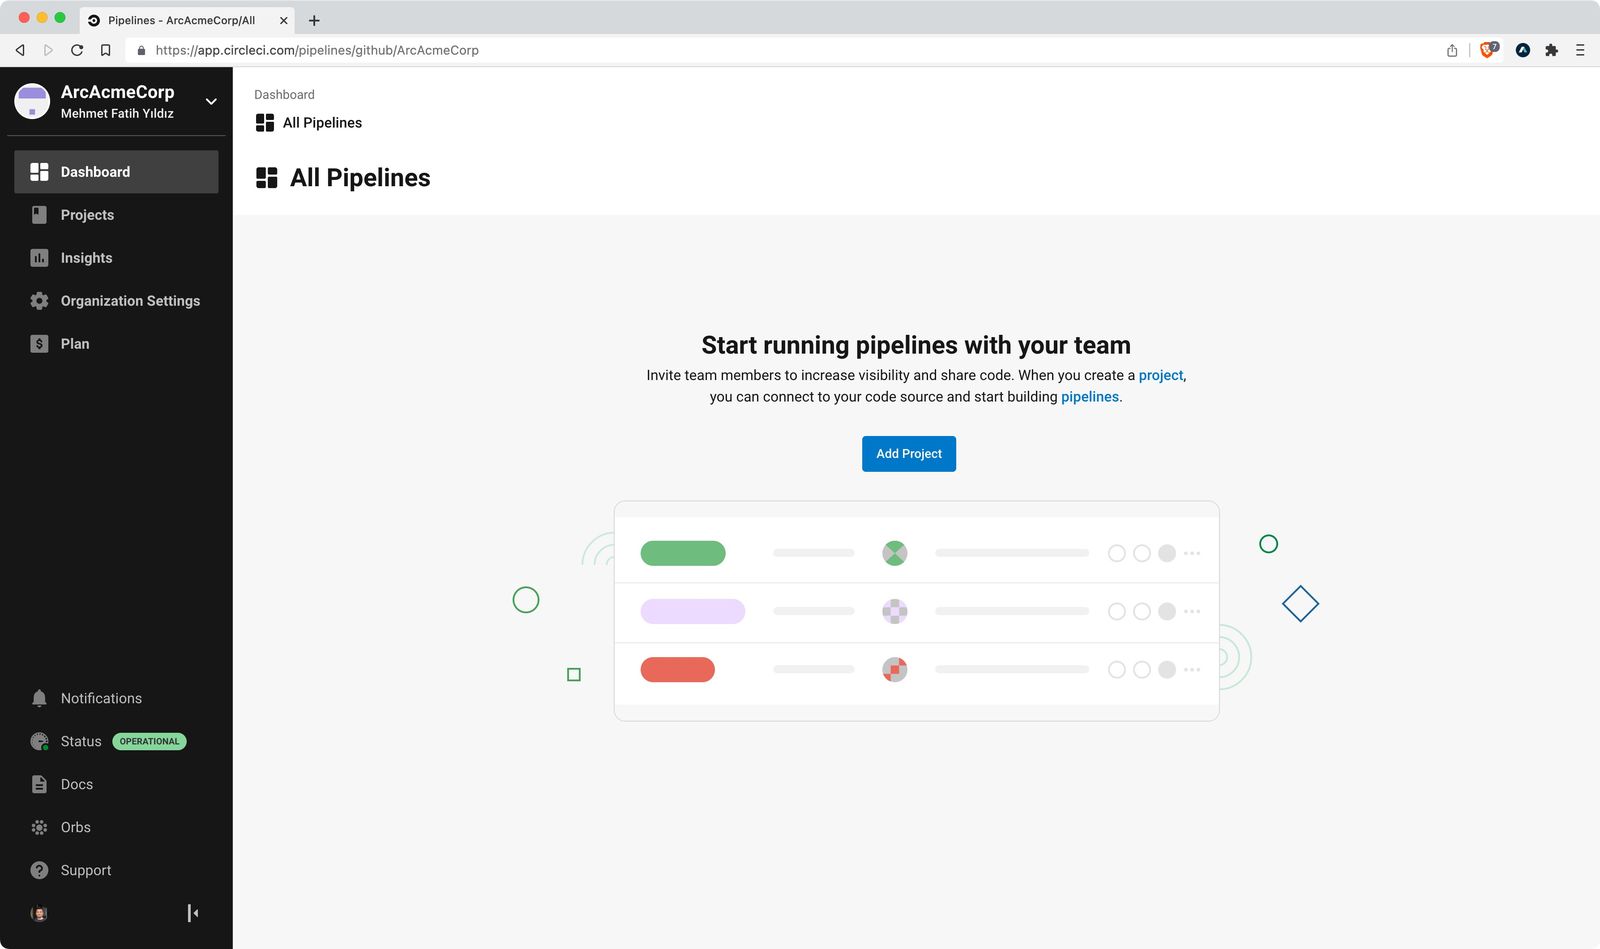
Click Add Project on your home screen. The Projects page opens listing the repositories from your GitHub organization.
-
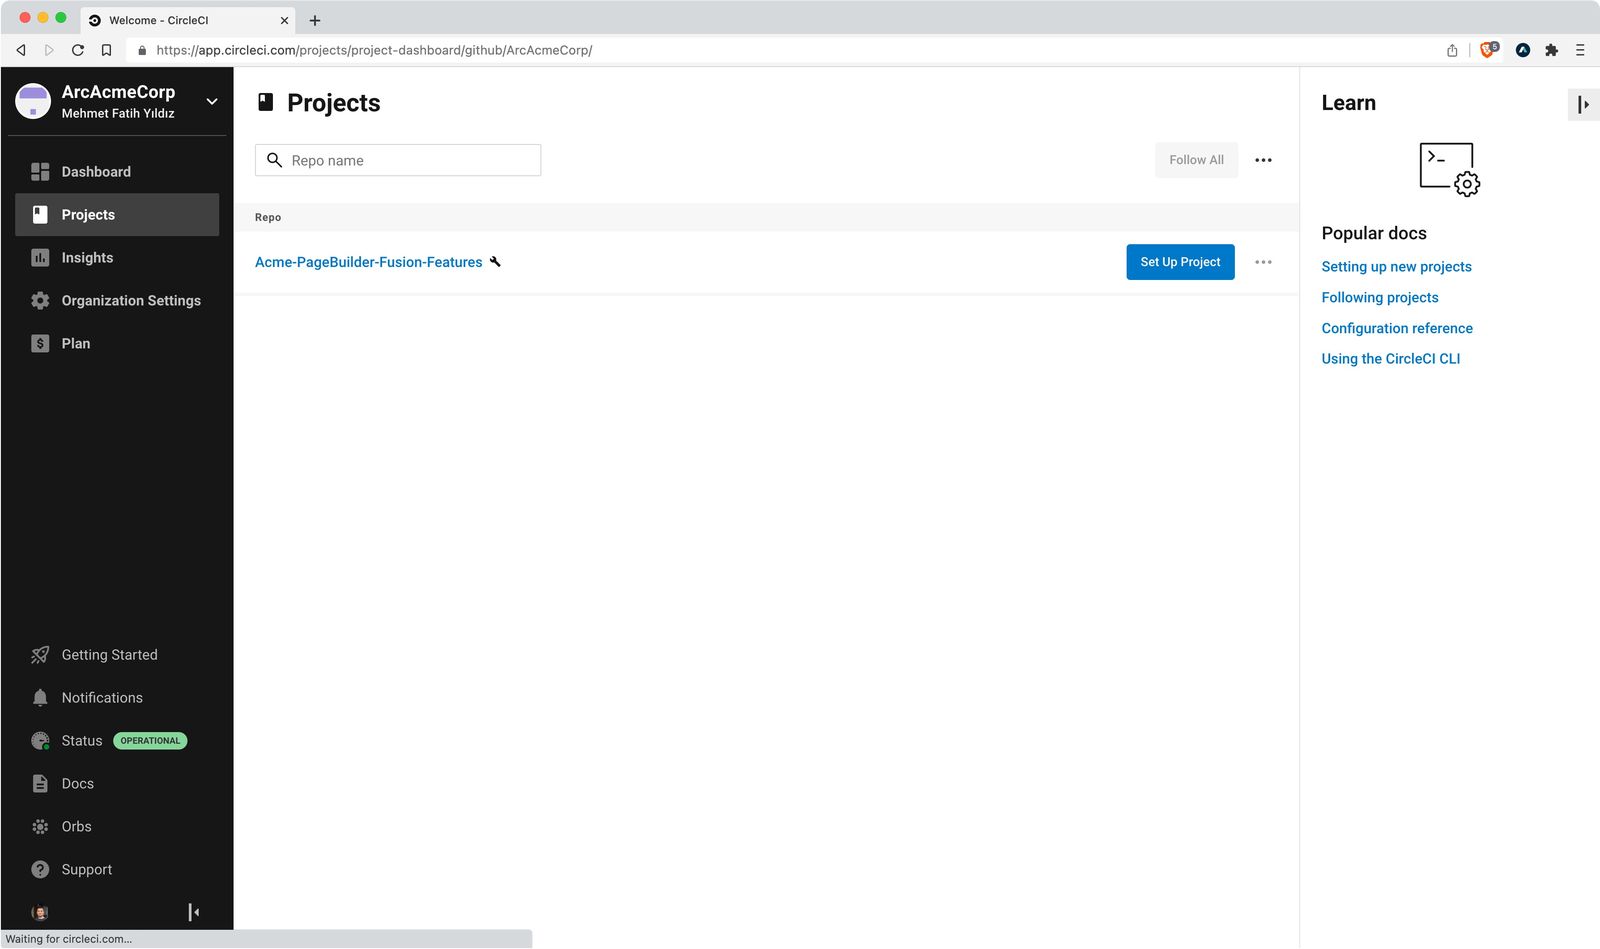
Click Set up Project next to the repository you want to integrate with CircleCI. CircleCI detects the yml file in the repo.
-
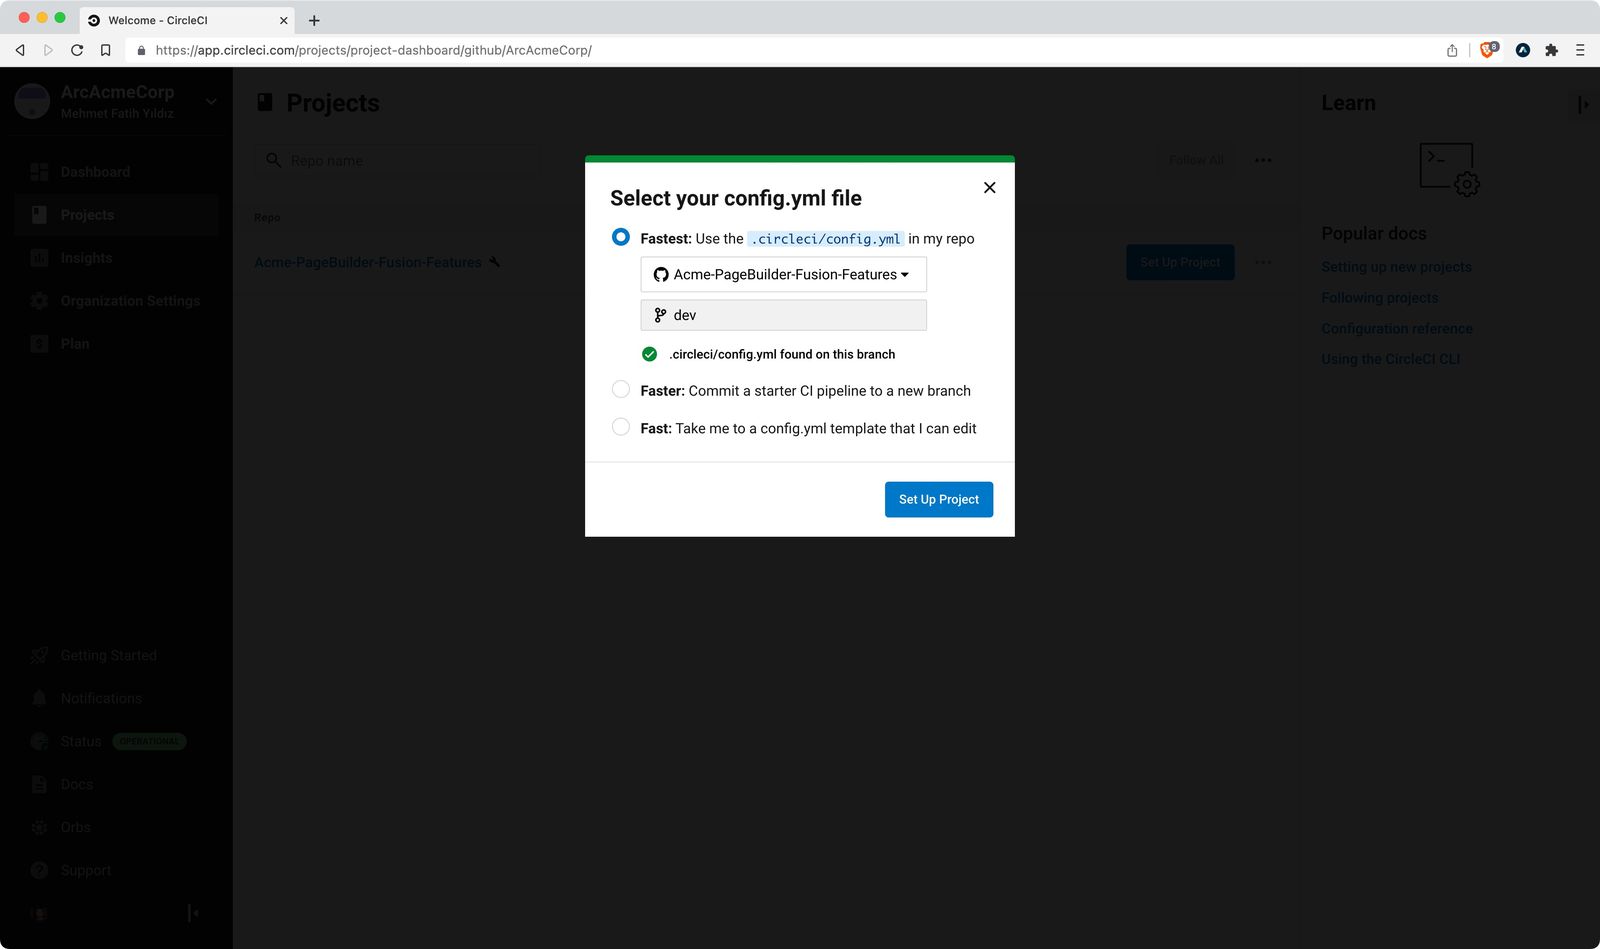
Configure which branch you want to trigger your builds from, and click Set up Project. CircleCI triggers an initial build, but the build fails due to missing environment variables. This is expected. Continue on to Setting up environment variables.
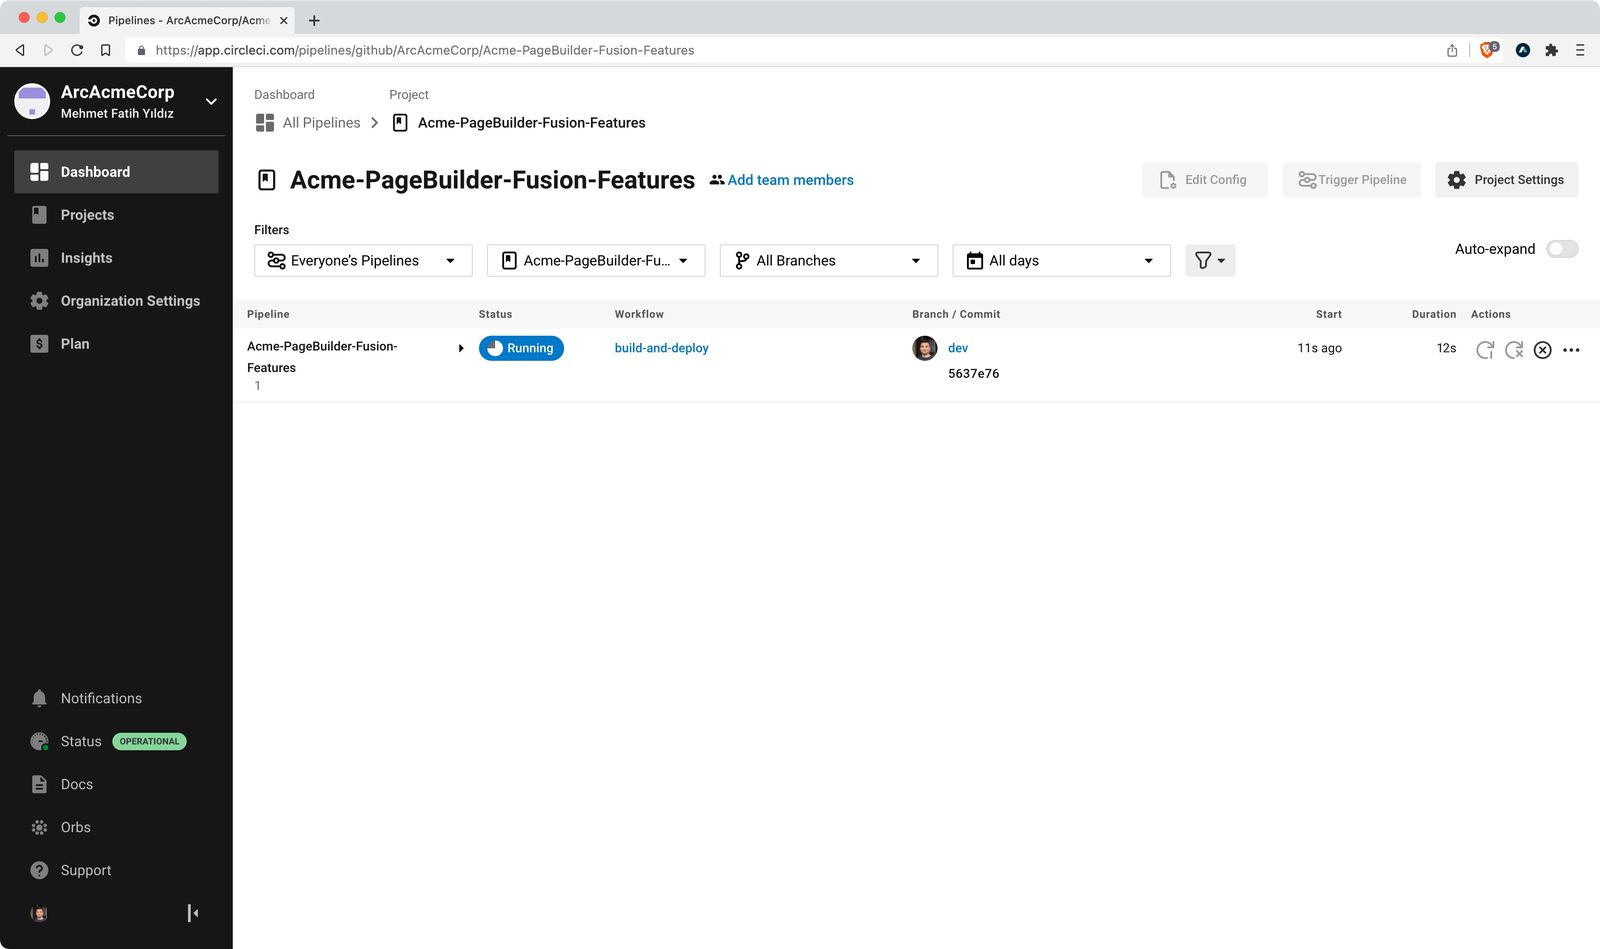
Setting up environment variables
You must create environment variables in CircleCI to access the Deployer API.
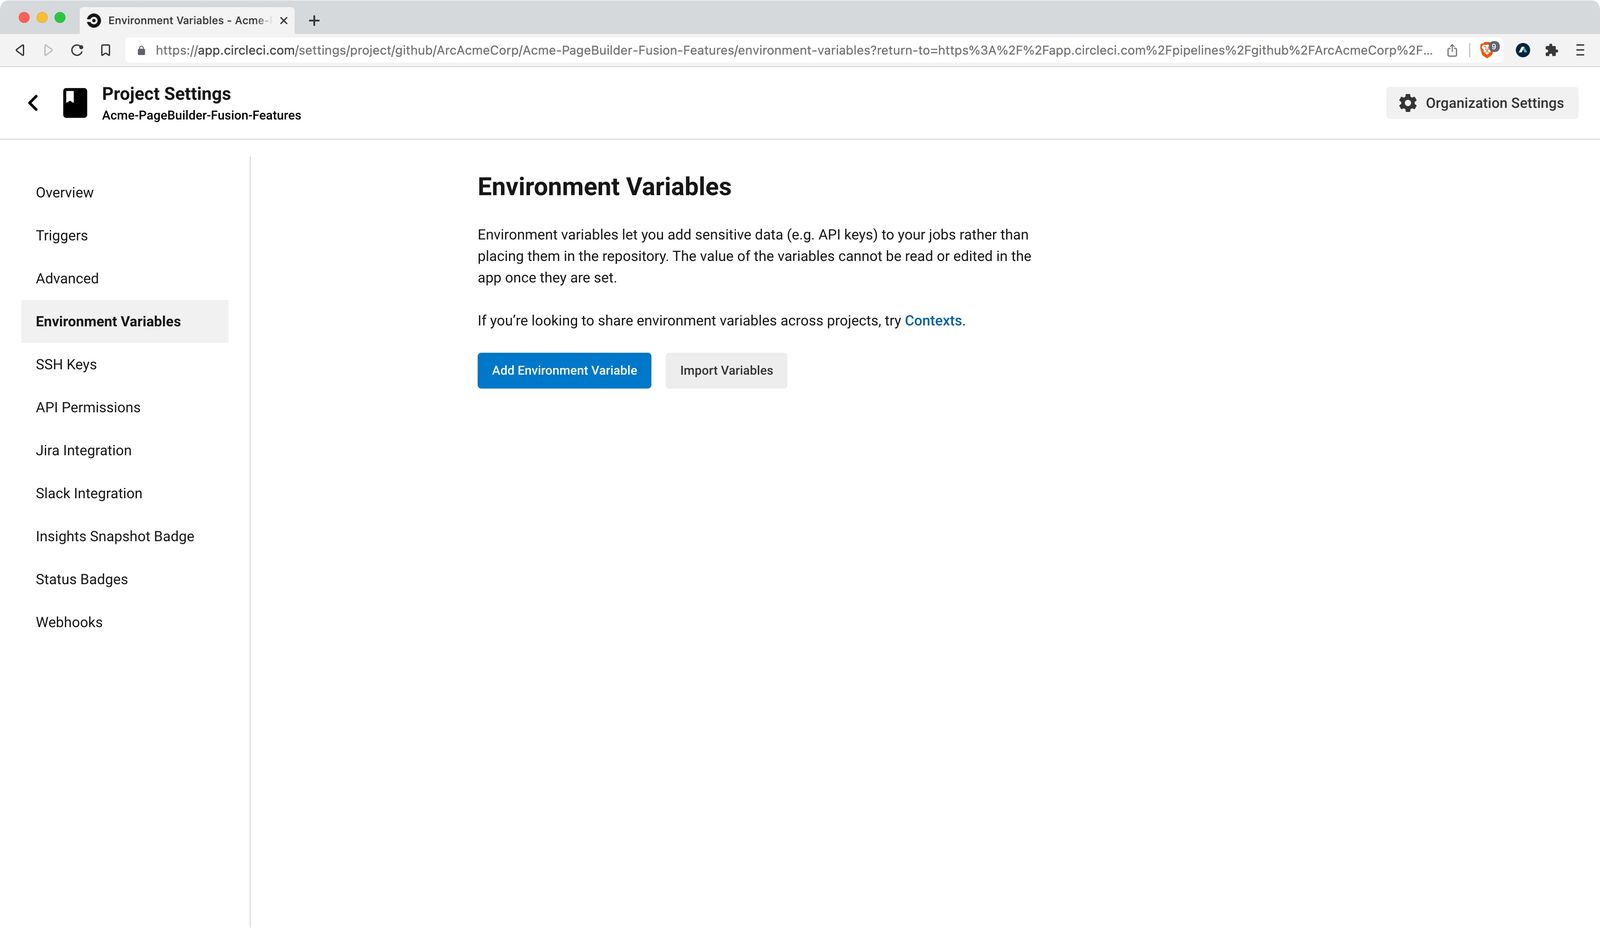
- Click Project Settings in the top right. The Project Settings page opens.
- Click Environment Variables in the left navigation. The Environment Variables page opens.
- Click Add Environmental Variable. The Add Environmental Variable window opens.
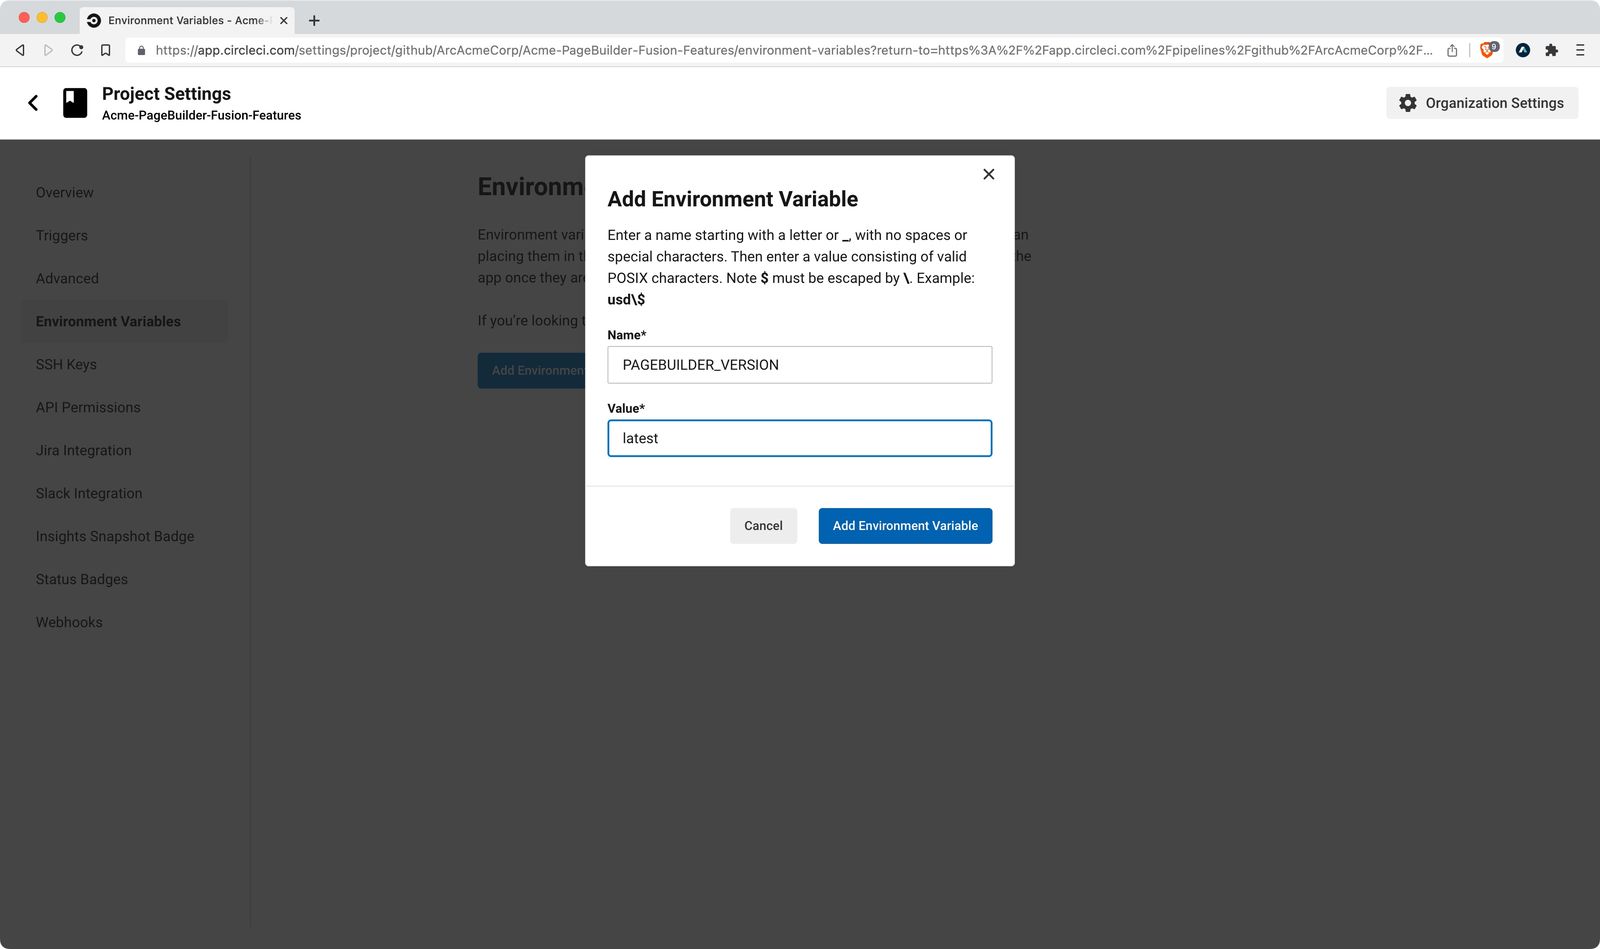
- Add the following environment variables:
| Variable | Value | Notes |
|---|---|---|
| PAGEBUILDER_VERSION | latest | The value latest ensures you’re always referencing the most recent version of PageBuilder Engine. |
| SANDBOX_DEPLOYER_ENDPOINT | api.sandbox.{org}.arcpublishing.com | The {org} is your Arc XP organization name. You can find this in your Arc XP URL. For example, if your Arc XP URL is https://acmecorp.arcpublishing.com/, your org name is acmecorp. |
| SANDBOX_DEPLOYER_ACCESS_TOKEN | {sandbox_arc_access_token} | The {sandbox_arc_access_token} is your Arc XP token for the Sandbox environment that you can create from Developer Center. These tokens must be all-access tokens. |
| PRODUCTION_DEPLOYER_ENDPOINT | api.{org}.arcpublishing.com | The {org} is your Arc XP organization name. You can find this in your Arc XP URL. For example, if your Arc XP URL is https://acmecorp.arcpublishing.com/, your org name is acmecorp. |
| PRODUCTION_DEPLOYER_ACCESS_TOKEN | {prod_arc_access_token} | The {prod_arc_access_token} is your Arc XP token for the Production environment that you create from Developer Center. |
Other environment variables may exist in your .circleci/config.yml file. Those variables are not required environment variables to build and deploy your bundle.
Configuring other project settings
In the Advanced Settings section, ensure the following settings are turned on:
- GitHub Status updates
- Build forked pull requests
- Pass secrets to builds from forked pull requests
- Auto-cancel redundant builds
- Enable build processing (preview)
The following list contains all the configuration steps needed for basic setup. But you can configure your CircleCI options and GitHub repo options further for additional triggers or requirements. We suggest:
- Setting up your GitHub repository branch protection so manual merges to your main branch are not allowed.
- Setting up your GitHub repository protected branch rules so that all checks are passed in order to merge. This ensures your CI/CD builds and checks all pull requests before merging.
- Adjust your Github repository and
circle-ciwebhook configuration to add or remove other triggers to match your preferences.
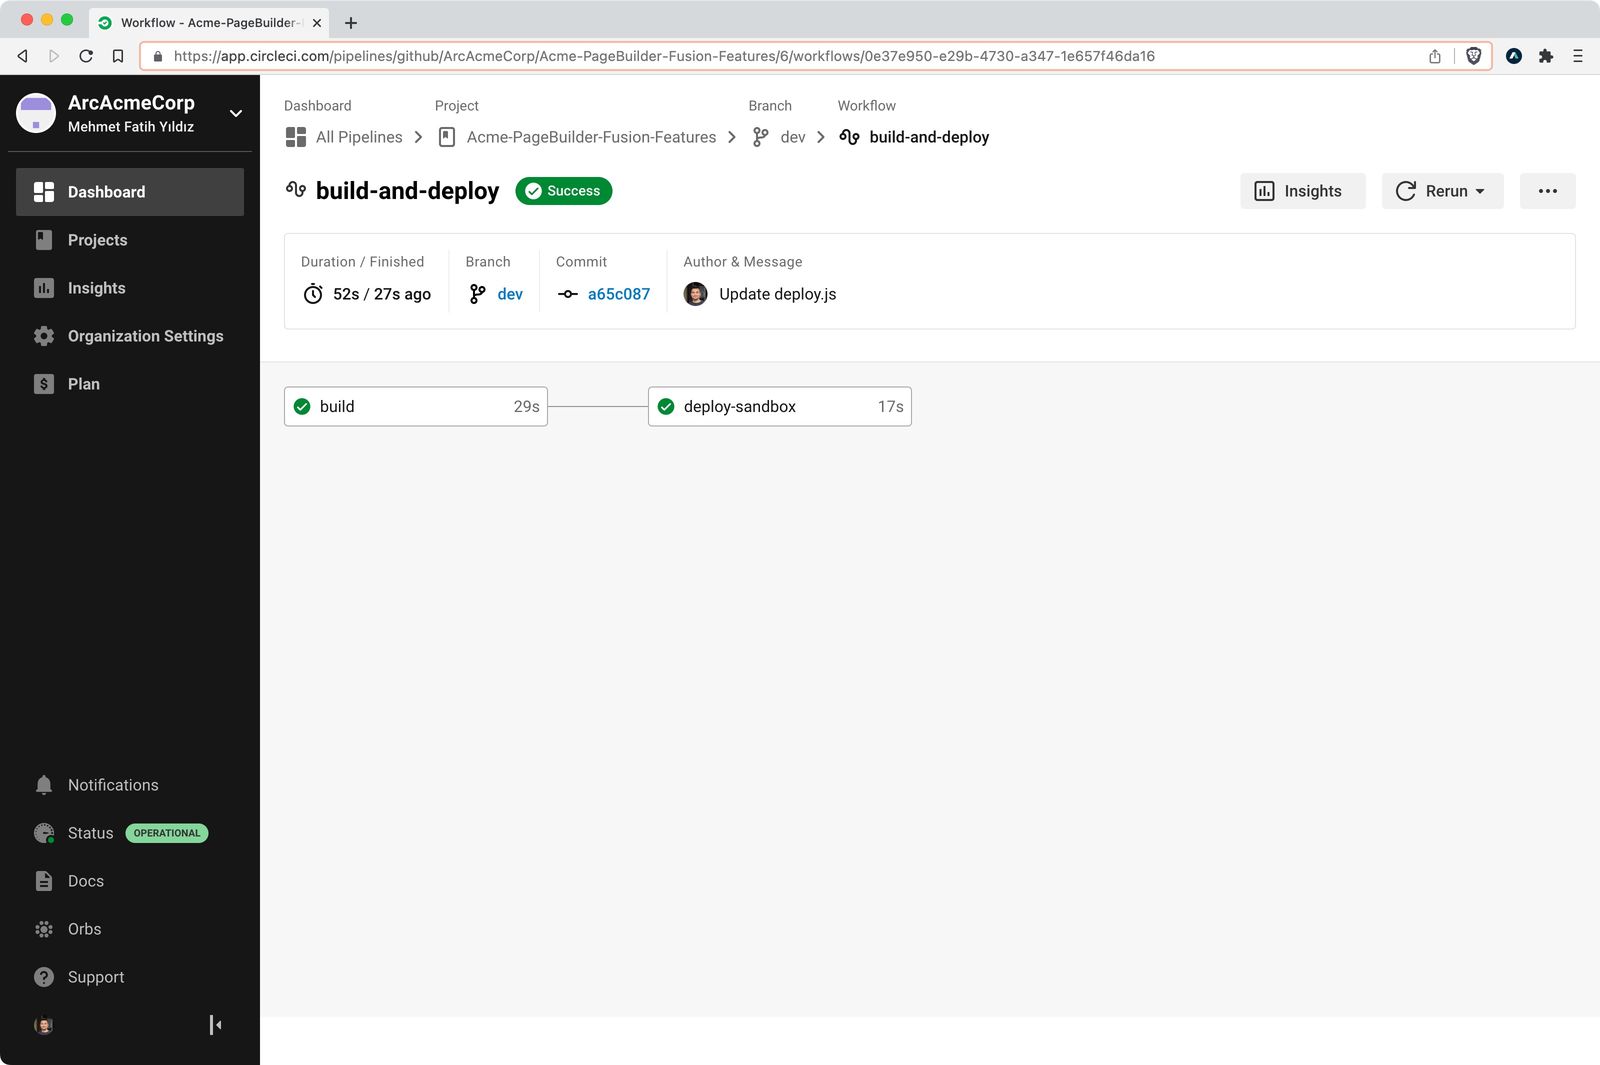
Testing your first build
After you configure your CircleCI integration, it’s important to test your build to ensure everything functions as expected. The initial build attempt failed, as expected, because of missing environment variables. Now, the same build should build successfully and upload your bundle to Deployer.
- In CircleCI, click Rerun on your build, and wait for the green Success message.
- Log in to Arc Admin, PageBuilder > Dev Tools > Deployer.
- Confirm the build is uploaded successfully to the respective environment.
- Repeat this test on both Sandbox and Production environments.
You can also adjust the circle-ci yml file and config/deploy/deploy.js script in your repository to add automated deployments to other Arc XP environments and make adjustments to your CI/CD pipelines.
FAQ
Do I have to use CircleCI?
No, you can deploy your changes manually from the Deployer UI. To follow this method, see How to deploy a bundle.
My CircleCI deployment is pipeline is failing. What do I do?
If your CircleCI deployment pipeline fails with an error similar to:
/home/circleci/repo/node_modules/axios/index.js:1 10import axios from './lib/axios.js'; 11^^^^^ 12Then look at the Axios releases: v0.X uses the require and module.exports syntax that is compatible with CommonJS: axios/index.js at v0.x · axios/axios v1.X uses the import and export syntax that requires ESM: axios/index.js at v1.x · axios/axios.
It is also possible that within your .circleci configuration, you’re installing Axios without tagging a version. Check this in your Fusion Features /blob/dev/.circleci/config.yml file.