
Forking an Arc Block
What are Arc blocks?
Arc blocks are front-end components written by Arc XP developers that can be referenced as a best practice in the Arc ecosystem.
Why fork an Arc block?
Forking an existing Arc block allows you to add or modify functionality of a block without having to start from scratch. Using Arc code as a jumping off point ensures that your block is fusion-compatible and will work predictably within PageBuilder Editor while still allowing you to customize to your organization’s needs.
What is the difference between a forked block and a custom block?
Generally, a custom block is one that was developed from scratch while a forked block uses the bones of an Arc block. However, these blocks will be treated the same by PageBuilder Engine and are both considered custom by Arc.
How to fork an Arc block step by step
-
If you are brand new to Arc, you may want to start out by getting familiar with your bundle. Your bundle will have several preconfigured folders in it (this post focuses on
componentsandcontent) that will be the desination for forked blocks and for any custom, net-new blocks that you develop. The quick start documentation in our dev portal is very helpful for getting familiarized with Arc. -
Navigate to the public blocks repository on GitHub.
-
Check that the branch is set to the latest version of blocks (currently 3.0.0 with a branch named arc-themes-release-version-3.0.0).
-
Clone down the entire repository to your local machine.
-
Click the green
Codebutton on the right. We recommend cloning with SSH. -
Copy the URL.
-
Open your terminal and navigate to the folder where you want to clone the repository.
-
Run the command
git clone <URL>where<URL>is the URL you copied. -
Example:
git clone git@github.com:WPMedia/arc-themes-blocks.git -
This will create a folder called
arc-themes-blocksin your current directory.
-
-
Navigate to the
blocksfolder. -
Navigate to the block(s) you want to fork. If you already have custom blocks in your bundle, you will be familiar with where to copy your forks. If you have a brand new bundle or no custom components, proceed to steps 6 and 7 for the correct folder and file structure.
-
If the block is a content source or output-type:
- For content sources, take the .js file and copy it into your bundle’s
content/sourcesfolder so that your file is at the top-level of the folder. - For output types, take the
default.jsxfile and copy it into your bundle’scontent/output-types - Be sure to place any dependencies into your bundle’s top-level package.json and do not copy over the block’s package.json or package-lock.json. All other files are optional. If your organization uses jest as a test runner, it may be convenient to copy over the test files.
Your folder structure in your bundle will look like this:
Directorycomponents
Directorychains/
- …
Directoryfeatures/
- …
Directoryicons/
- …
Directorylayouts/
- …
Directoryoutput-types
- default.jsx
- mobile.jsx
Directorycontent
Directorysources
- my-forked-source.js
- package.json
- For content sources, take the .js file and copy it into your bundle’s
-
For all other block types, follow these steps:
- You’ll want to create a new folder for your block in the correct components subfolder (features, chains, or layouts)
- You can check where a specific block belongs by checking the files array in its package.json.
- Blocks can be pasted into
components/features. For example,author-bio-blockandbyline-block. - Chains can be pasted into
components/chains. Chains enclose blocks, for exampledouble-chain-block,triple-chain-block, andquad-chain-block. - Layouts can be pasted into
components/layouts. Layouts enclose blocks and chains, for exampleright-rail-block,right-rail-advanced-block, andsingle-column-layout-block.
- Blocks can be pasted into
- For each of the above, create a new folder with the name of the block you are forking in the relevant subfolder.
- For example, if you are forking the
author-bio-block, create a new folder calledauthor-bio-block-myorg(for example) in thecomponents/featuresfolder. - It is recommended to rename your forked block to differentiate it from its parent Arc block. That way, if you forget to remove the Arc block from your bundle, you won’t have a build error.
- For example, if you are forking the
- Inside the new folder, copy over the contents of the Arc block you wish to fork with the below folder structure. Copy over the
themesfolder in order to use the Themes design system.
Directorycomponents
Directoryfeatures
Directorymy-forked-block
- _index.scss
- default.jsx
- default.test.jsx
Directorythemes
- news.json
Directorychains
Directorymy-forked-chain
- _index.scss
- default.jsx
- default.test.jsx
Directorythemes
- news.json
Directorylayouts
Directorymy-forked-layout
- _index.scss
- default.jsx
- default.test.jsx
Directorythemes
- news.json
-
Next, make modifications to your copied block folder:
- Each block comes with its own package.json. After placing the dependencies into your bundle’s package.json, delete the package.json file in the block folder.
- You may remove all markdown files (changelog, readme, style-tokens, etc)
- Change the block’s label inside of the default.jsx file to reflect your forked block’s name.
Eg:
SimpleListWrapper.label = "Simple List Forked Block"; - If you were using the Arc Block that you forked in your bundle (a common scenario), you may remove it from your bundle’s blocks.json
blocksarray. You may also choose to leave it in your bundle temporarily to make comparisons while developing. Once you do remove it, don’t forget to restart your bundle to see the changes.
-
You’re ready to run your bundle locally and see your forked block.
- Make sure docker is running. See these dev docs if you need more information setting up your dev environment.
- Navigate to a terminal window for your bundle.
- Run
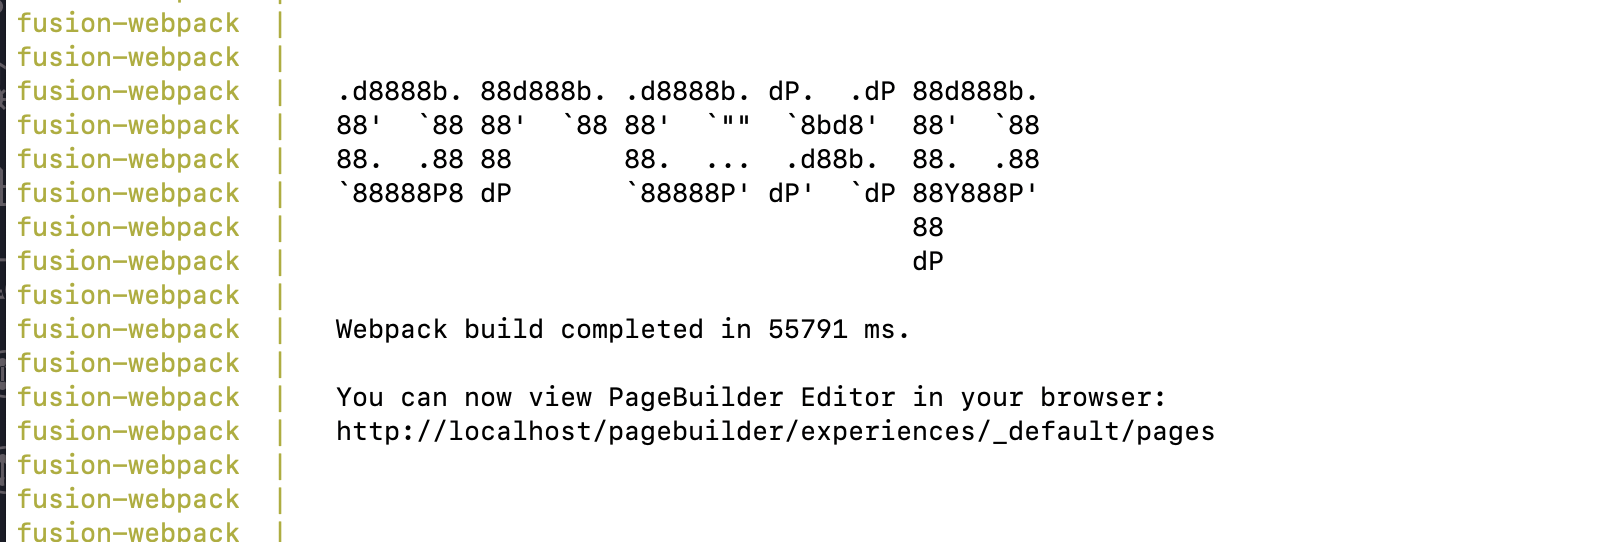
npm ito install dependencies, then runnpx fusion start. - Wait until you see the
arcxpASCII art and then open your browser to the URL provided in the terminal.
- You’ll see your pages. Select a page or a template where you want to use your forked block.
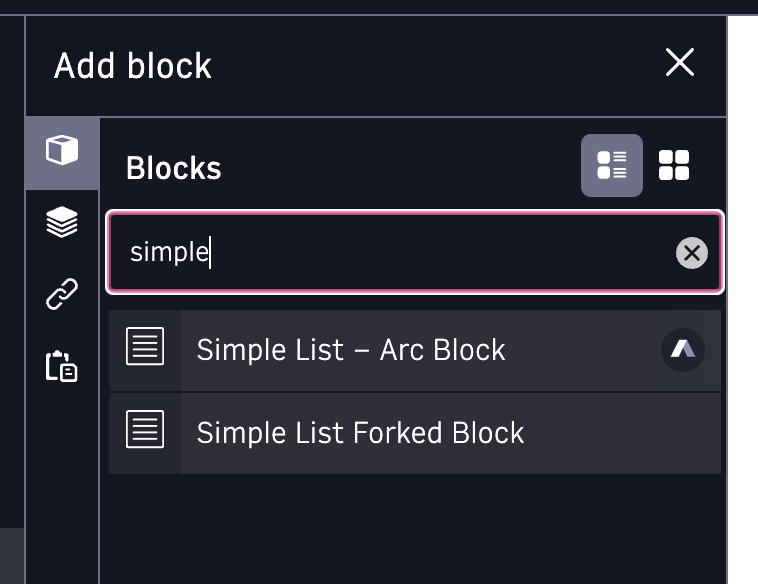
- In your
Curatetab, find the layout element where you want to add your forked block. Select+ Add Blockand search for your forked block by name. - If you haven’t yet removed the Arc block from your blocks.json, you will see it pop up on the search results (assuming the names are similar). Arc blocks are distinguished by the Arc logo next to their name for clarity.
- Choose your forked block and add it to the page.
- You can now customize your forked block in your bundle and see any edits that you make.
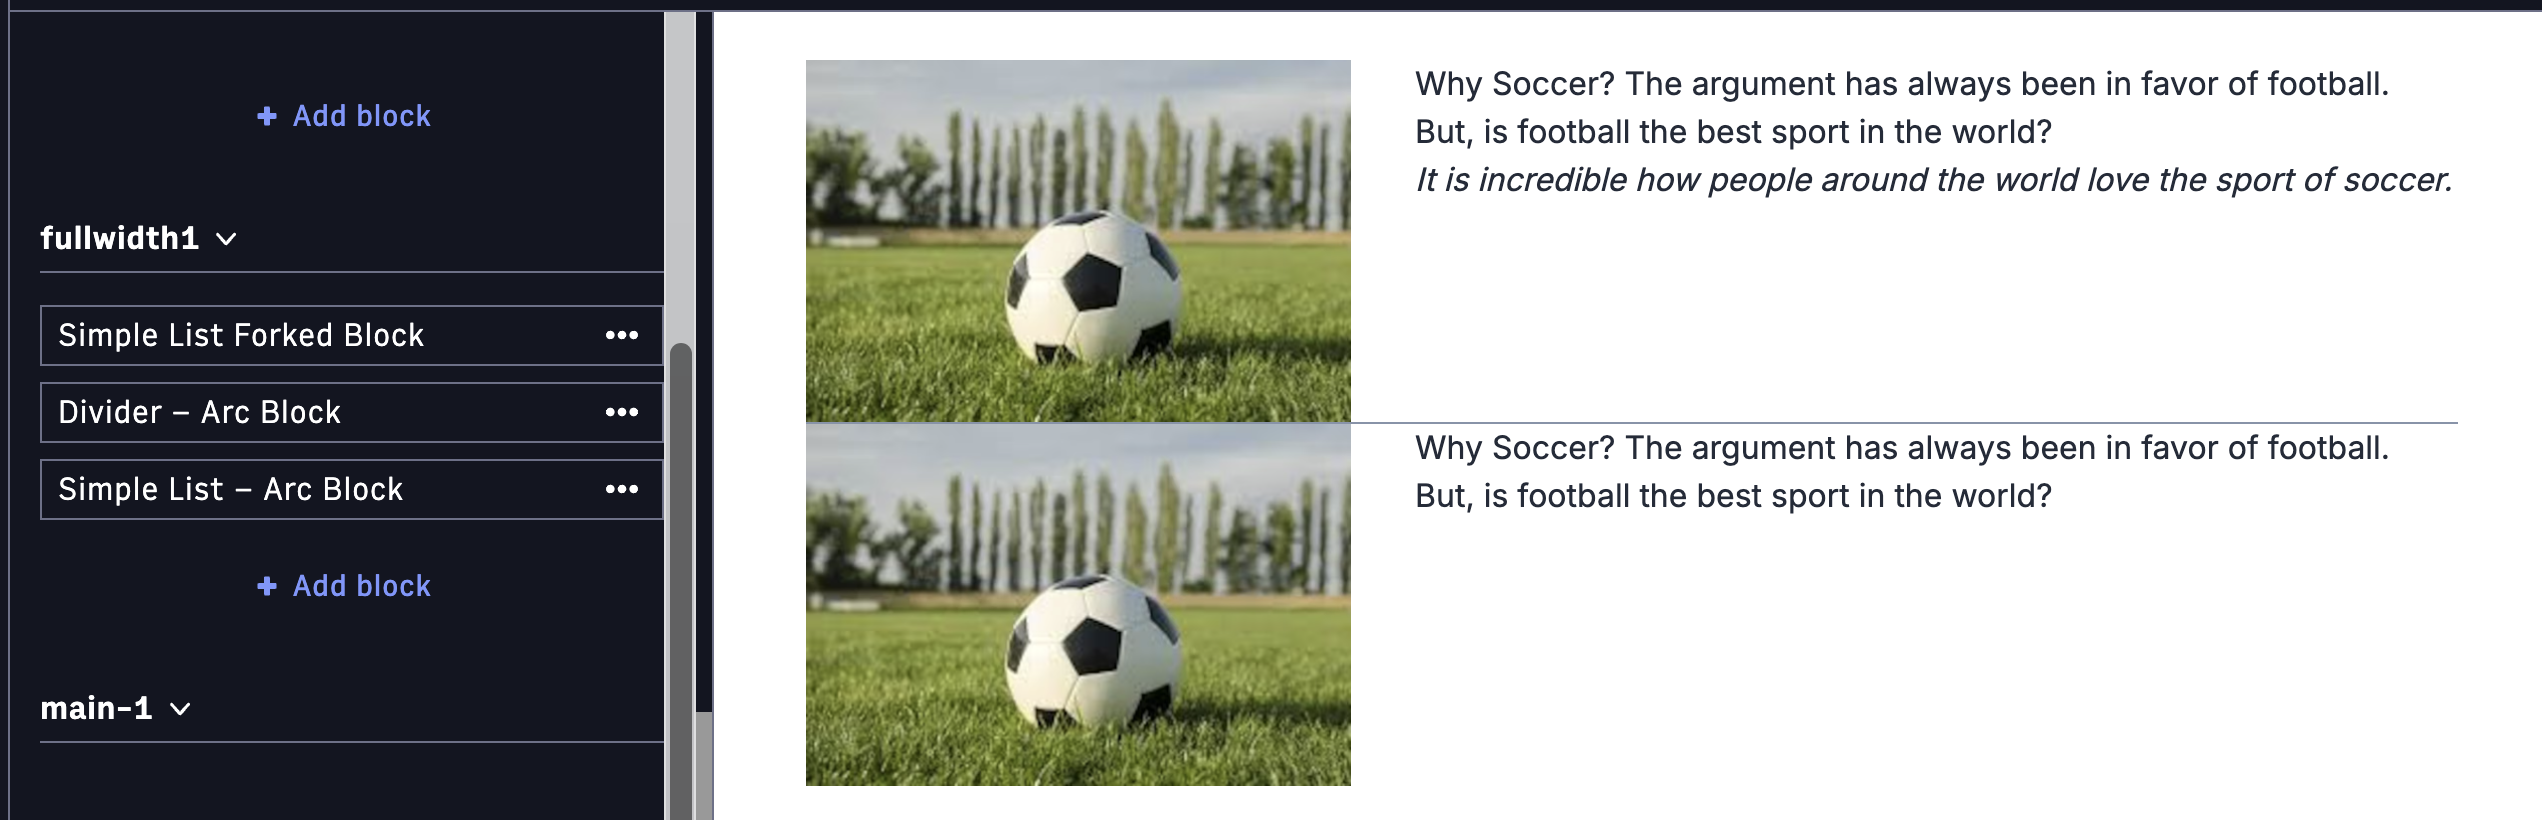
- Here you can see an example of my forked block next to its parent Arc block. I added a simple subheadline to the forked version.
Continue to customize your forked block however you wish! This approach should save you time and effort in developing your own front-end components.
Check out this blog post for an exciting new way to iterate quickly on Arc Block code.